The Right Tools

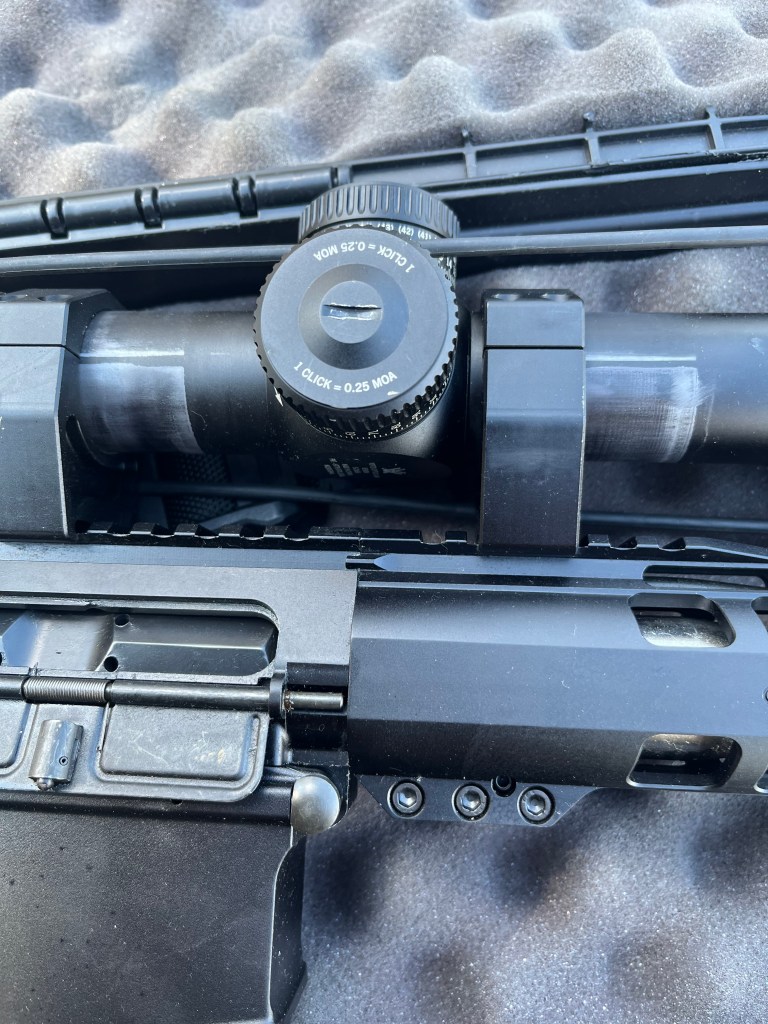
Following up yesterday’s range trip, I needed to reset the scope. The AR 10 works pretty hard, and has loosened up other things, and scope mounts are no exception.
I got the rifle out on the work bench and only 2 of the 8 machine screws were tight. When I loosened them up a turn, the scope moved freely back and forth. Of course, it rotated freely, too.

This is where the right tools make a critical job much easier. First, you need to make sure the entire rifle is level.
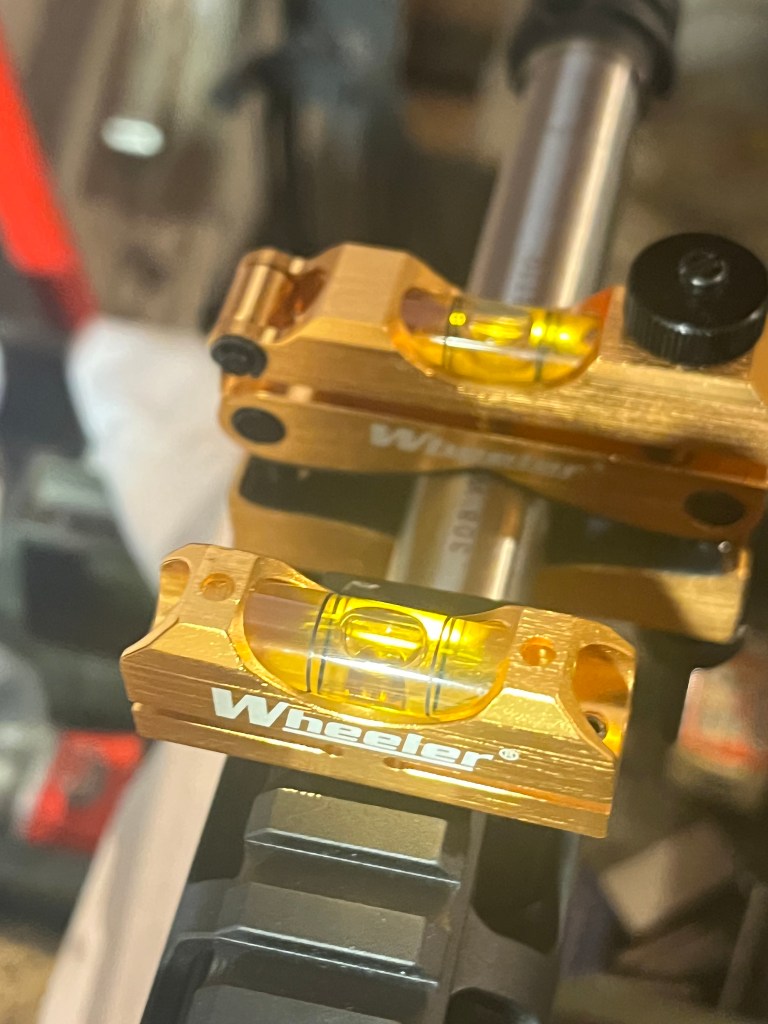
once the body of the rifle is level, you use the clamp on-level on the barrel as the reference point. The movable level then goes up to the flat turret top. As you then tighten the machine screws (alternating sides is best), you can see the effect on the level of the scope. The goal is to tighten up the screws to the proper torque, all while maintaining a level condition. The Wheeler leveling tool really simplifies the process.
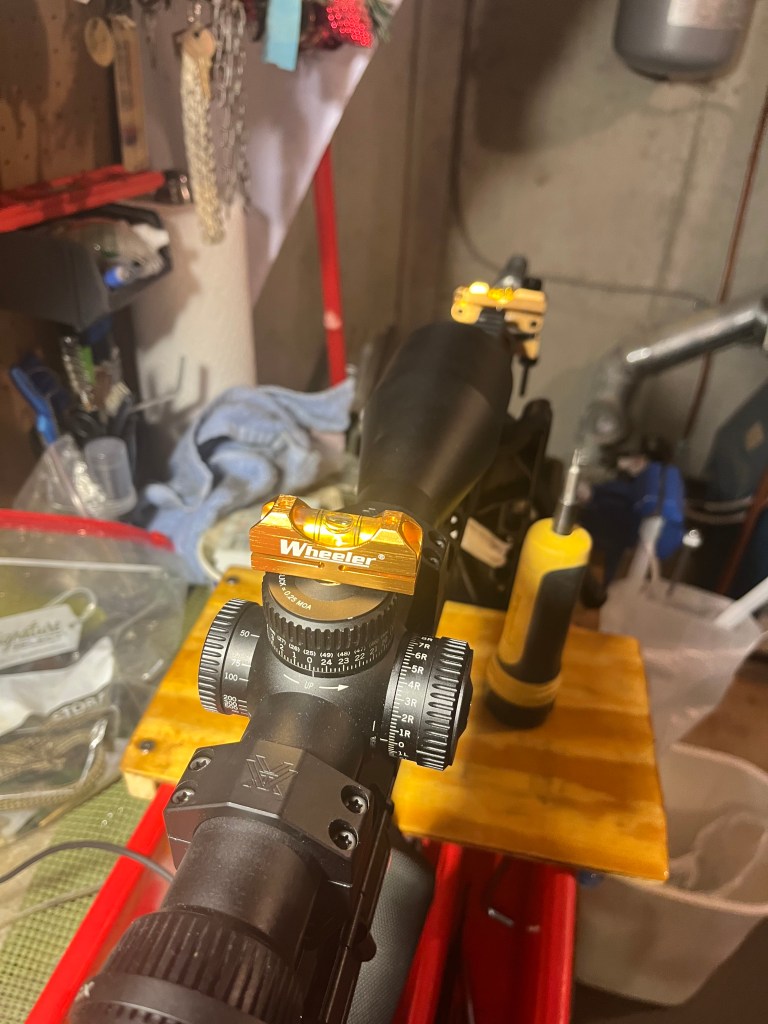
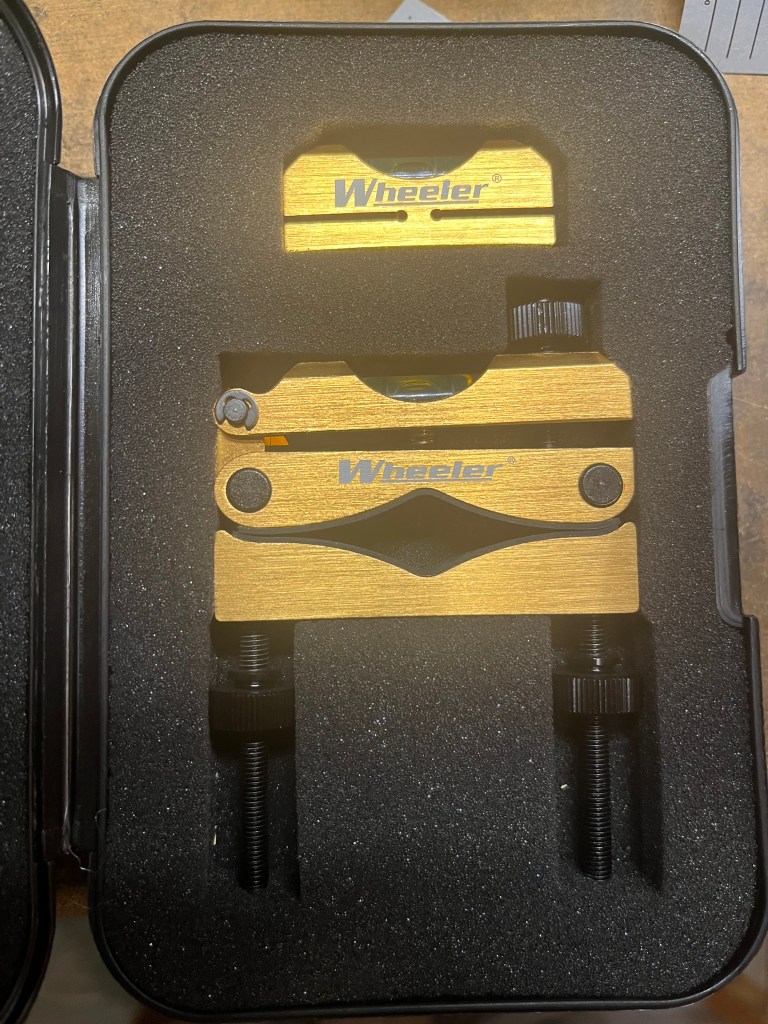
Another way is to use angled leveling shims between the rail and a flat bottom surface of the scope. That works well IF you can find clearance and a flat spot.

The next great tool is a torque screwdriver. Most all scope manufacturers tell you the specific torque to use – it usually runs between 18 and 24 inch-pounds. NOT foot-pounds! Fat Wrench makes a great one with an easy-to-see and use torque gauge, and lots of bits for various screw heads and sizes.
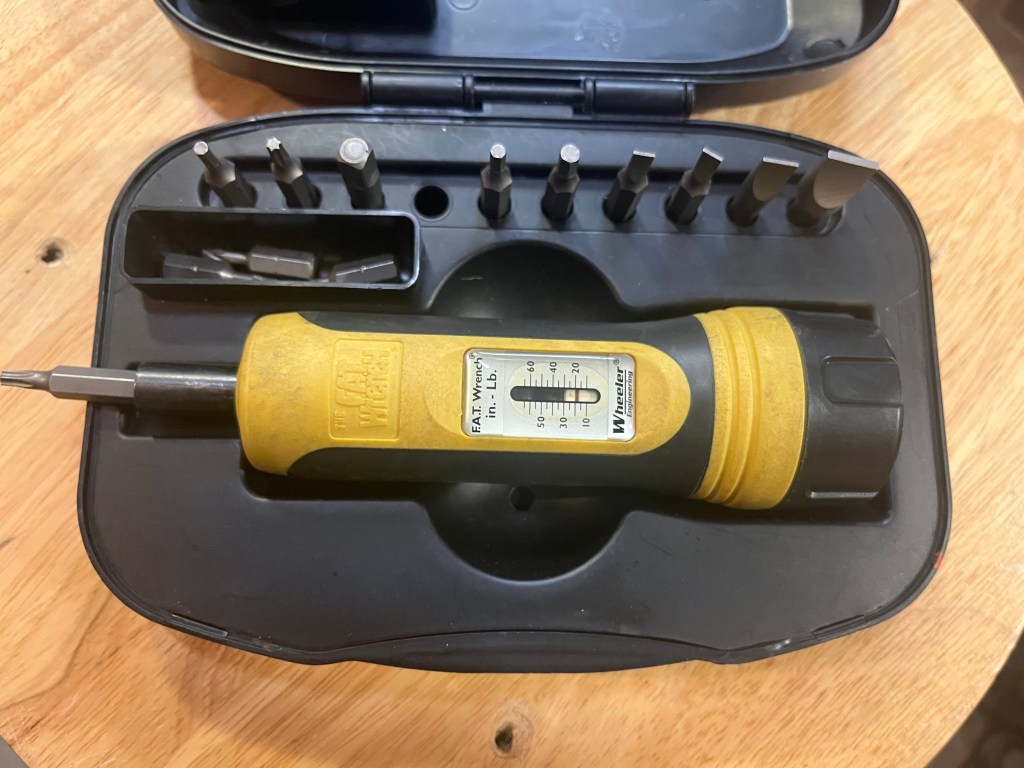
Both tools come in compact and sturdy containers that fit easily into a range bag.
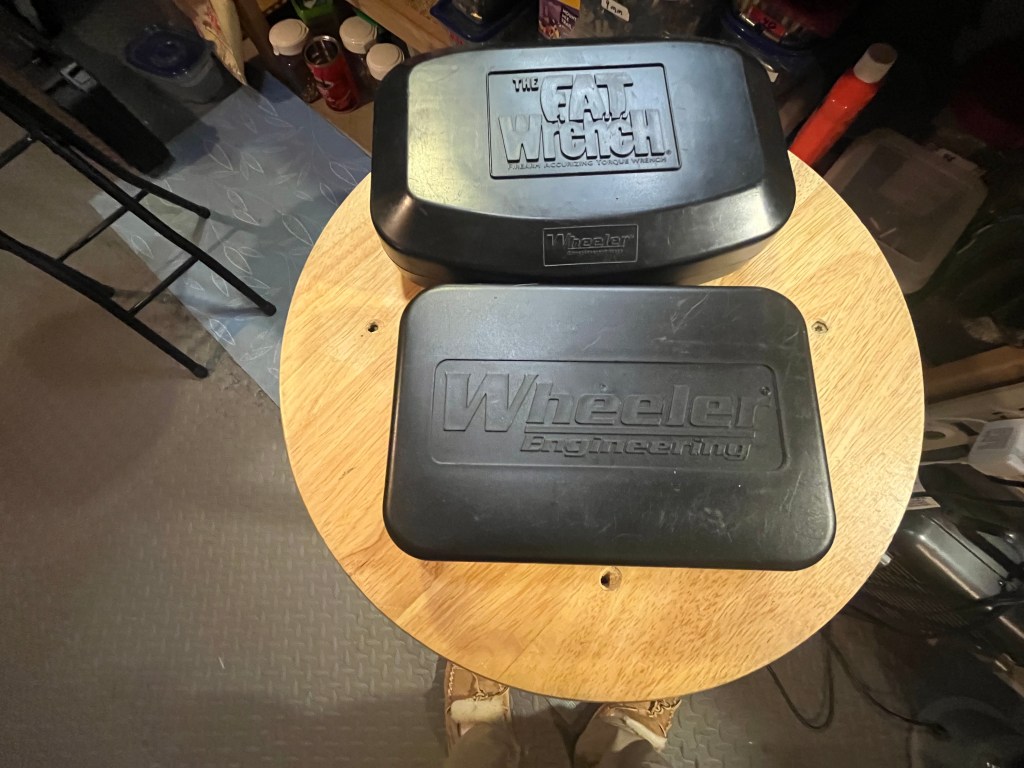
I’ve had many a time on the range when someone needs those tools; otherwise, their range time just came to an end.
It’s nice to be able to help out. And it also impresses the Range Babes.
Afternoon at the range, and other sundry stuff

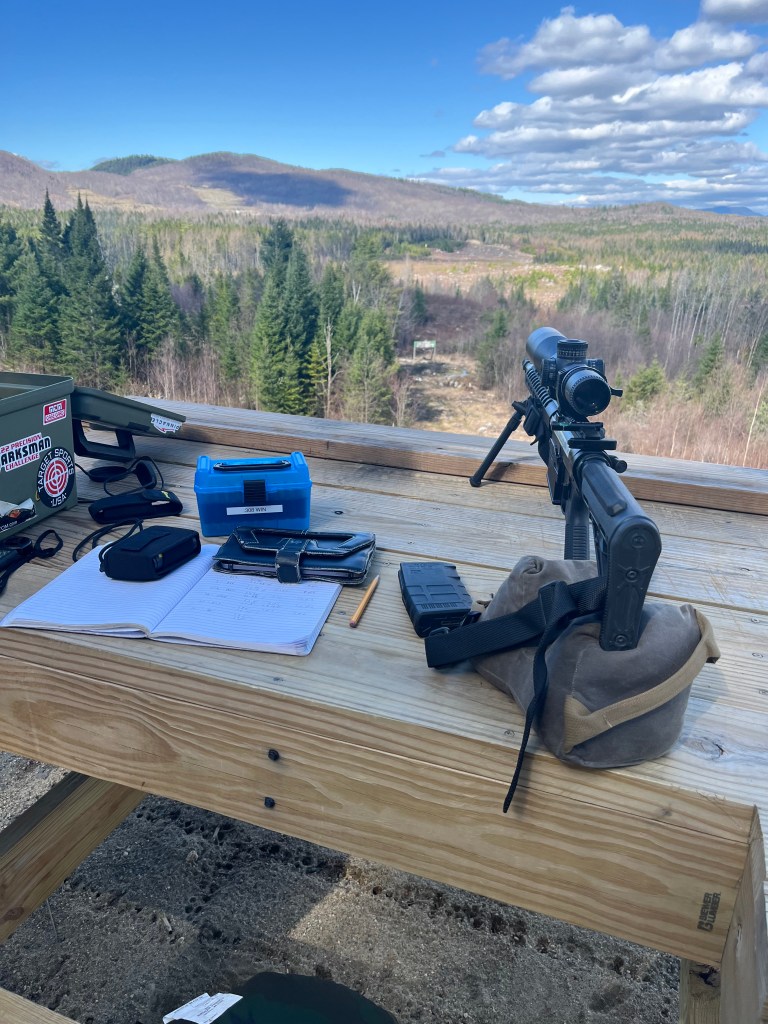
Yeppers, dredged up the AR 10 and shot some of the donated PPU brass today. 168 g. Speer Target Match over the usual Varget load. Very windy from left to right and in your face. Without bragging (well, yes), I shot very well, and/because my wind calls were very good. At 528, I was holding 5 MOA left, at 900 I was holding 14.0 left! I shot 6 targets, three of them first shot hits, and expended 20 rounds. I wasted several at 1107 ( though I had one go center an inch or two high) – I maxed out the scope and was doing an 8 MOA holdover and 19-20 left.
It felt good.
I was still glowing when a Statey flashed me for going slightly fast into town. After noticing the Glock 21 on the passenger seat, and my immediate disclosure of returning from the range and being a board member, we talked about my AR and his upper and lower he regretted selling.
Just a smiling warning from NH’s finest. I’m glad I was wearing my desert tan jacket with camo American flag, etc.

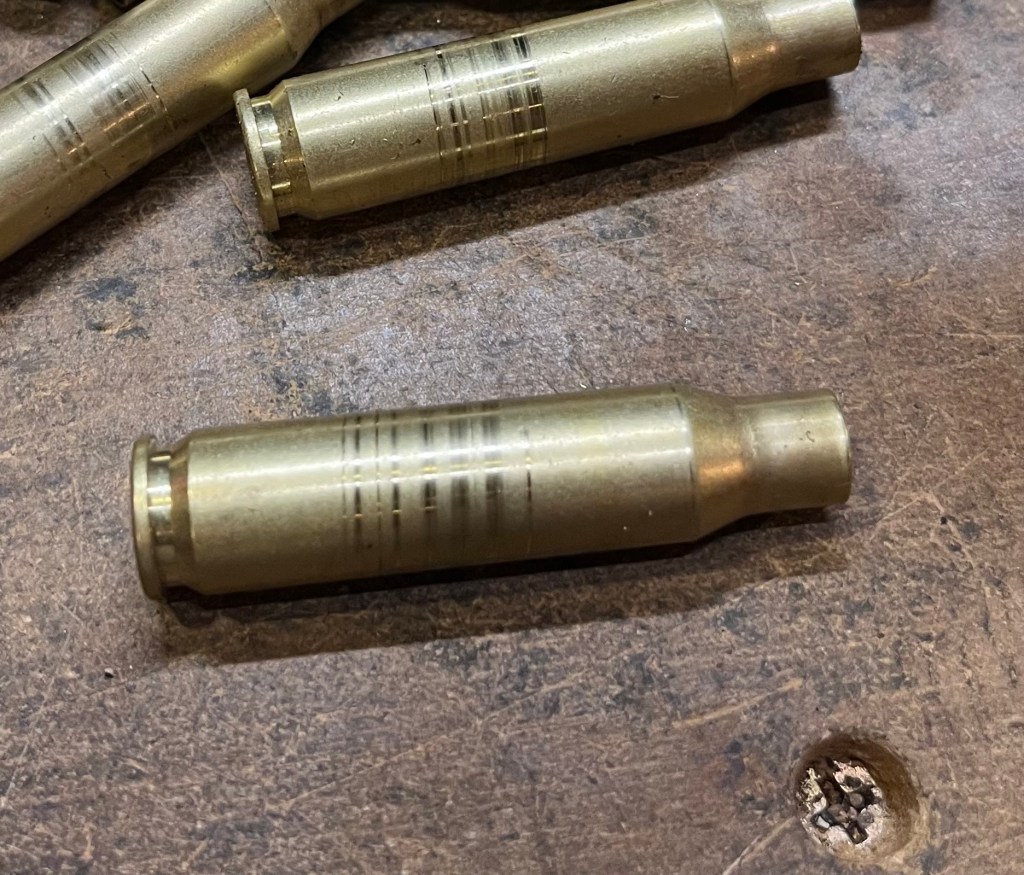
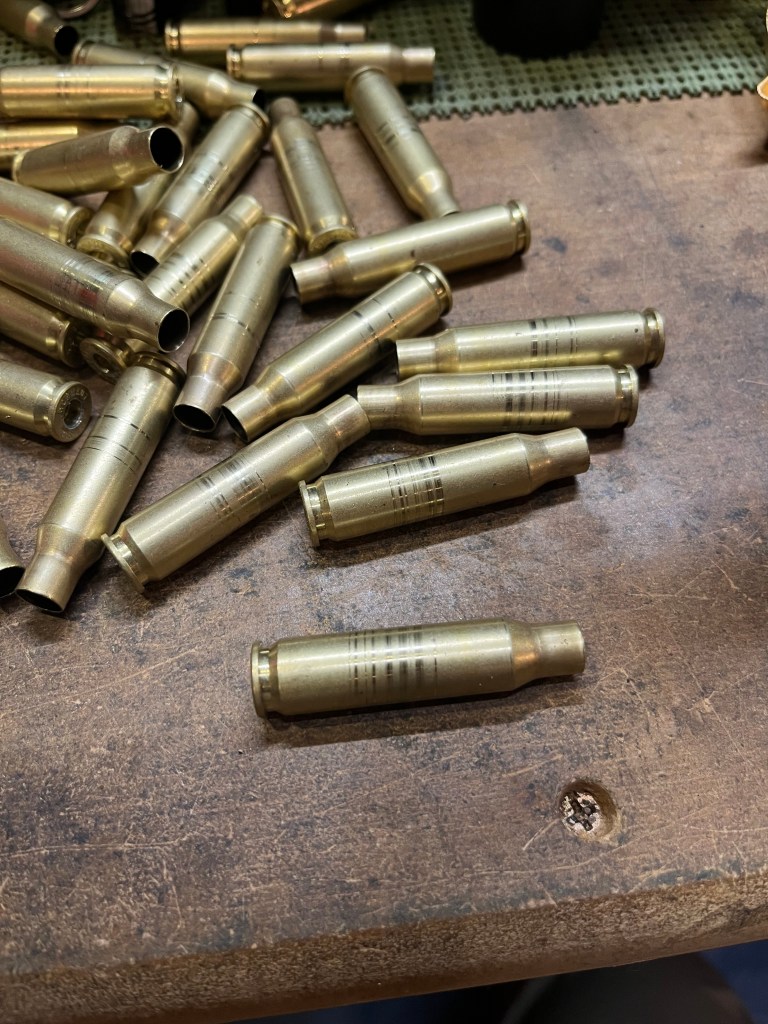
In other news, an observant and knowledgeable reader had concerns about the tracks on the Hornady brass.

Yeah, it looks bad. I was saying, oh, dear, myself. But there is no actual marring of the brass; it’s more just highly polished. I used thick and slick camo duct tape on the jaws of my pliers. When the brass slipped, it left teeth marks but never broke through. I’ve tried to hold brass with my finger pressure only while reaming, but it was just too much torque. I’ll follow the brass through the next rounds of shooting.
And I don’t think too much brass is being removed. Swaging just did not work for me.

Only bad thing was that I noticed my eye relief seemed off.

Lot of recoil with this platform; I’ll retorque tomorrow.

Brass Work

The down side of all that free once-fired brass is that it still has to be worked – trimmed, deburred, chamfered. The primer pocket needs cleaning. And, in certain cases, needs more.
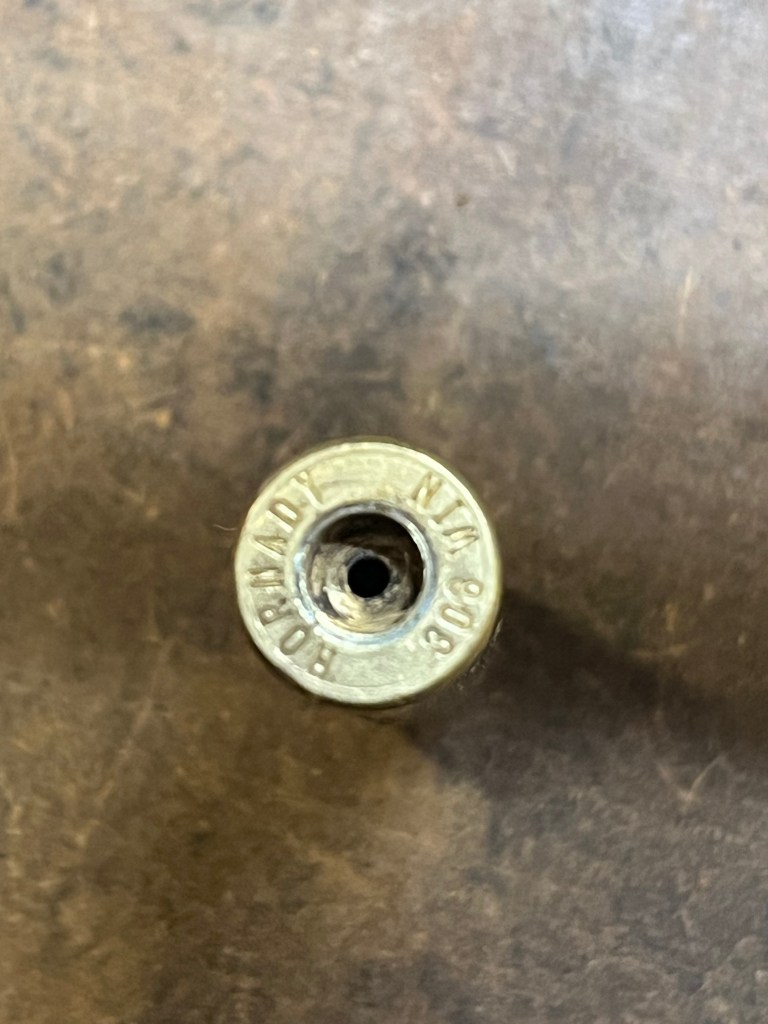
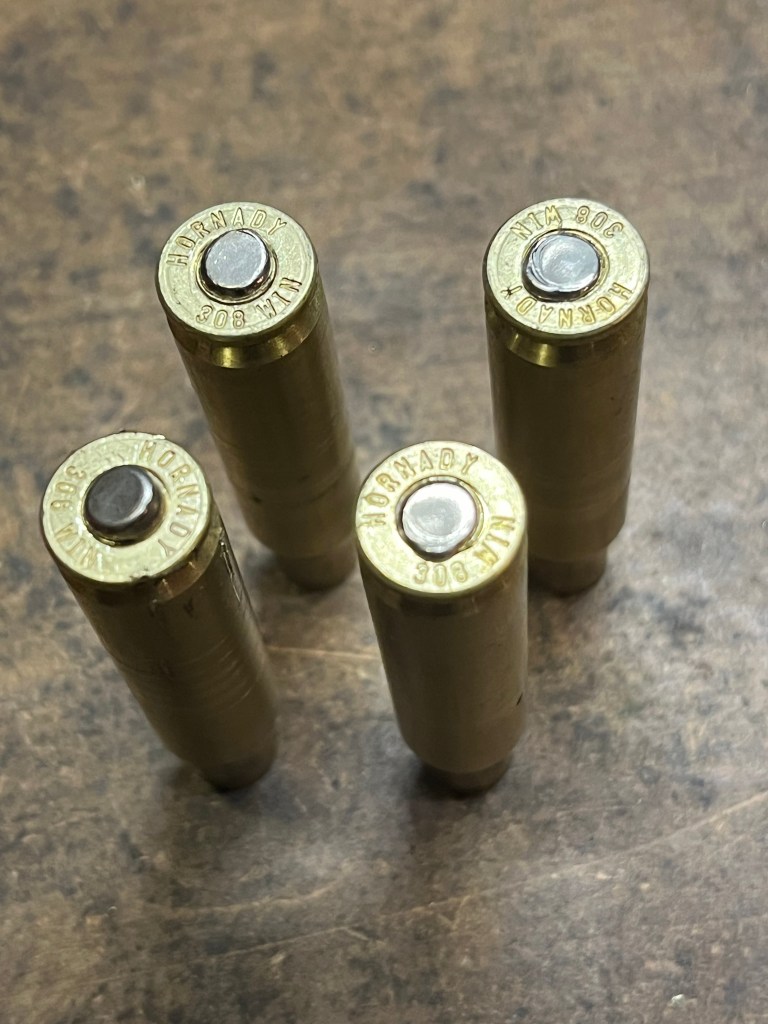
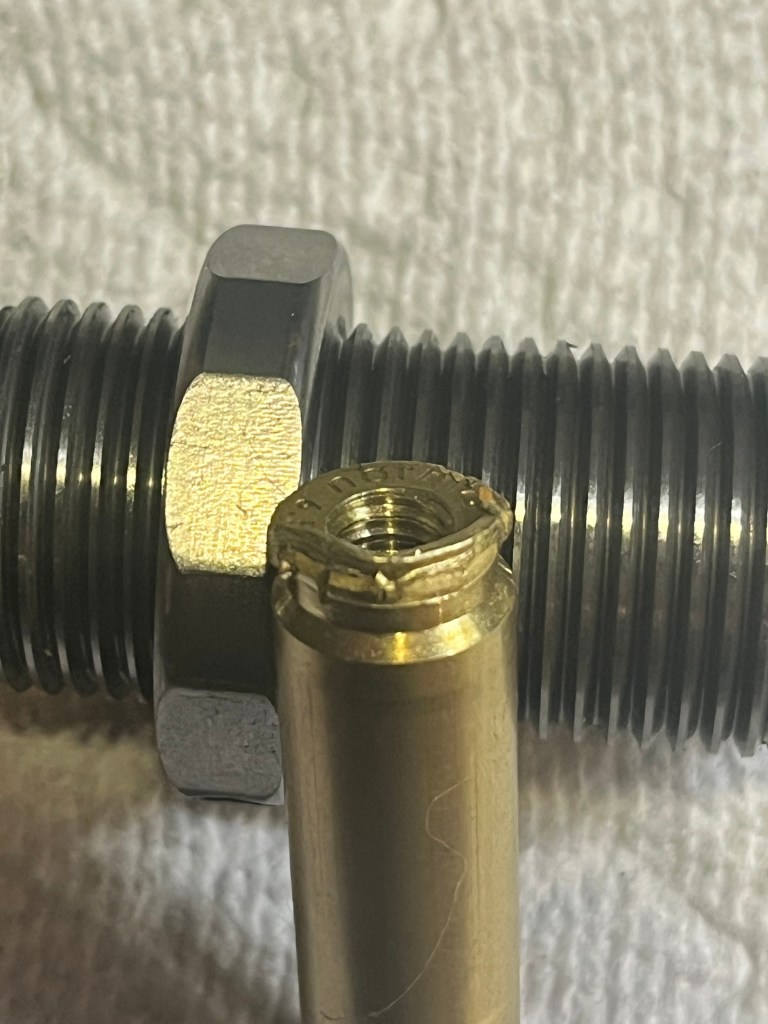
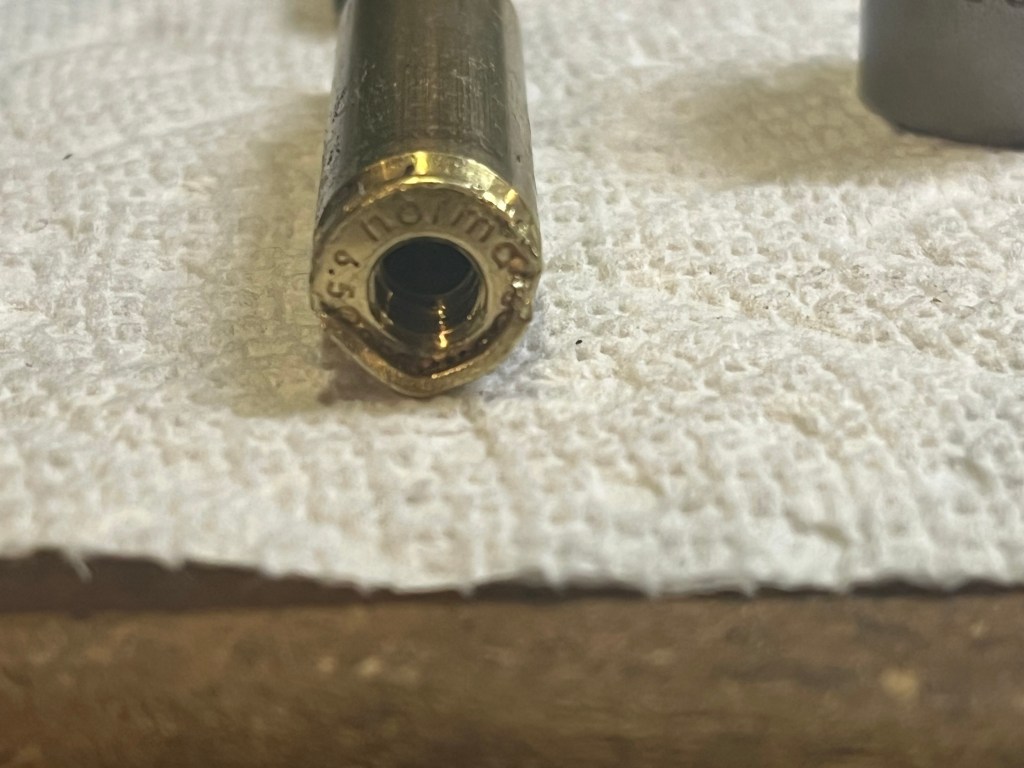
In this group, I got Federal, PPU, Sig and Hornady brass. I like Hornady brass, but when produced for the military, they crimp the primer into the pocket, like this:

You can see the ring around the primer pocket. This is mostly to keep a primer in place during automatic fire. But if you try to seat a new primer, the pocket is much too small. So, you swage (swedge) the pocket or ream it out.

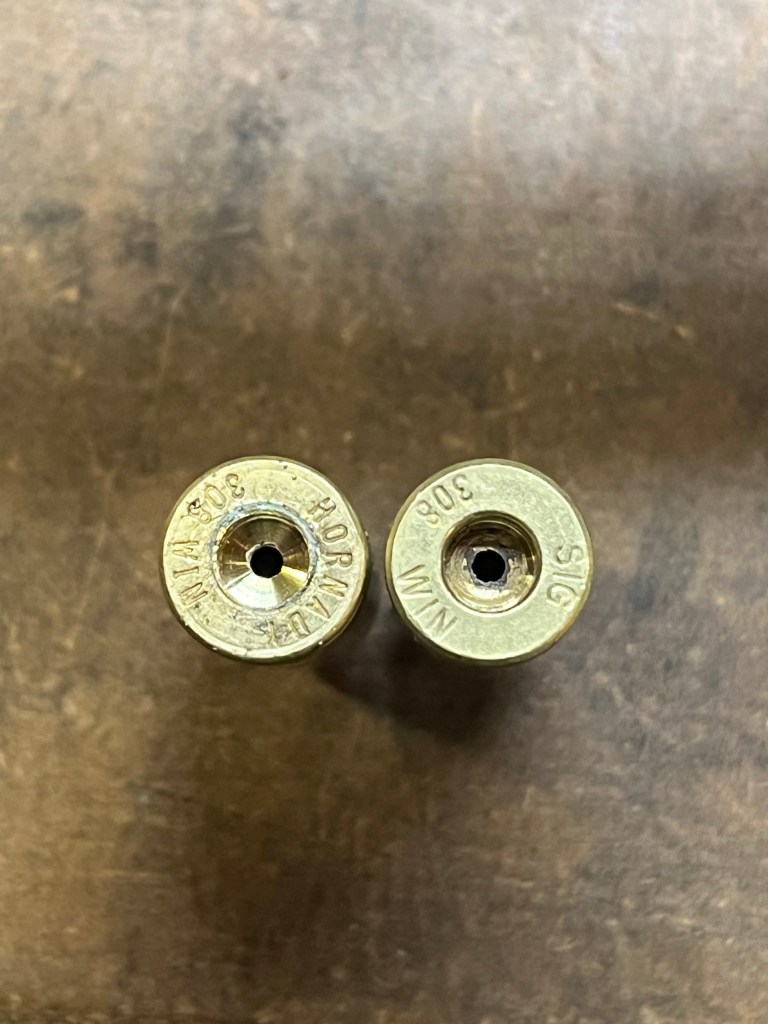
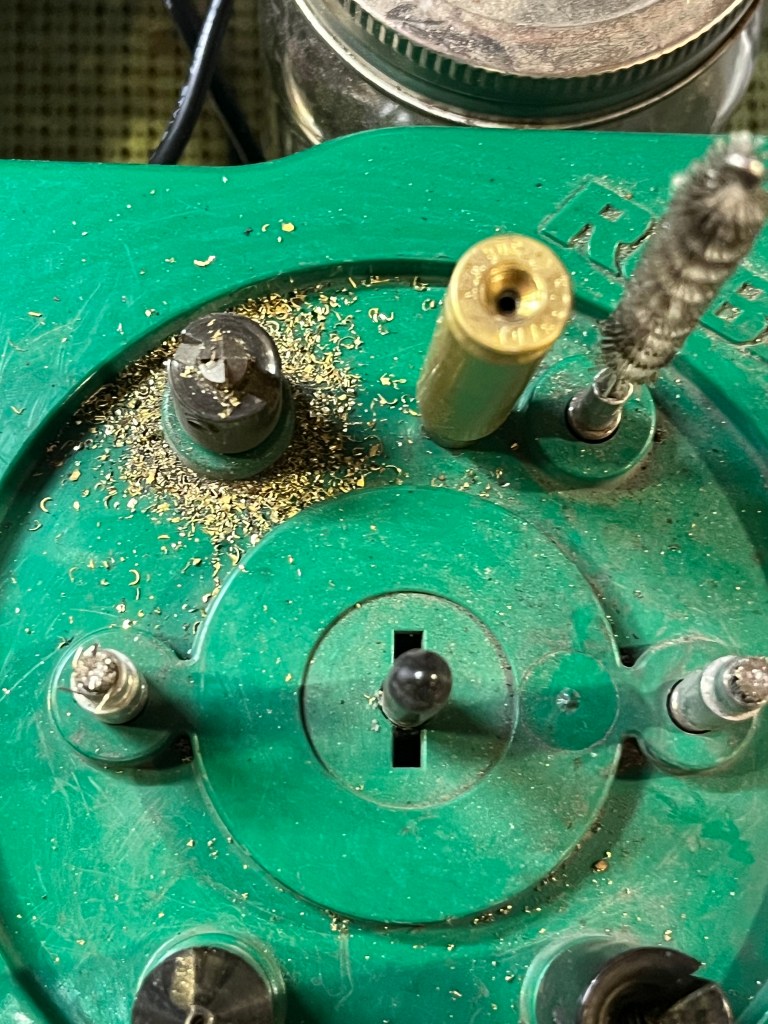
I did not have much luck in my earlier tries with swaging, so I ream:

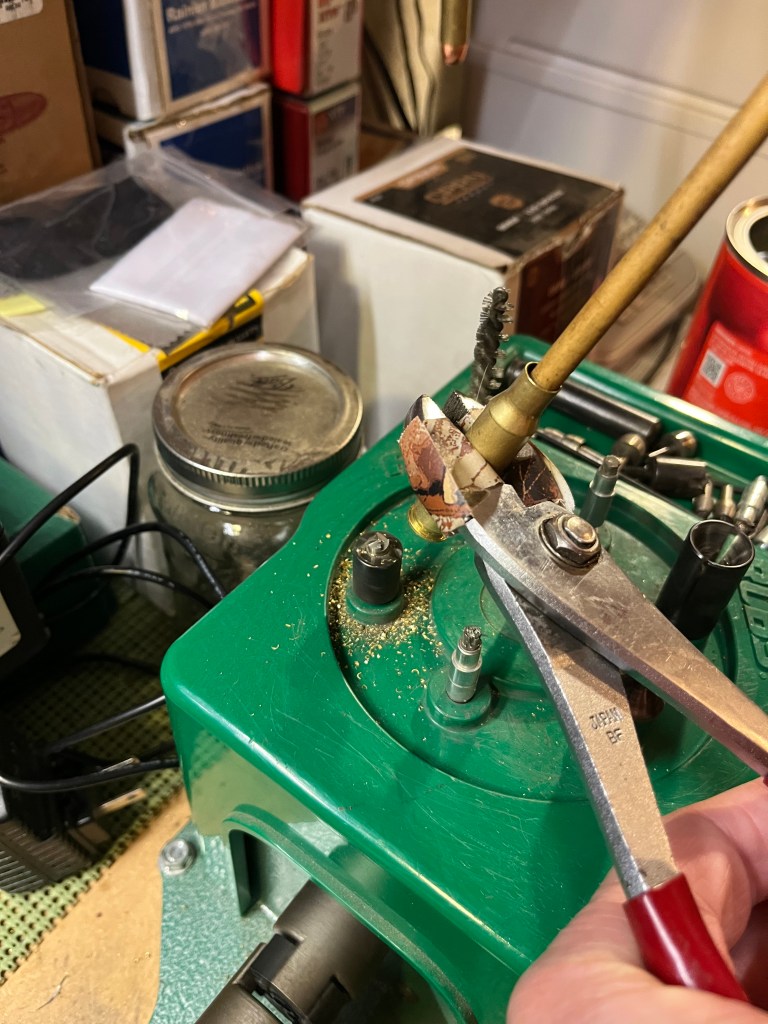
It takes a lot of pressure to ream out copper, so I jury-rig:

There’s a fair amount of torque involved:

And it’s still very tight, leading to some seating failures:

But, it was free brass! Tomorrow, I’ll load some up and see what happens.

Rockin’ It!

I did a good deed today. Of course, because I am a conniving bastidge, it benefited me as well.
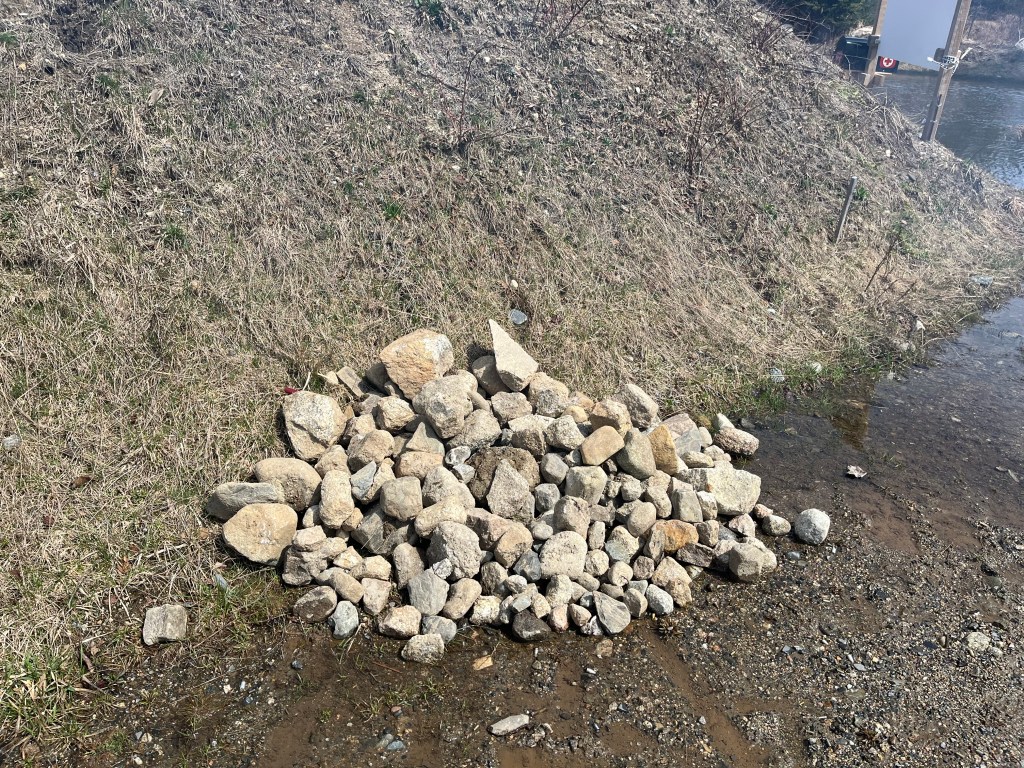
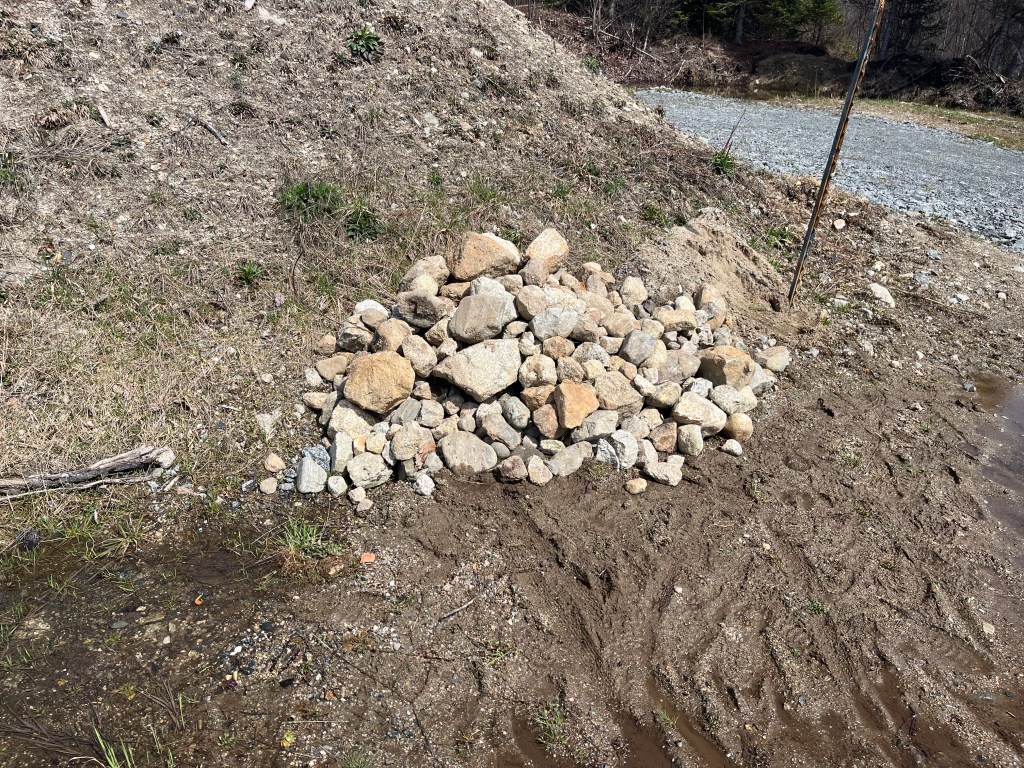
Last summer, riding the mower around the range, I was constantly dinging the blades on rocks, especially in the Action Bays. My constant refrain was, “Somebody ought to do something about that!”

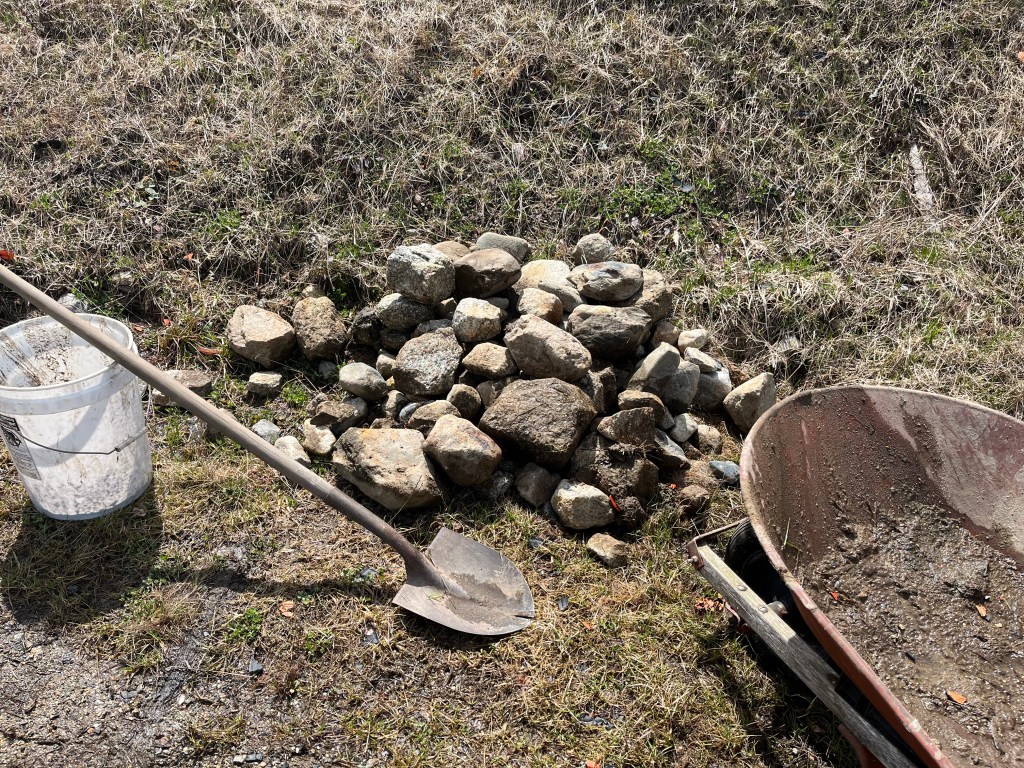
So today, a Work Party day at the range, I did. Four hours of work in the Granite State yielded these ricochet and mower blade hazards:

So today was not a Delta Sierra day, it was a Sierra Hotel day!

Delta Sierra

No, I’m not having trouble maneuvering and my engines are not in reverse. This is a new addition to this site, where I encounter a “learning situation” and use it to keep you from doing the same. This is the Delta Sierra signal. Also known as the “DumbShit” signal.

I must throw the DS twice for yesterday. First, I had tumbled a bunch of brass, then immediately set about sizing it. After a few, my brain kicked in and said, “Wait. Don’t we anneal and rinse the brass first?” Of course we do, but I kept going, thinking that it couldn’t possibly be a problem if we skipped annealing just once. A few cases later, one needed more downward force on the die arm, then the next needed so much force on the upswing that the brass bent its rim and pulled itself out of the seater and jammed in the die. My very expensive full length 6.5 Creed sizer die.
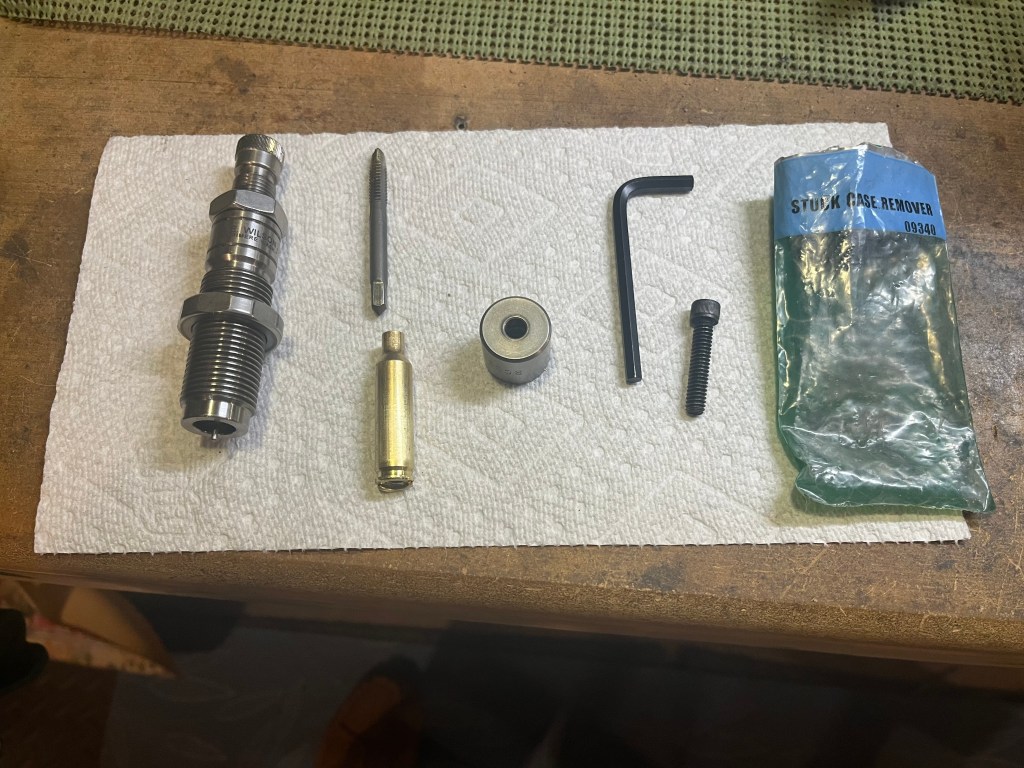
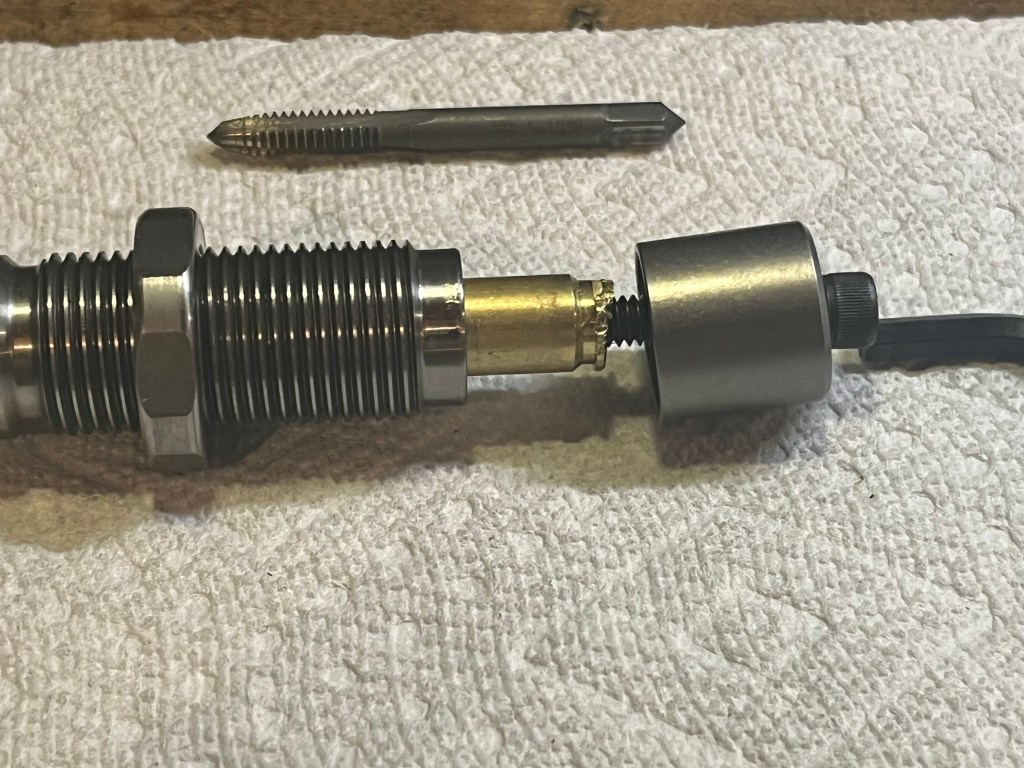
I’m not sure, but I think the leftover media dust from the tumbler gummed it up, even with case lube. But maybe the decapper pin had worked its way loose. At least it was when I took the die apart. Regardless, I’ve only gotten brass stuck in a die once before, but I do have the kit to remove it. It ain’t easy. These pix are after the fact:

Mangled rim. Drill and tap the primer hole. Thread machine screw through removal cup and into case. Place die in vice, screw all the way down to case, exert great force on the tiny Allen head wrench and force brass out of case.
It works but is not easy.
So, that was the first Delta Sierra moment of the day. More tomorrow.

Break’s over

Yeah, yeah. I took a break. Or more like the creative juices called in sick. So here we are.

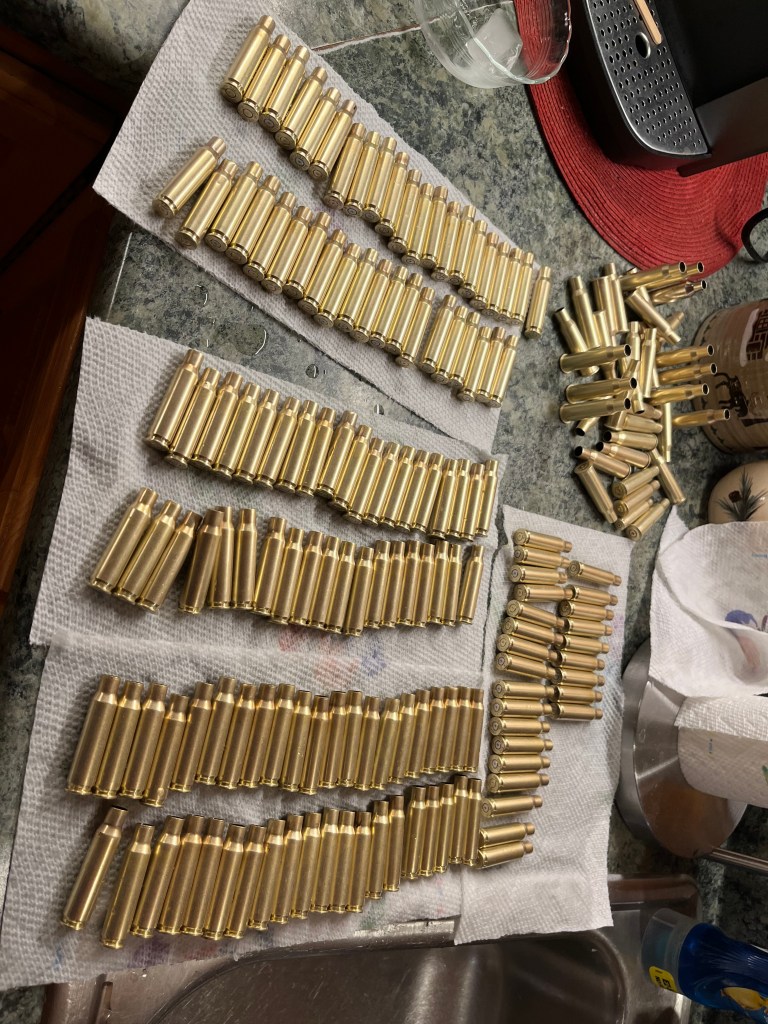
Went to the Long Range last weekend. A bunch of guys were just finishing up and offered me their once-fired .308 brass – of course I said yes. About 150 cartridges, plus a couple dozen Commie 7.62x 54 R. I don’t use that stuff.
I shot about 50 rounds of 120 g. 6.5 Creedmoor, walking it out from 300 to 1100. It did well, but was consistently shooting a couple MOA higher than my ballistics program. I was using Alliant 4350 powder instead of my usual Hodgdon; perhaps burn rate was the issue? I did adjust for MV from the chrono and it still went high. I’ll just make note of that.

So I brought out some 147s and started right at 1107. On the large rectangle target in three rounds, so I shot at some of the smaller targets. An invisible left to right breeze required 4 MOA of correction; I ended the day with a satisfying hit on the Fox target. A good day.

Today I did brass.

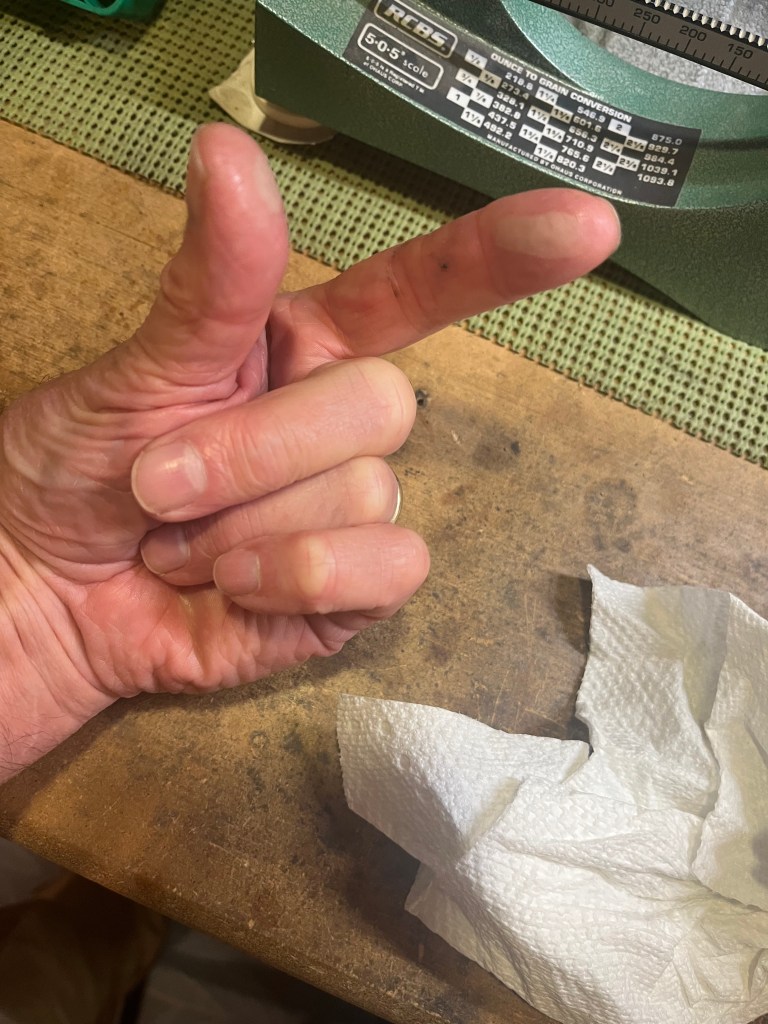
All annealed and rinsed, ready to size when dry. I also annealed the beejeesus out of my left thumb and forefinger. Text dinged and I knew it was a relative responding to my birthday wishes. Distracted, I reached for the propane knob and instead grabbed the neck of the .308 brass I had just annealed. Lesson: don’t get distracted. D’oh.