“they [modern young women] have forged externally validated identities on patterns of facts and assumptions about how the world was and is that cannot find consonance with reality, and as more and more folks defect from this world view, it gets harder and harder to find ways to tell yourself that you are not seeing what you’re seeing.”
He was writing about the dramatic leftward political shift among modern young women. I have seen this with relatives – any attempt to engage is met with an outright refusal to even consider facts that might threaten their Weltanschauung. And I understand the reaction – can you imagine the internal terror to even glimpse a threat to a lifelong construction of who they think they are? A “who” that is continually validated by other women who seek their own validation thereby? The social nature and need for group acceptance is powerful.
This hard leftward shift in the female American polity does not bode well for the future of Western civilization. There is only one direction it takes: the frigid night of collectivism, whether socialist or communist.
I don’t know that it is inevitable. The pendulum may have changed direction. But I’m not sure that it can be changed by anything other than a huge dose of Reality striking.
Yep, I understand. But did you see there’s now a German “Maria”? I wonder if you’re also related…
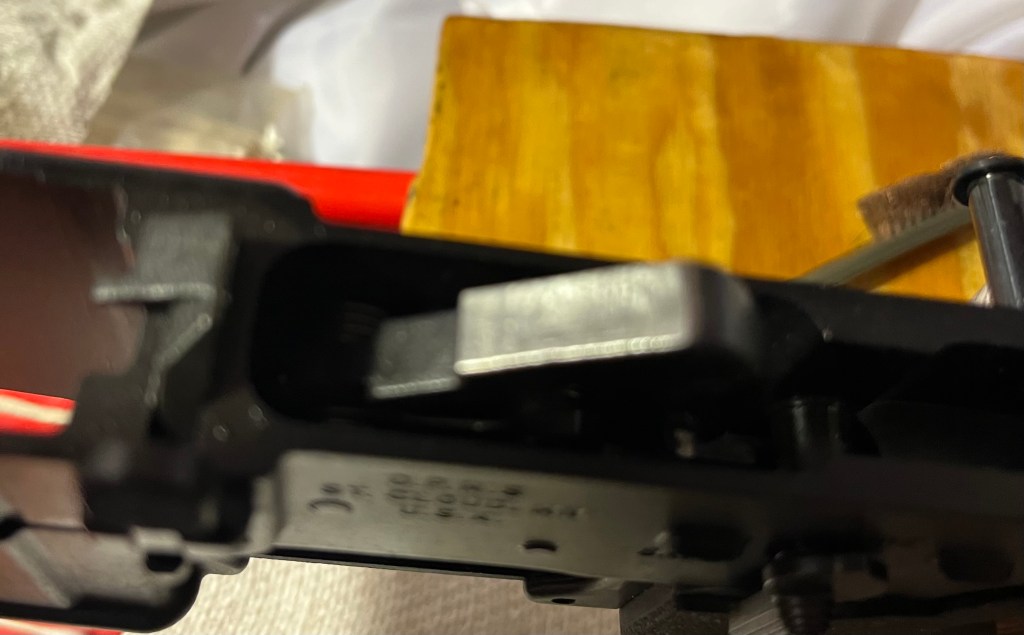
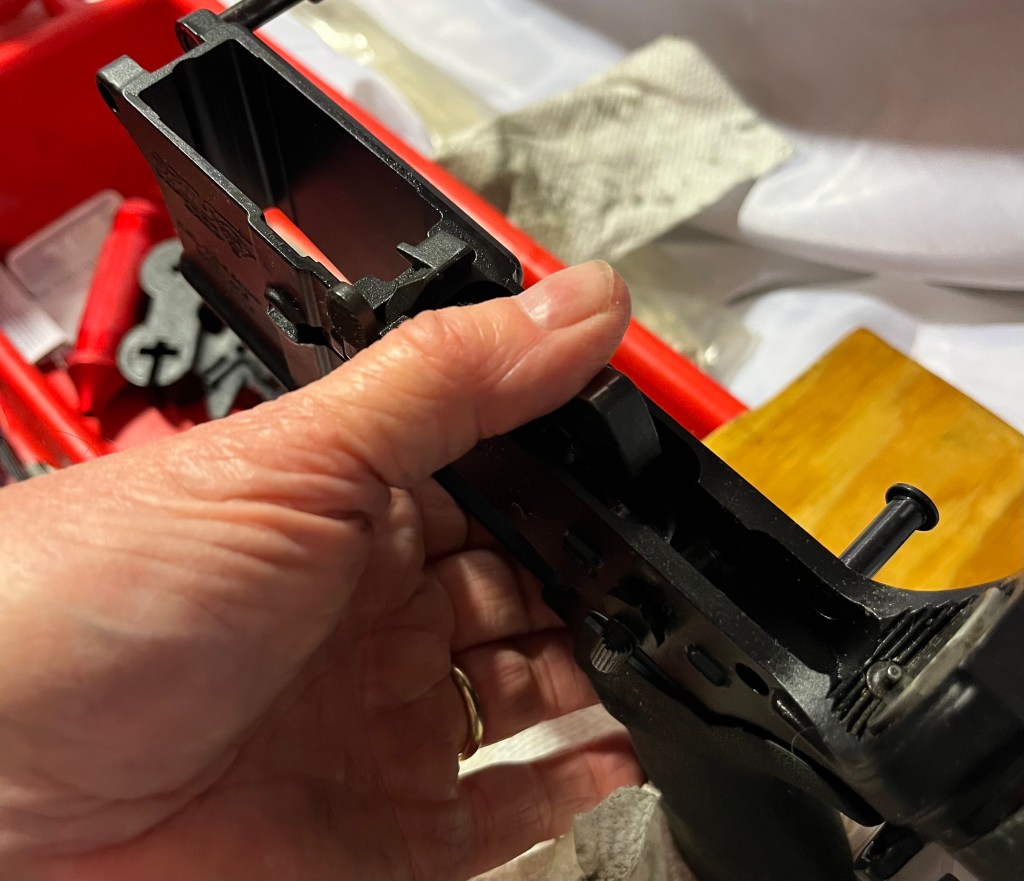
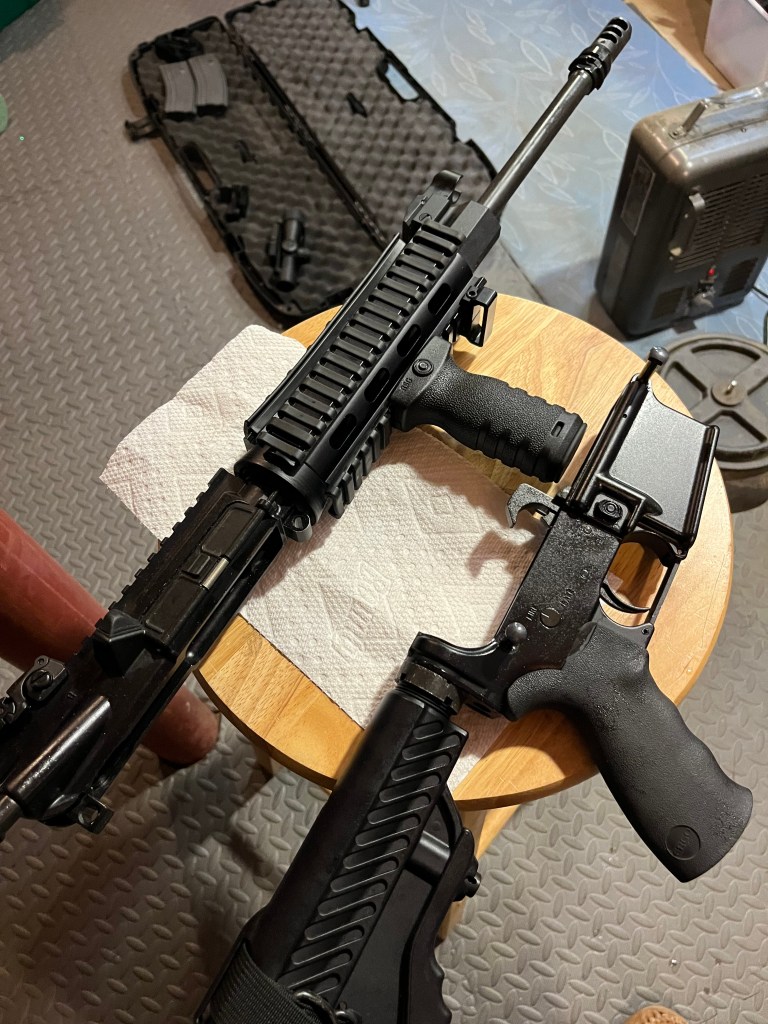
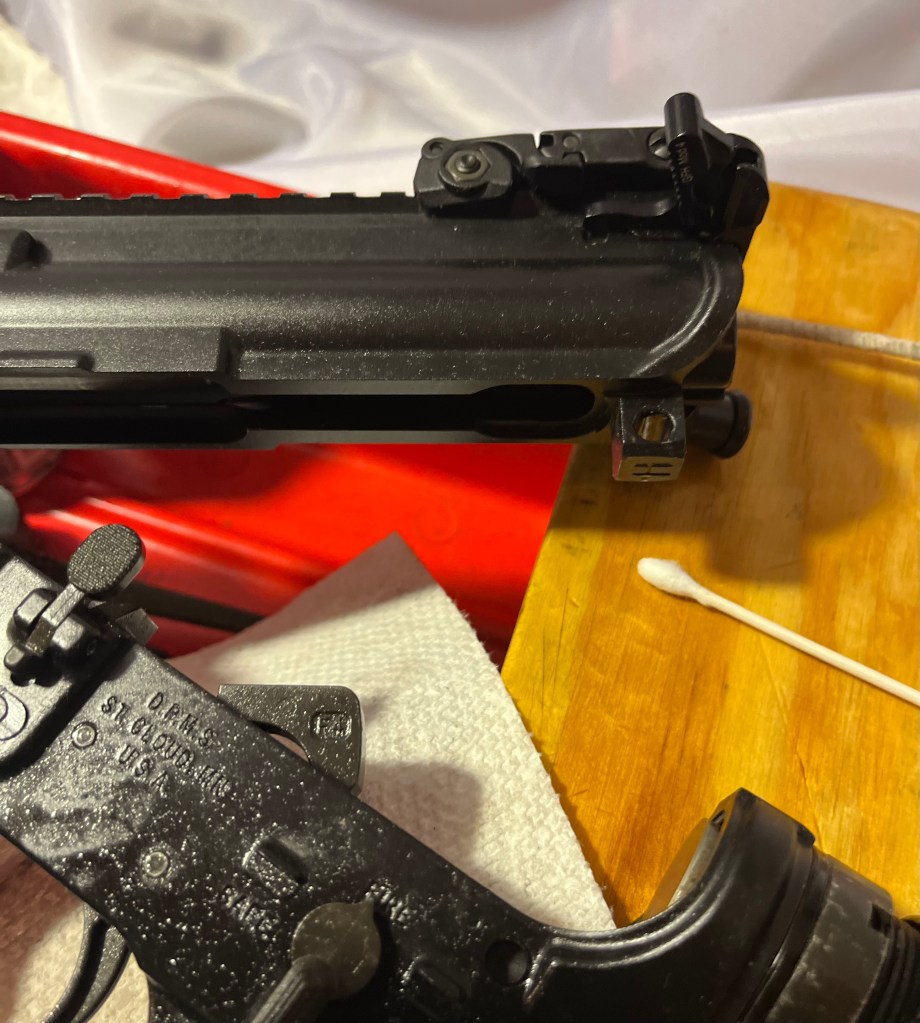
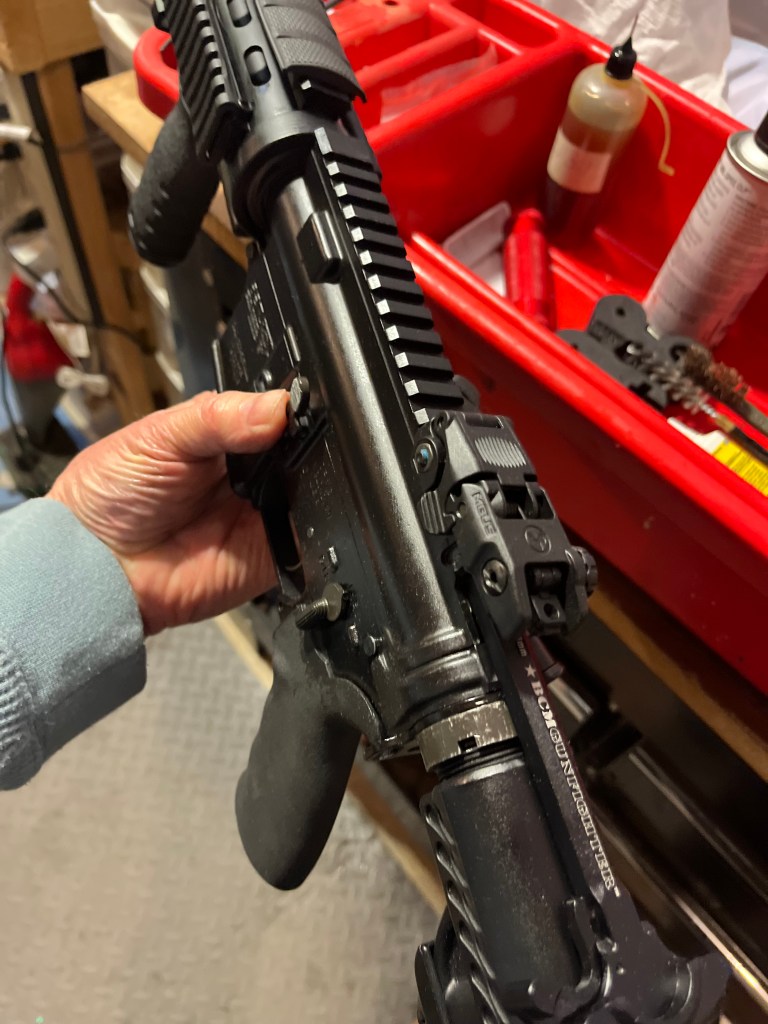
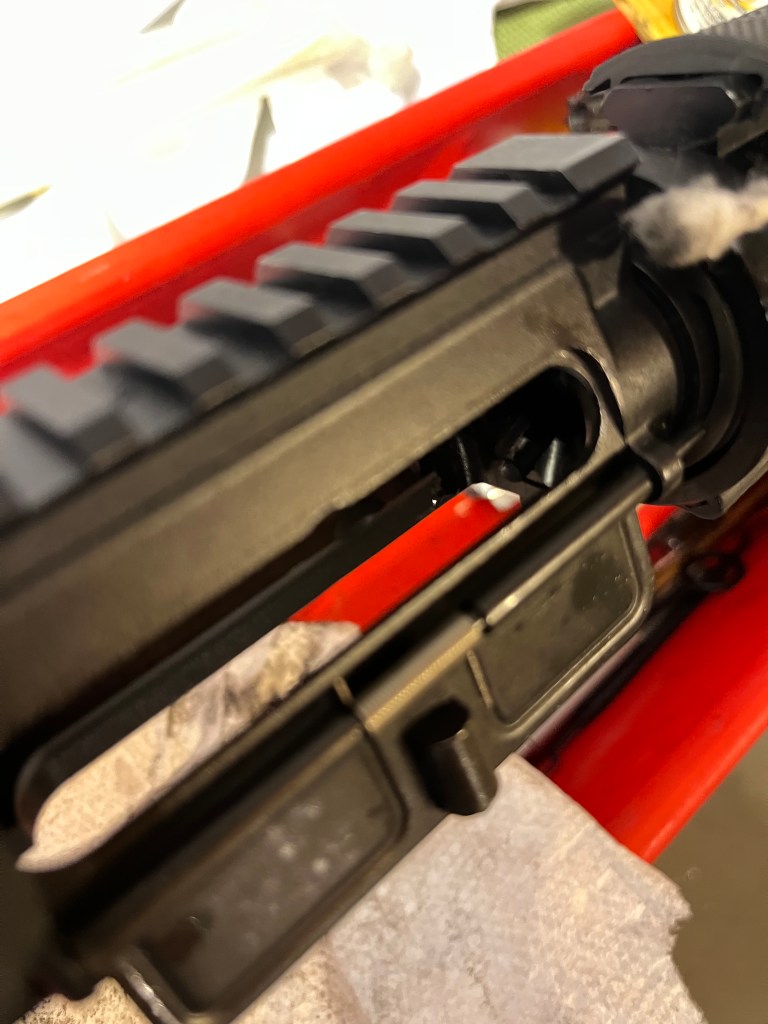
Back to cleaning. Before we get to the BCG, let’s do a little work on the lower. It doesn’t get as dirty as the upper, but still needs attention. Wipe everything down, including the inside of the mag well.
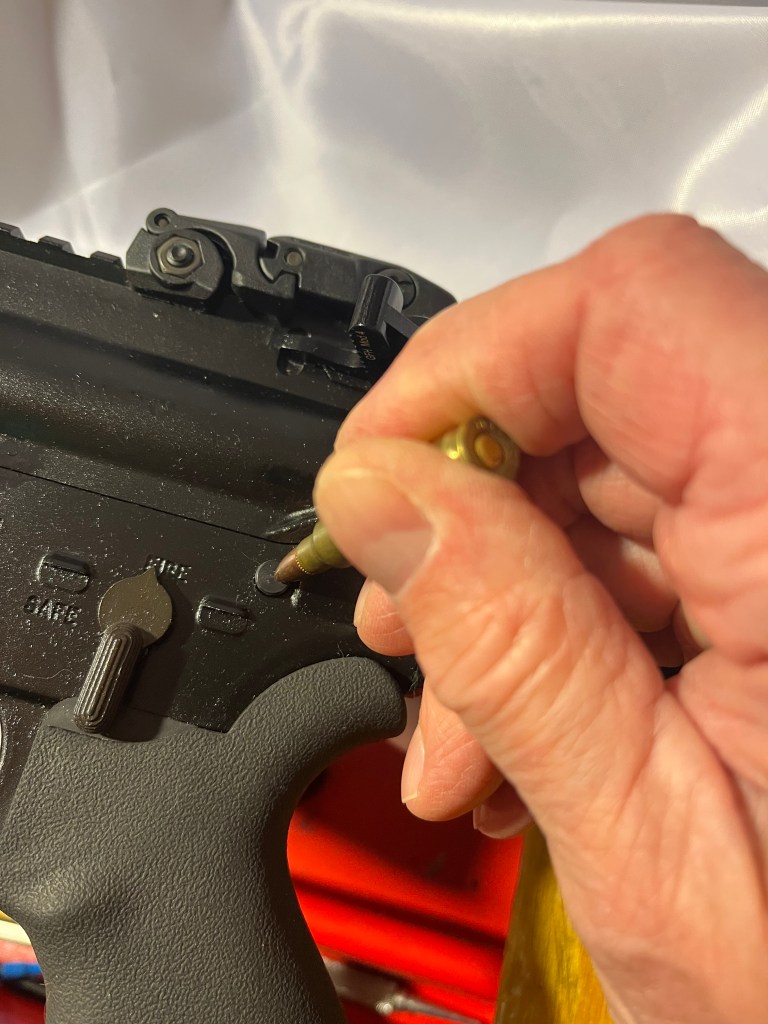
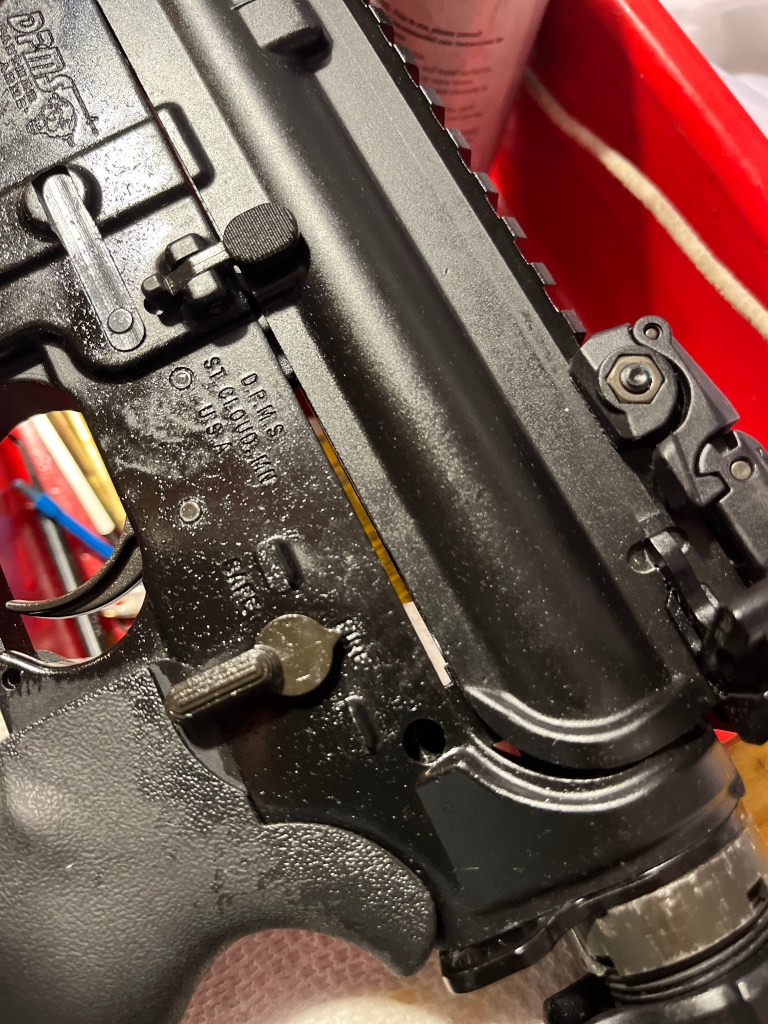
Put a drop of oil (Mobil 1 works fine) on springs and rotating devices like the safety and the mag release, and operate them a few times for smoothness, then wipe away any excess. The hammer face may be dirty and needs a wipe.
Operate the hammer and trigger, BUT make sure to ease the hammer down with your thumb. You don’t want it flying forward.
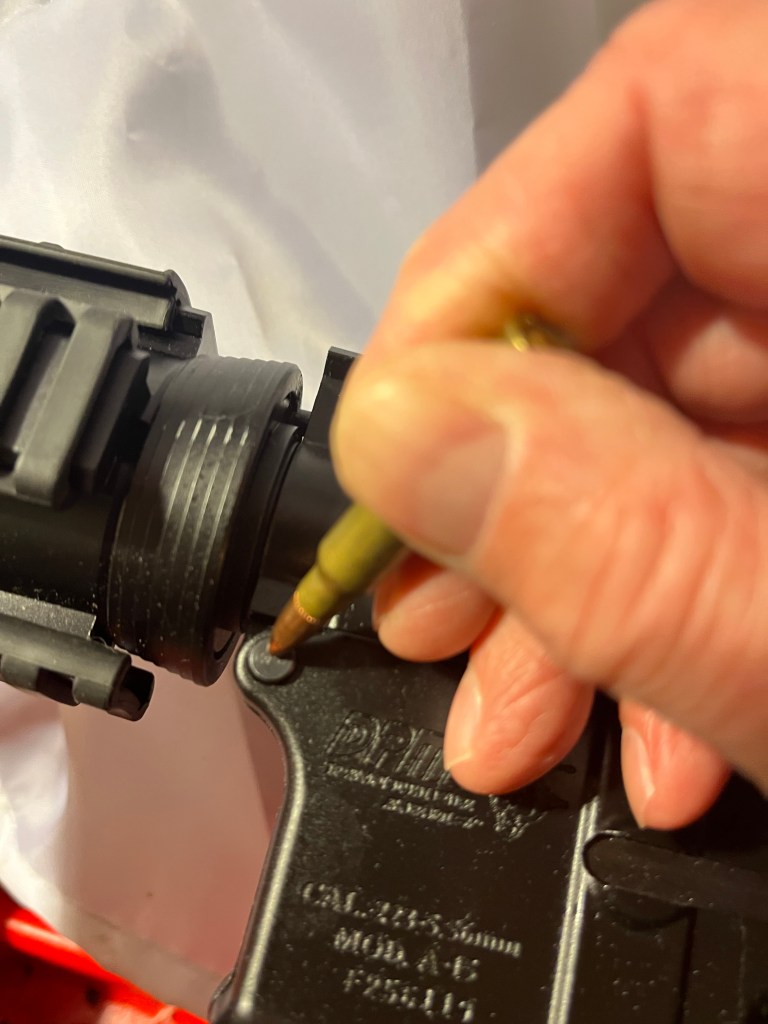
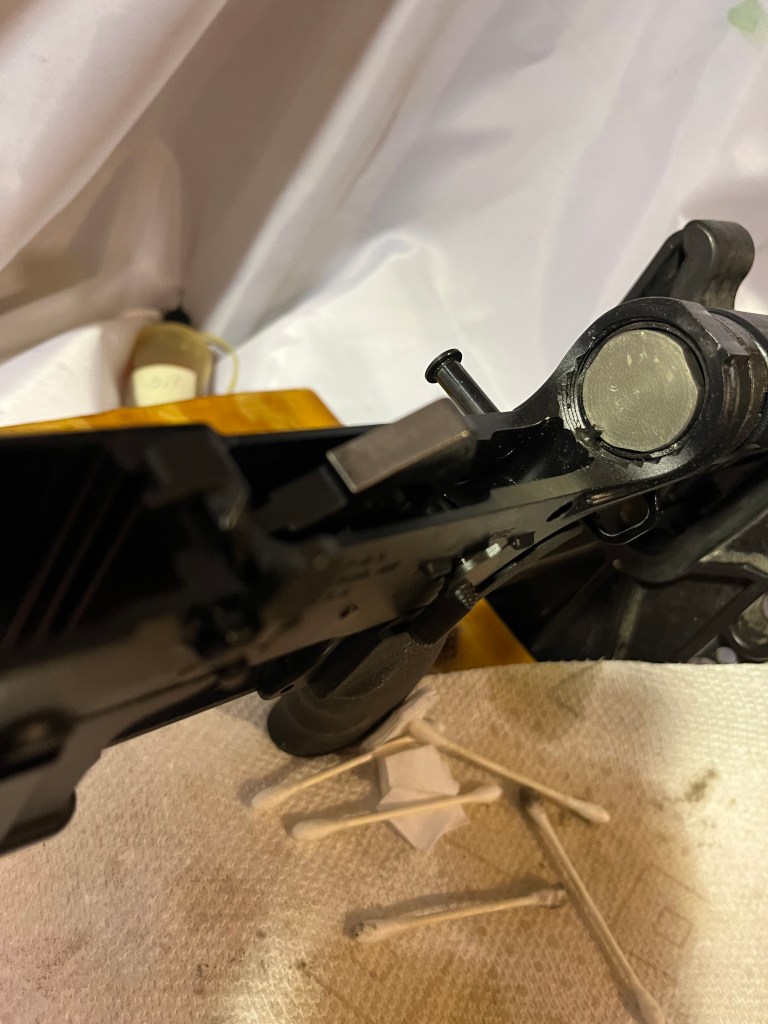
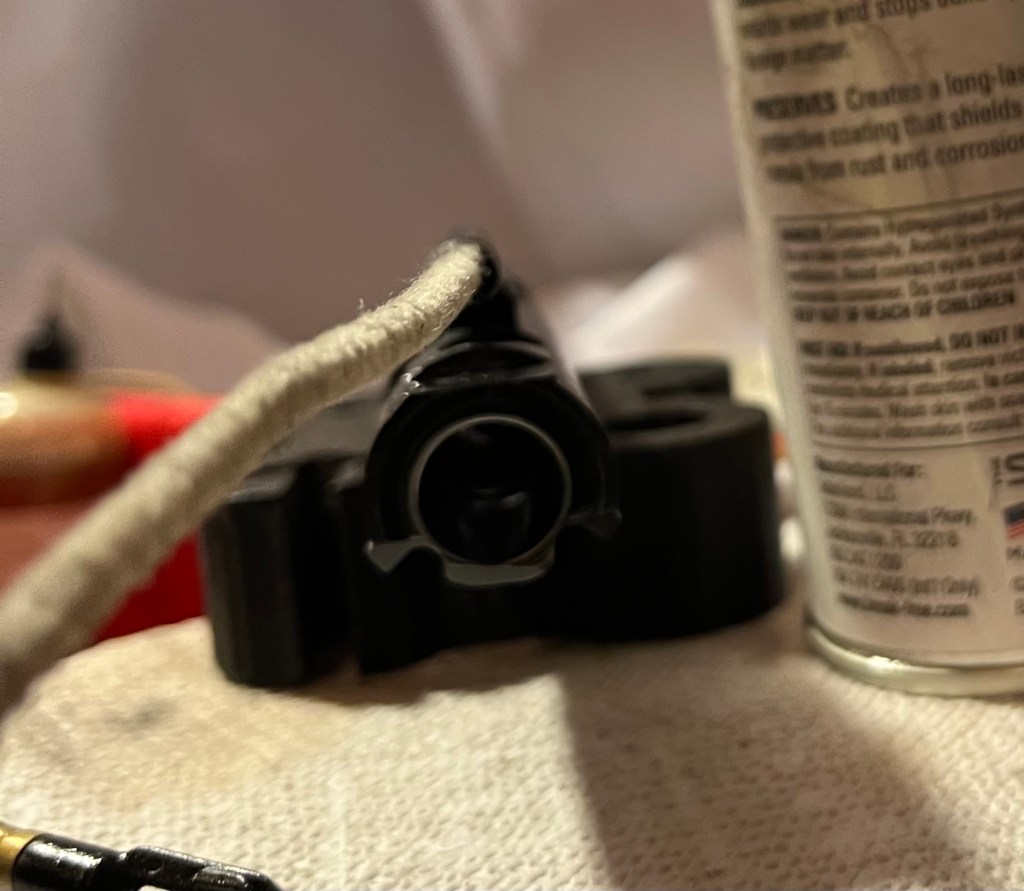
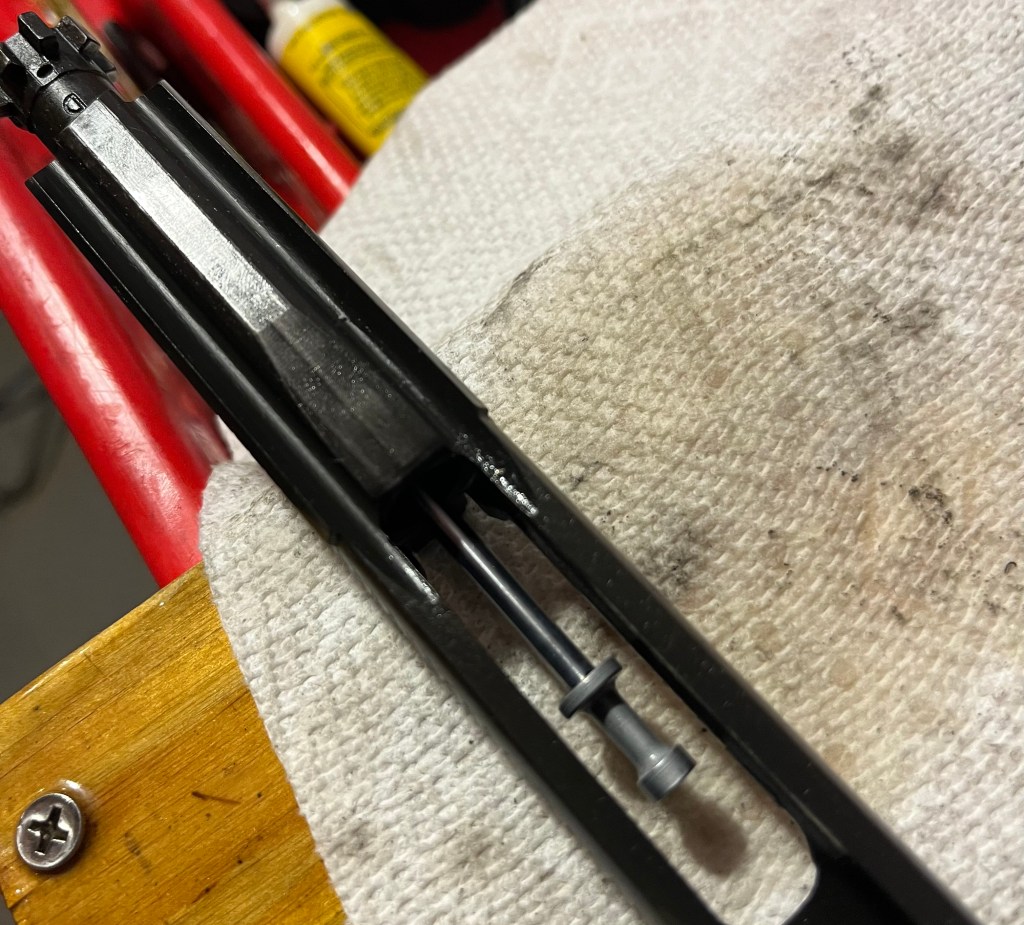
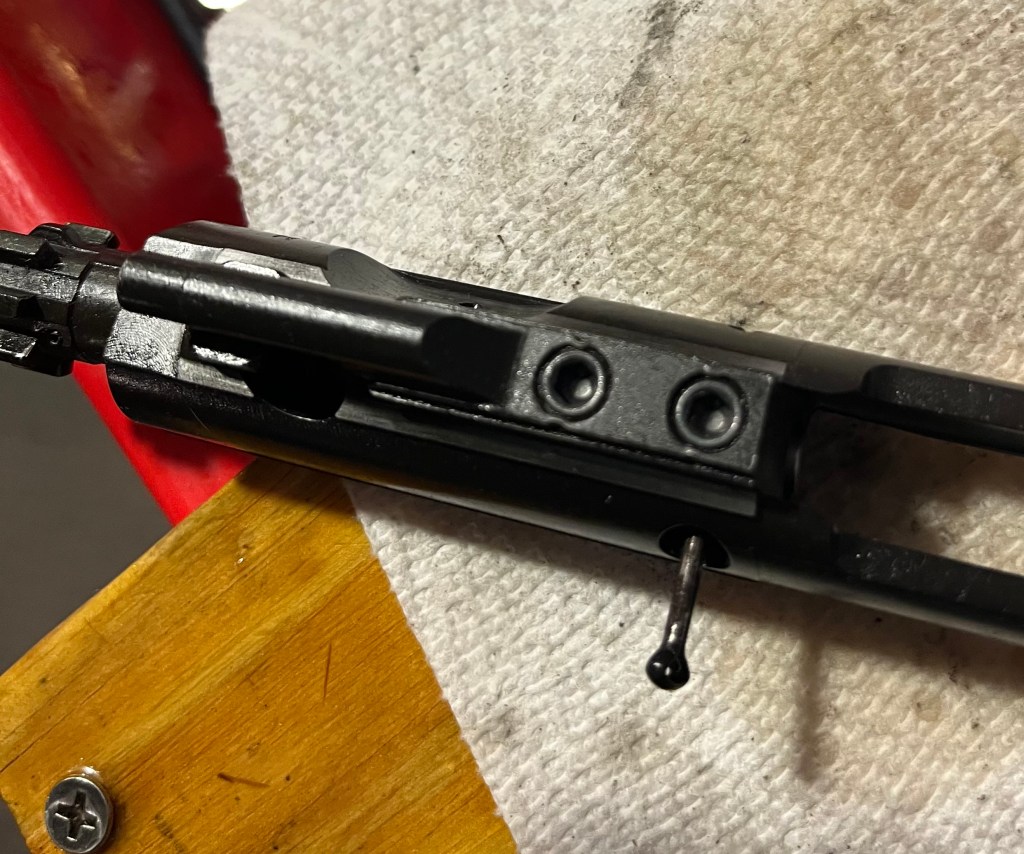
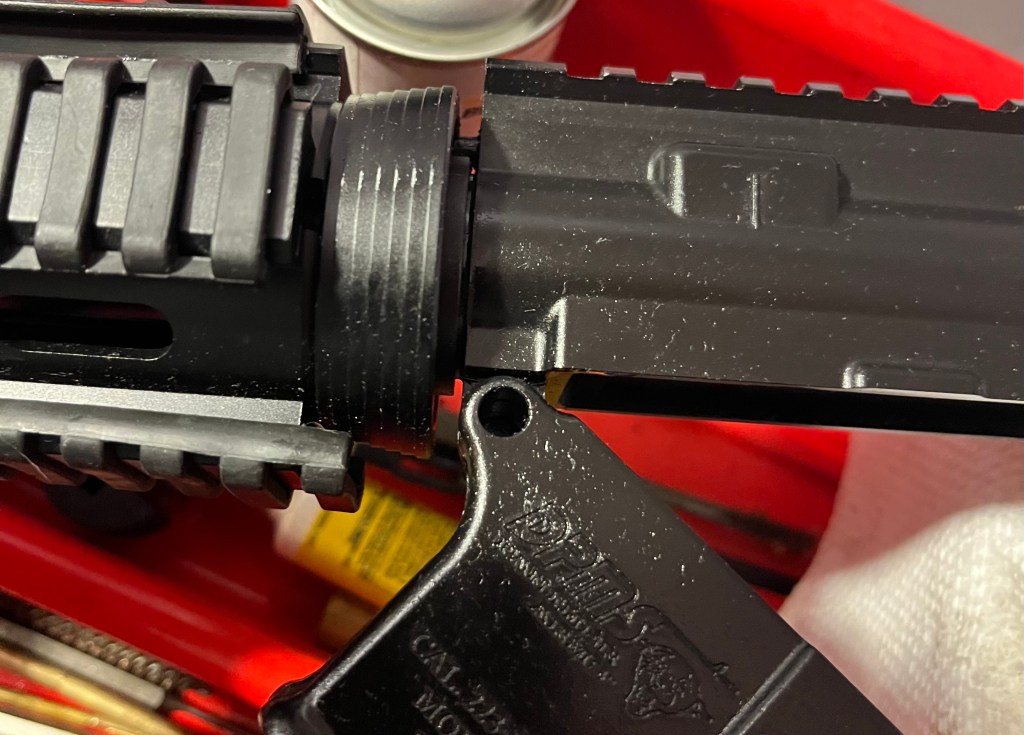
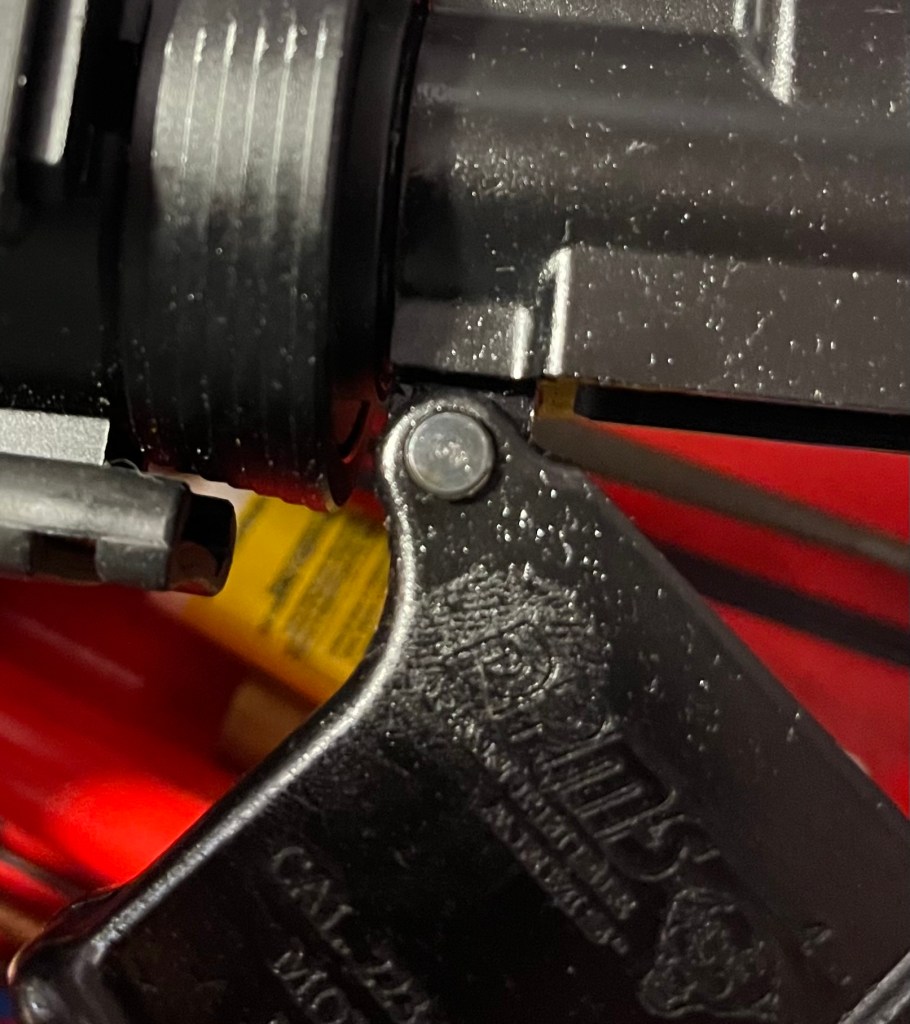
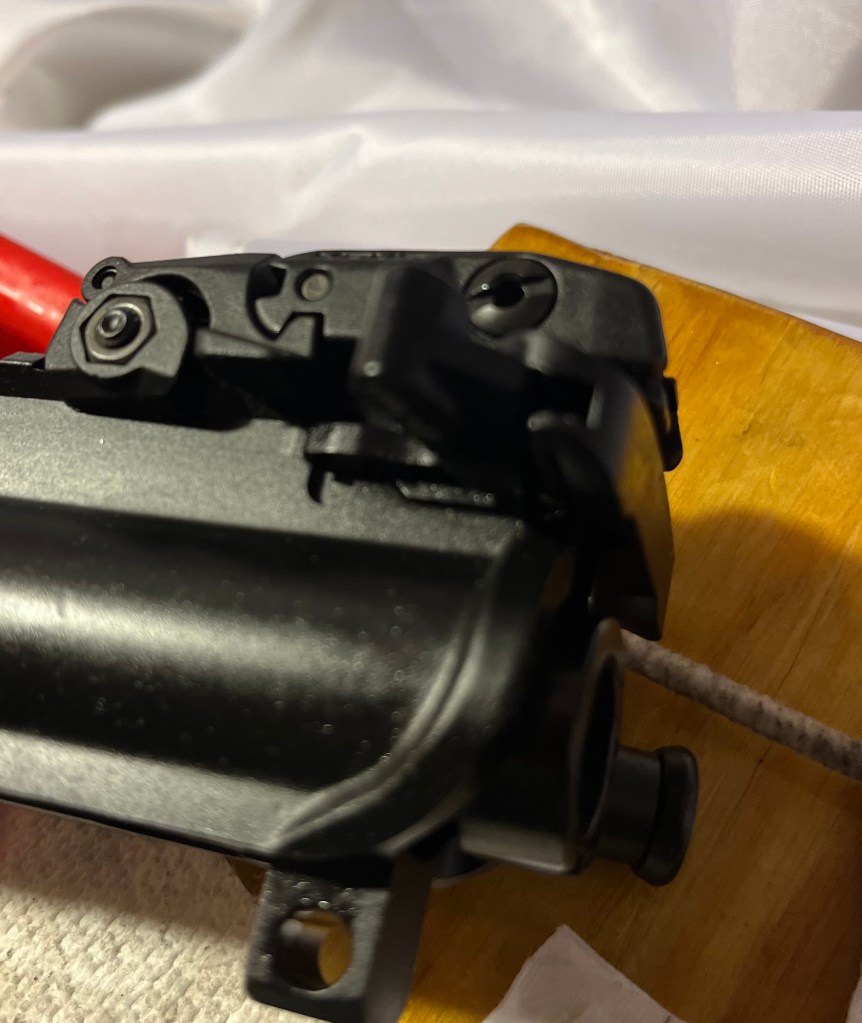
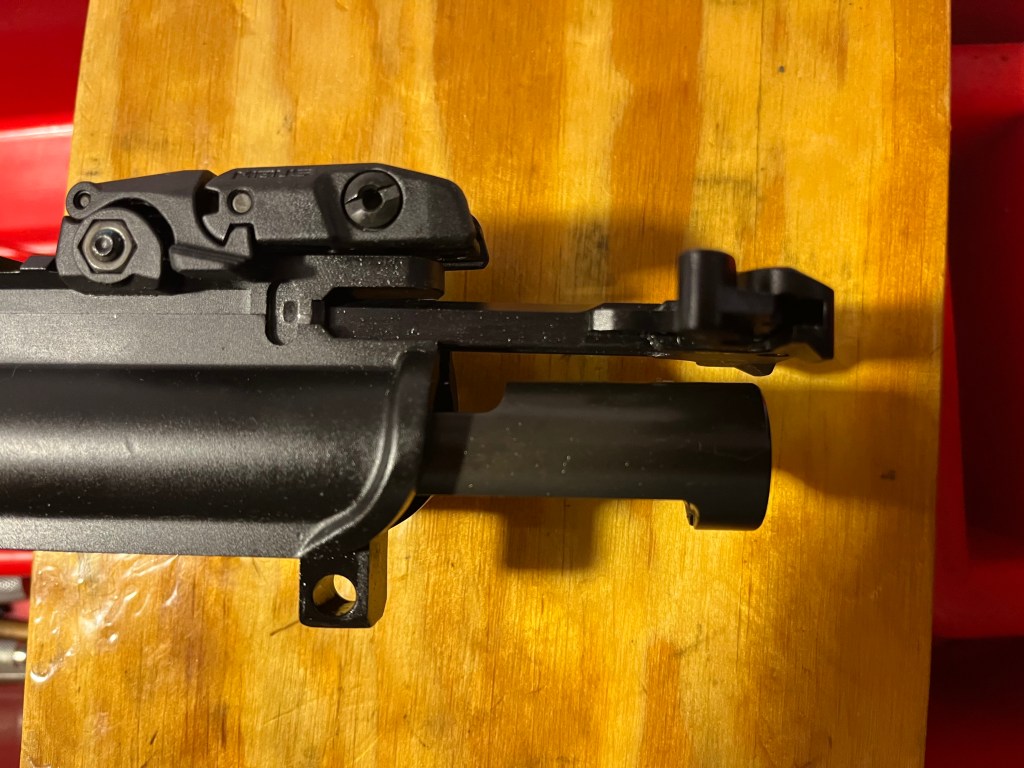
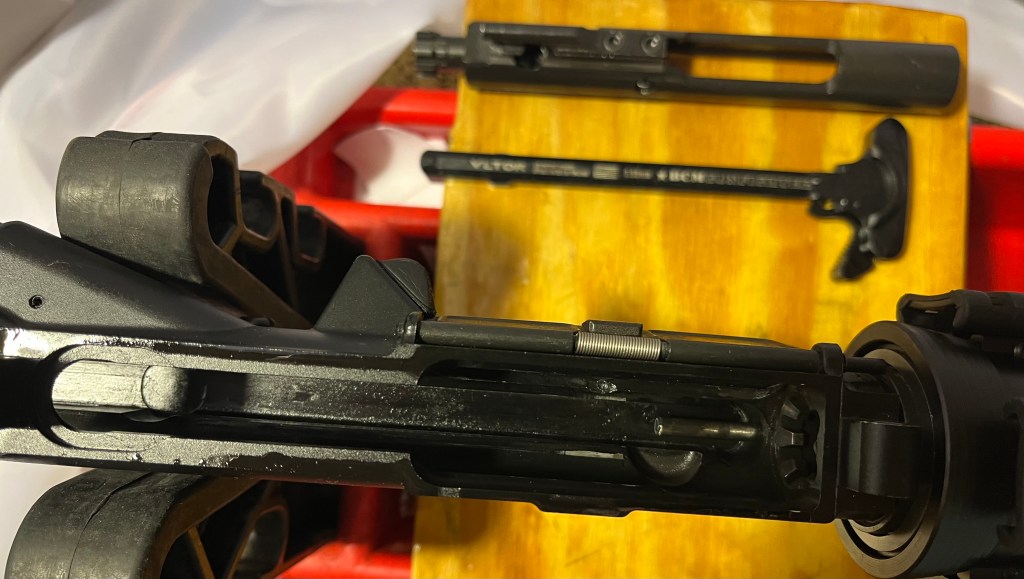
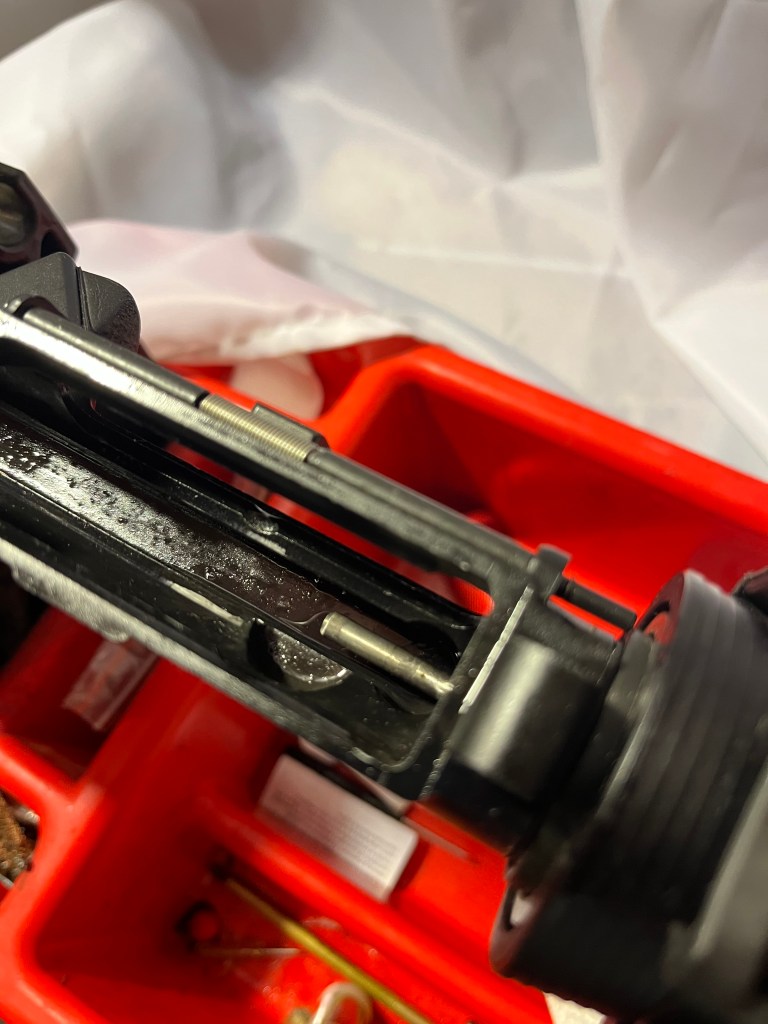
That’s the buffer tube. It has a long recoil spring behind it. To remove them you would press down on the little pin in front, and rotate the tube to a flat edge, then pull them out. It doesn’t need a lot of attention, but should occasionally be checked for cleanliness and wiped down lightly with lube.
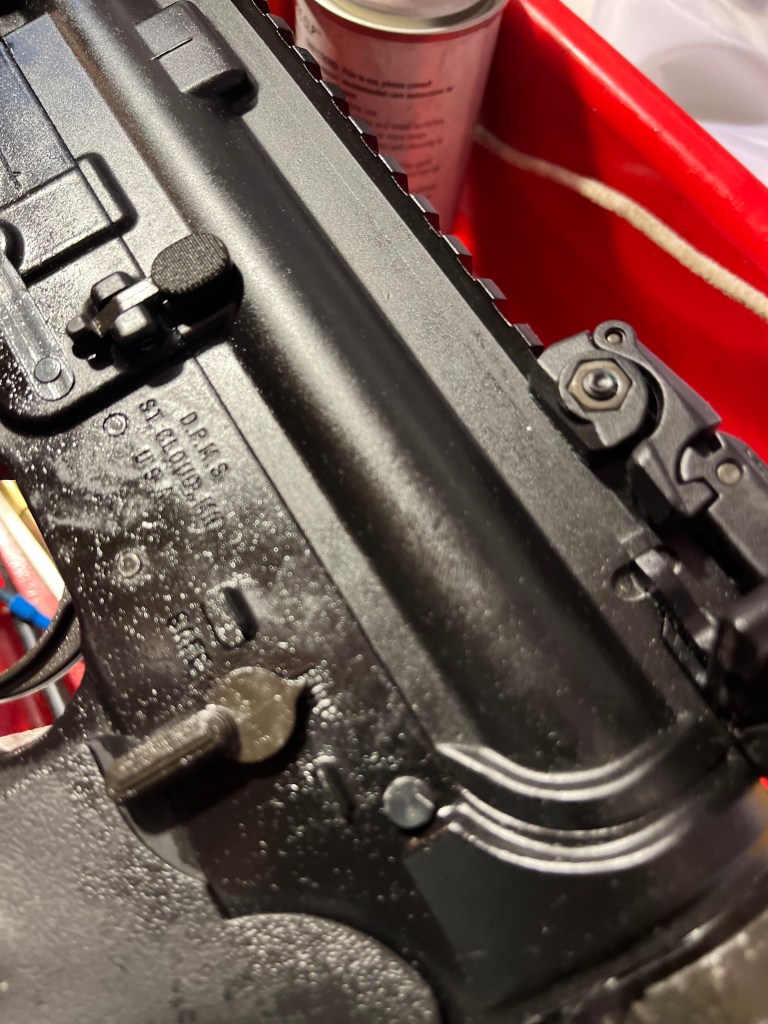
Give the Lower a wipe down and set it aside.
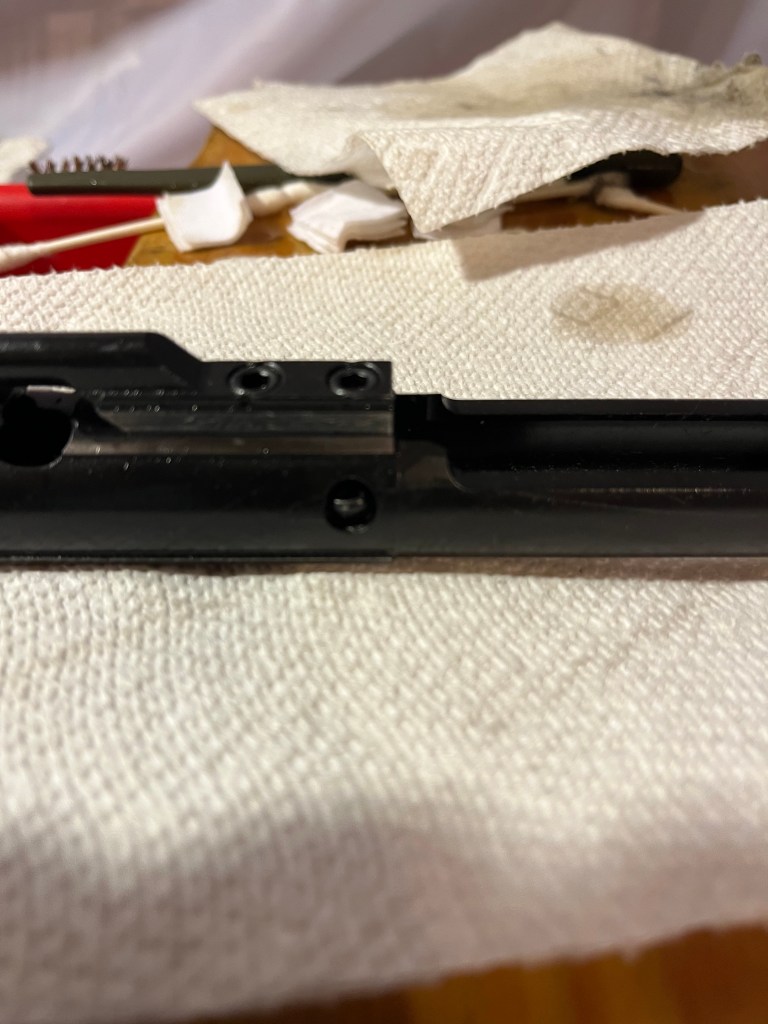
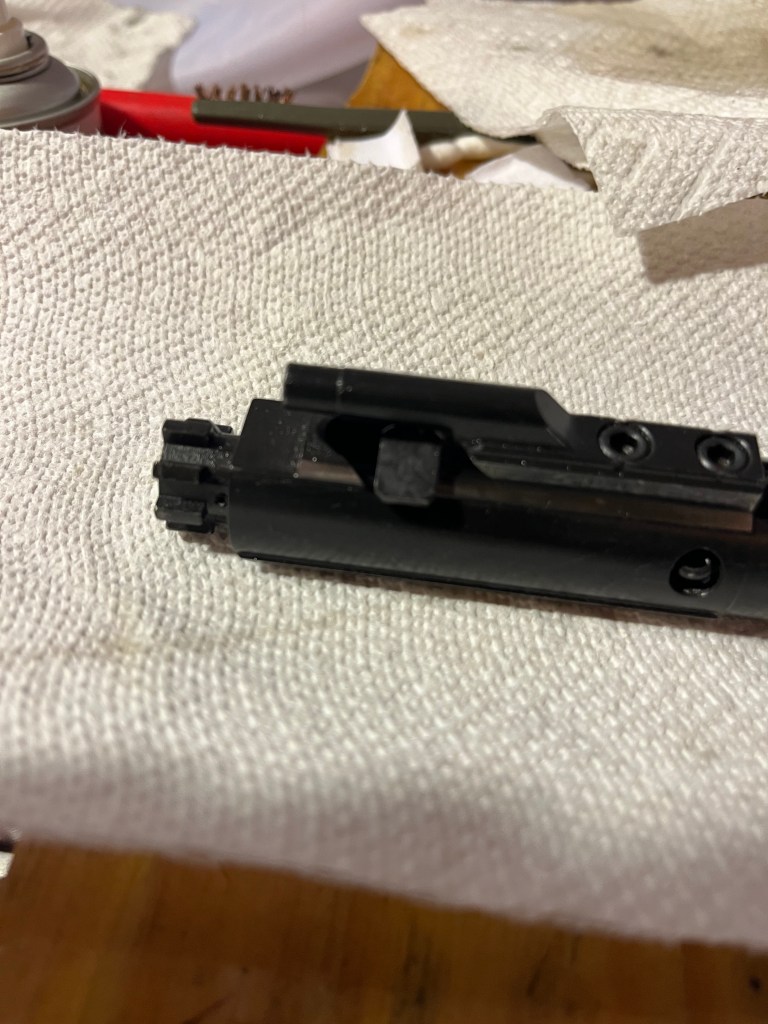
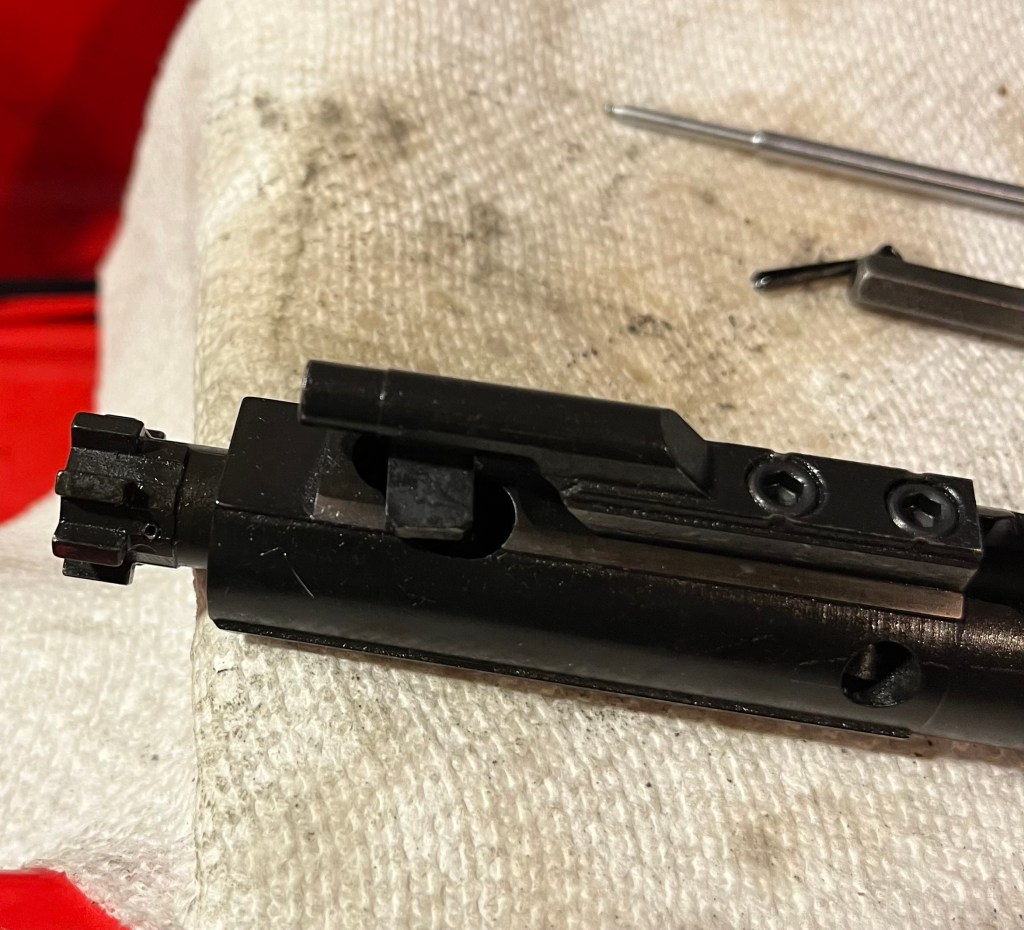
THE BOLT CARRIER GROUP:
The BCG is the heart of the AR. Practice disassembly and assembly!
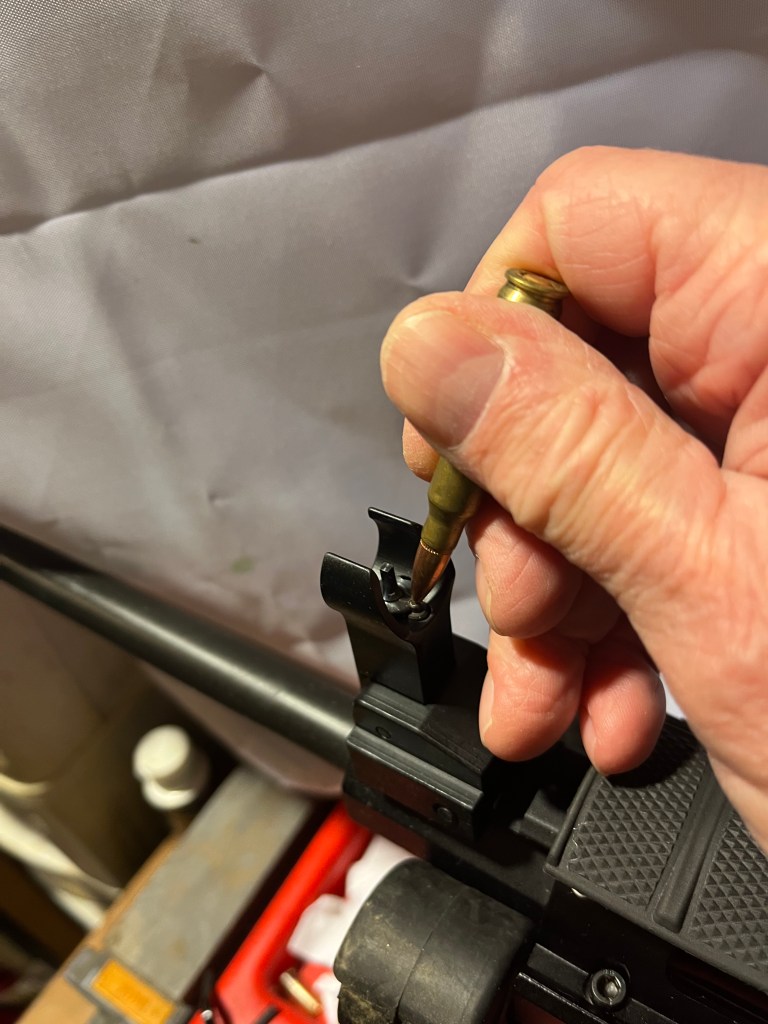
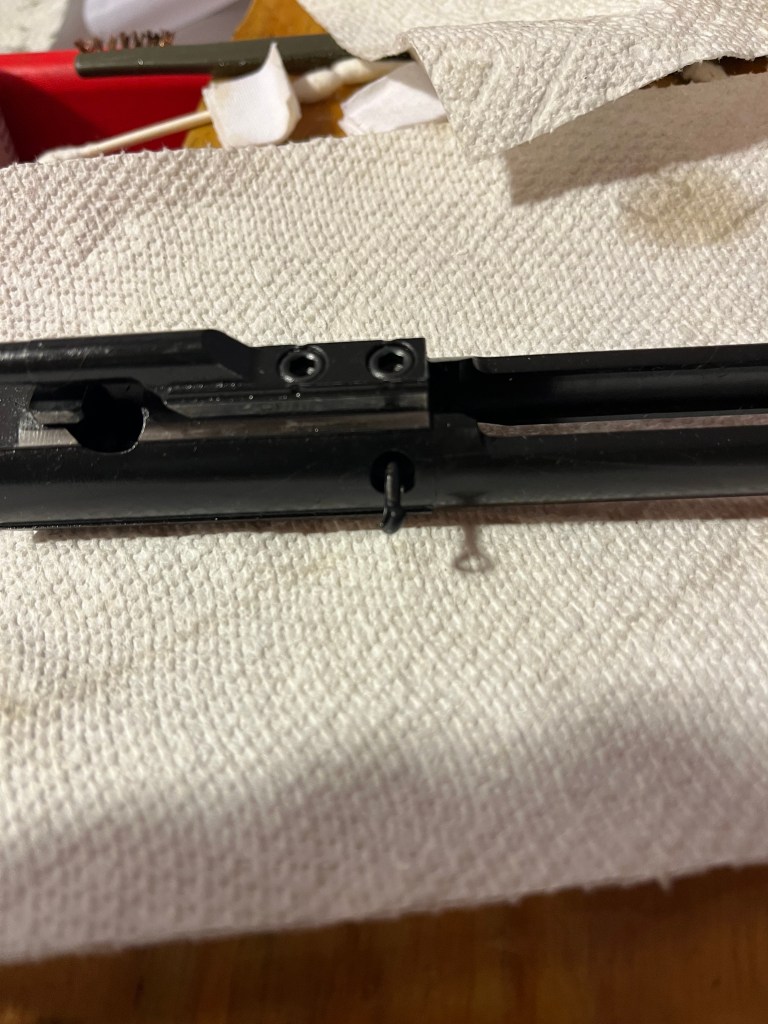
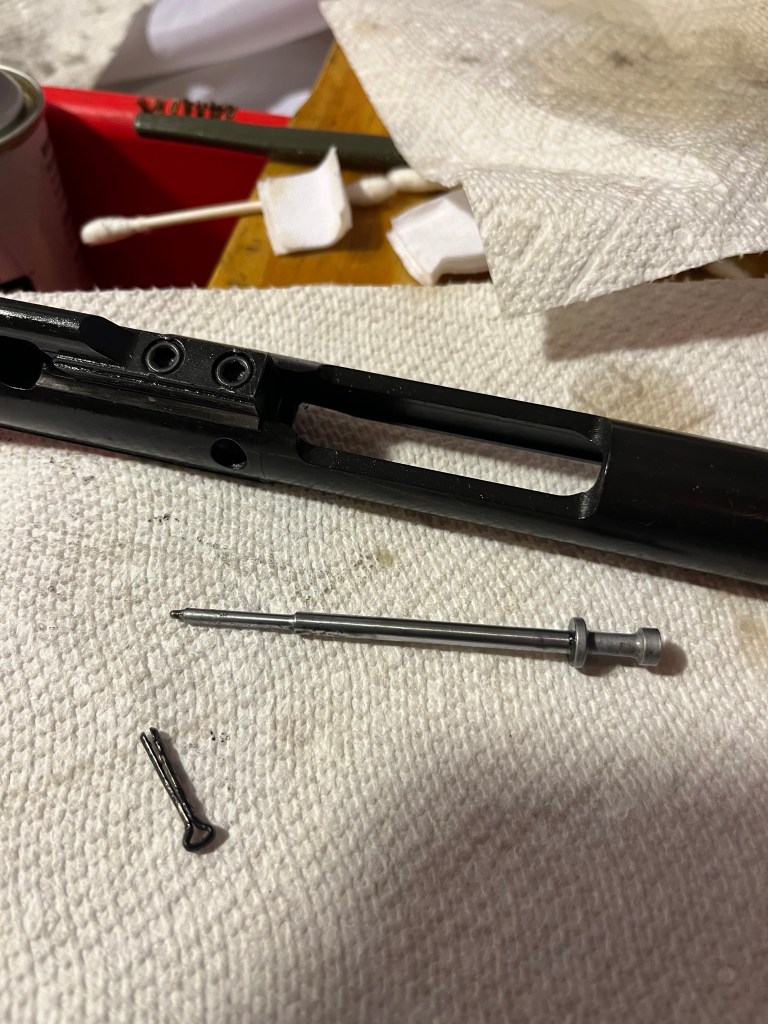
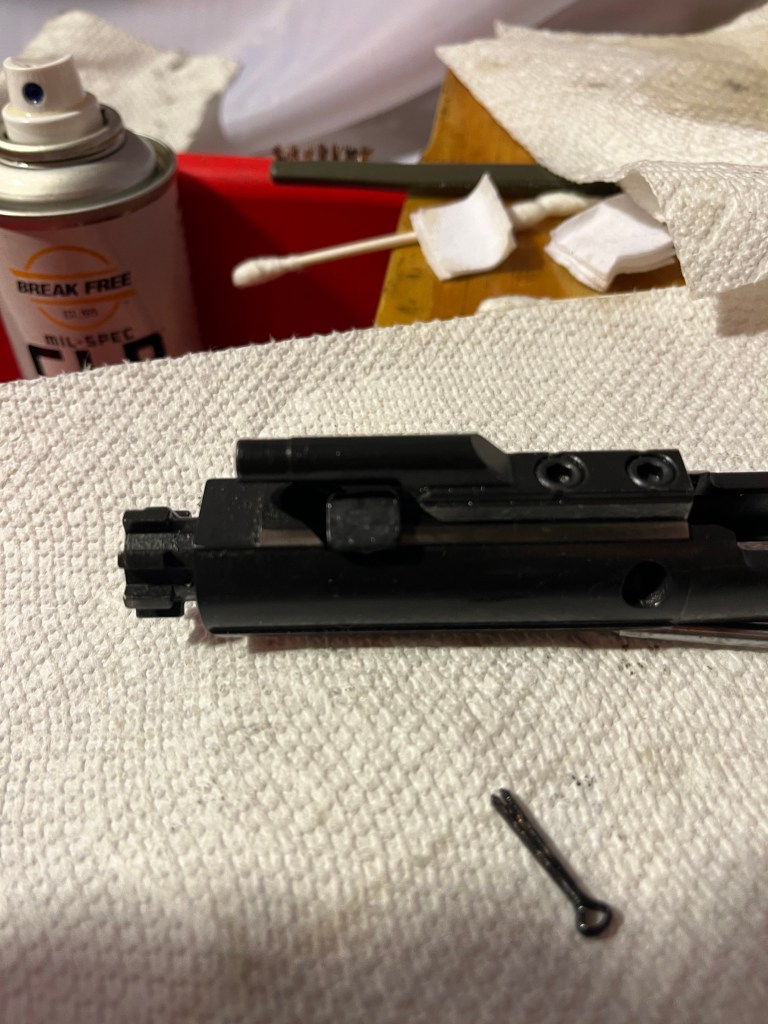
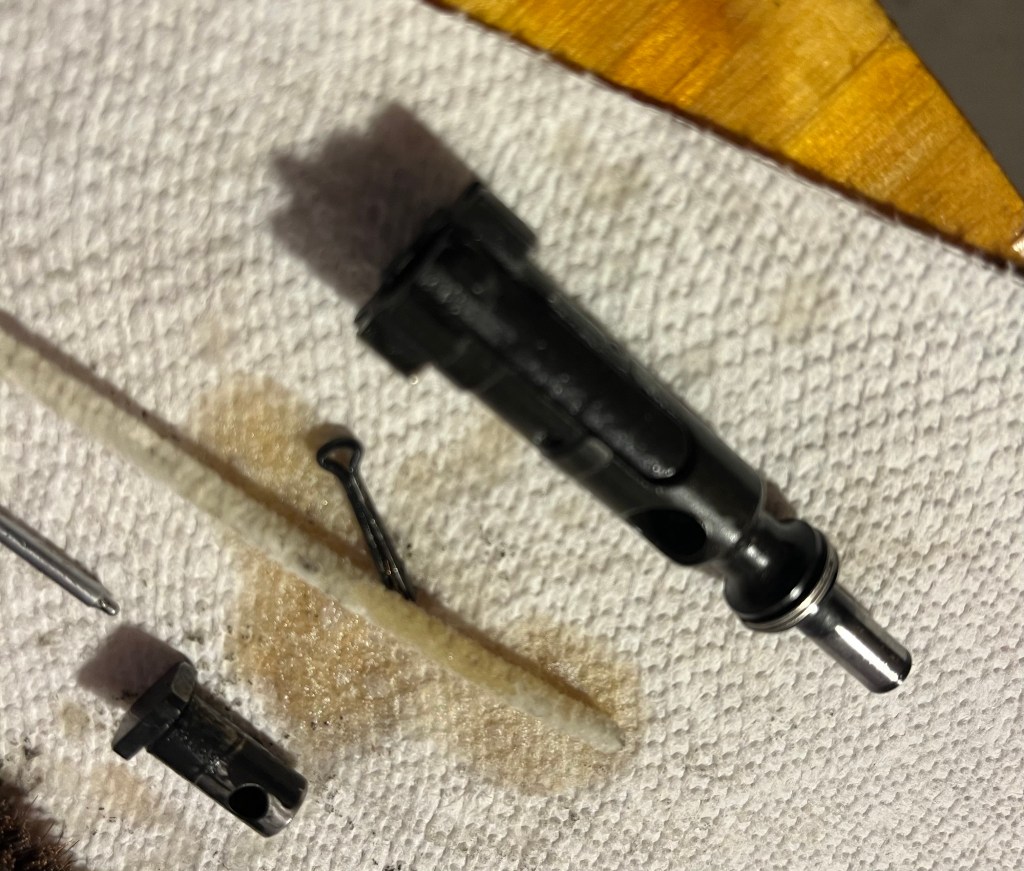
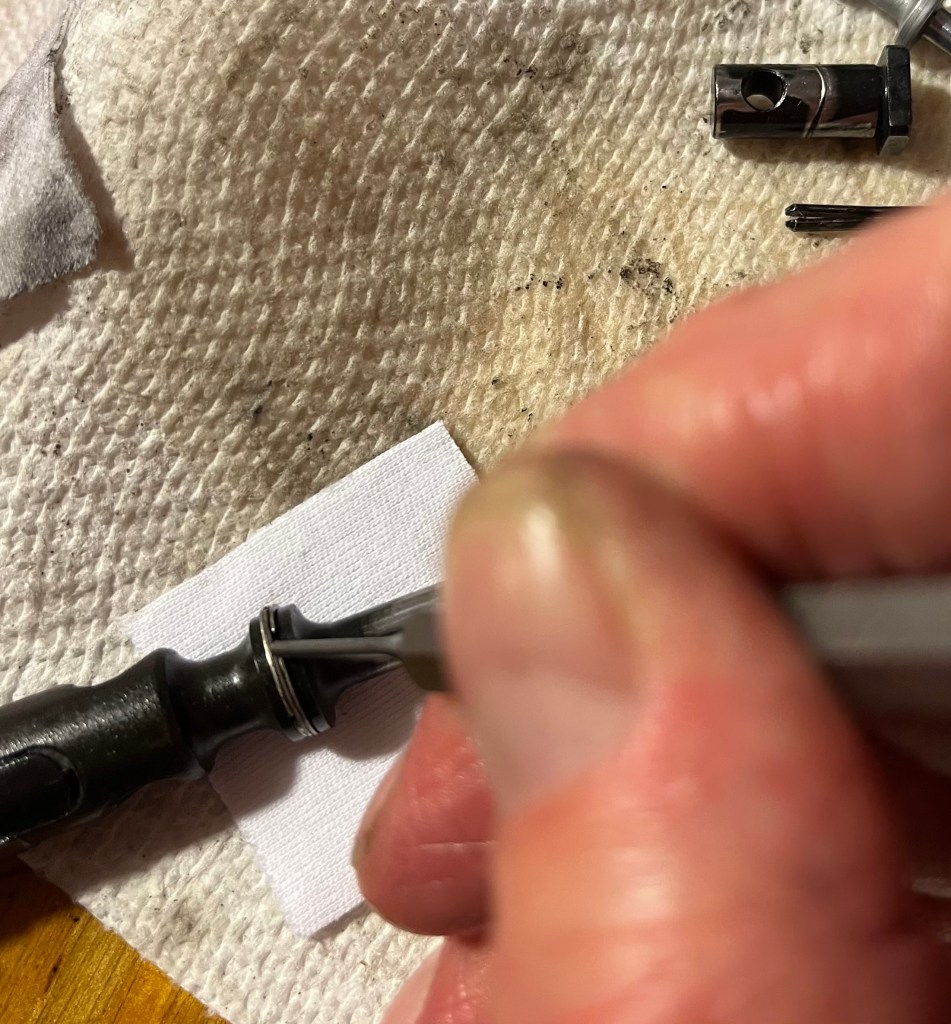
That’s the firing pin retention pin.
Remove it and slide the firing pin out.
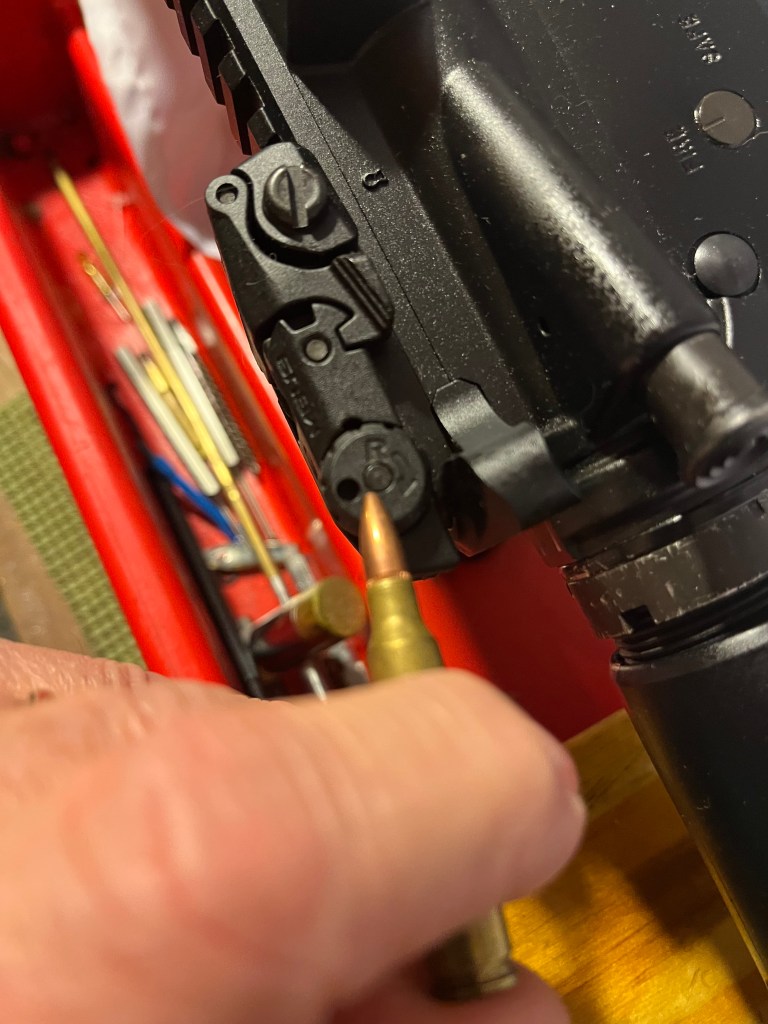
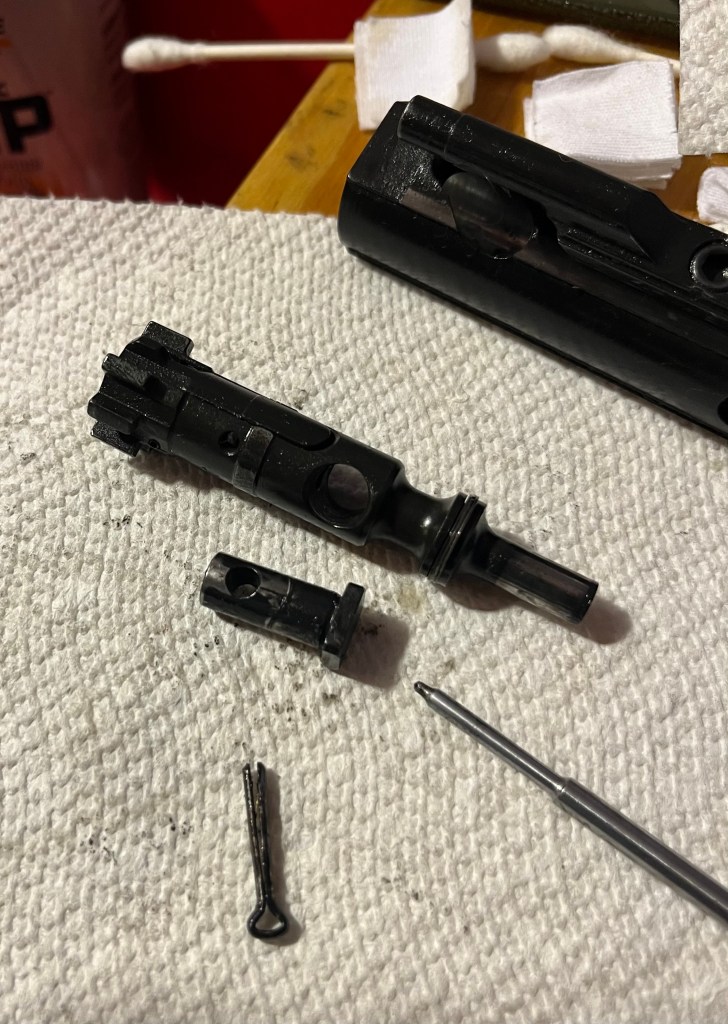
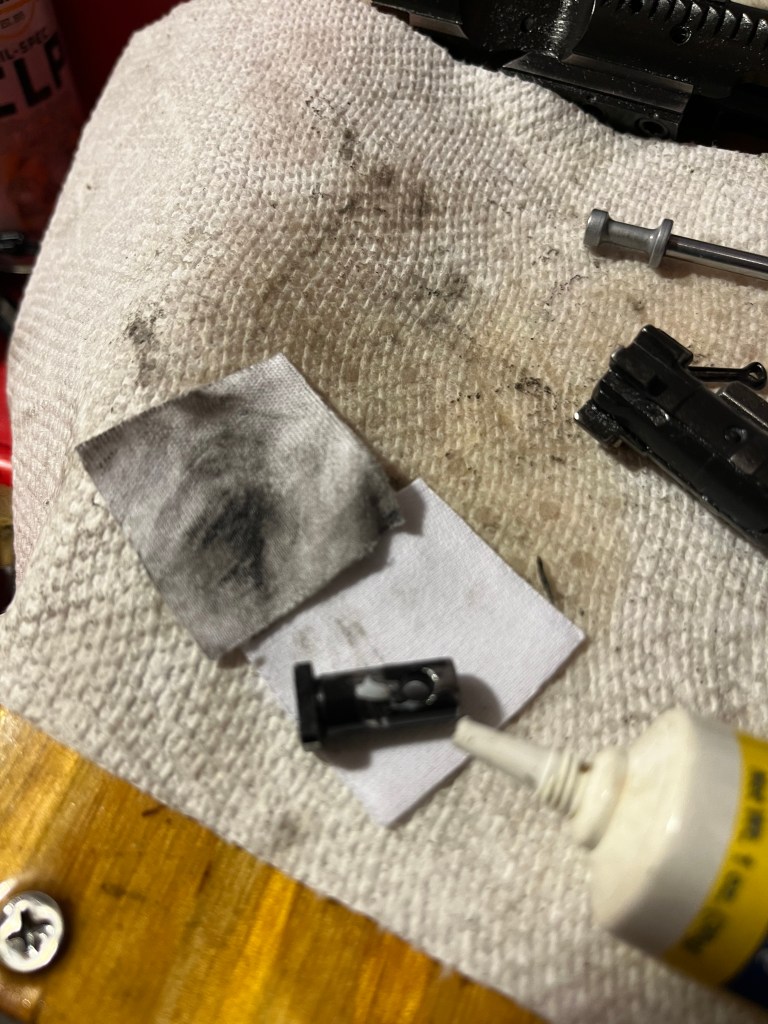
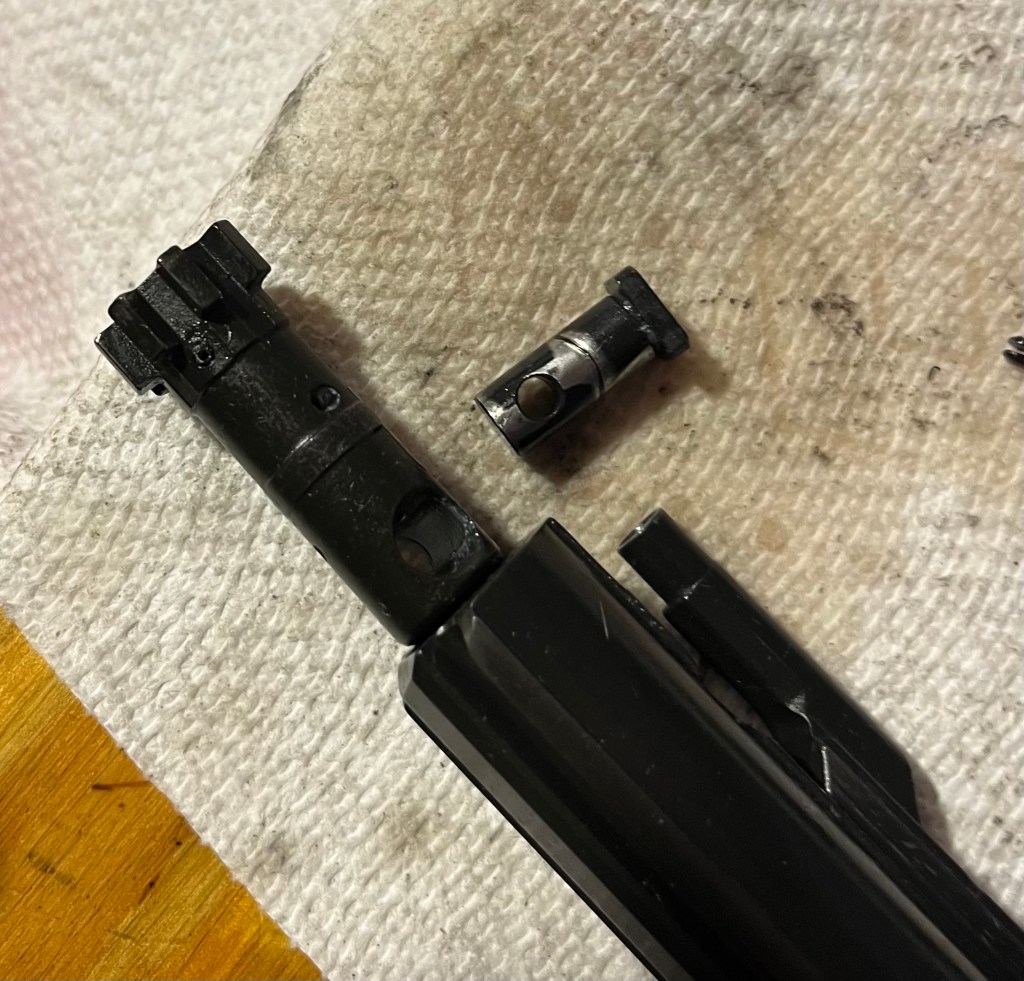
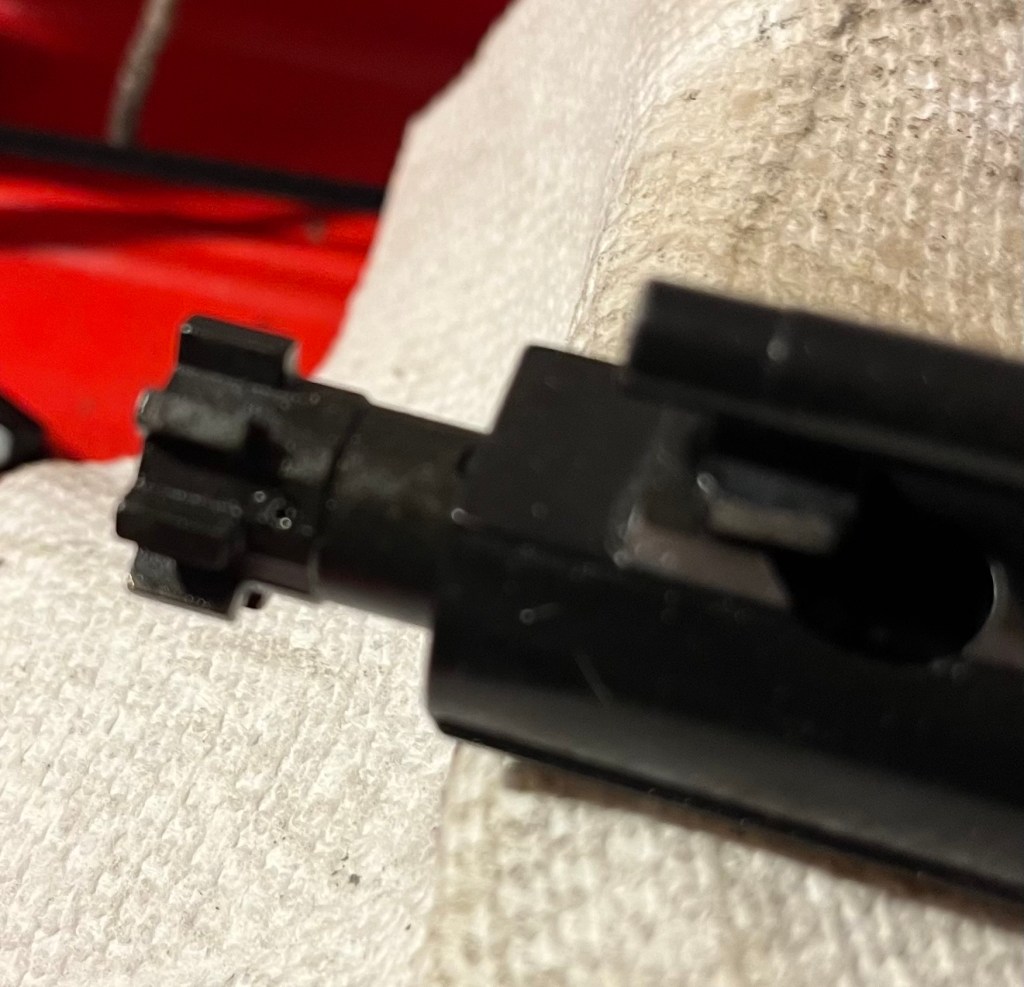
This is the cam pin. In this position the firing pin goes through a hole in it. It moves in that channel as the bolt cycles forward and back.
It must be rotated 90 degrees to be removed.
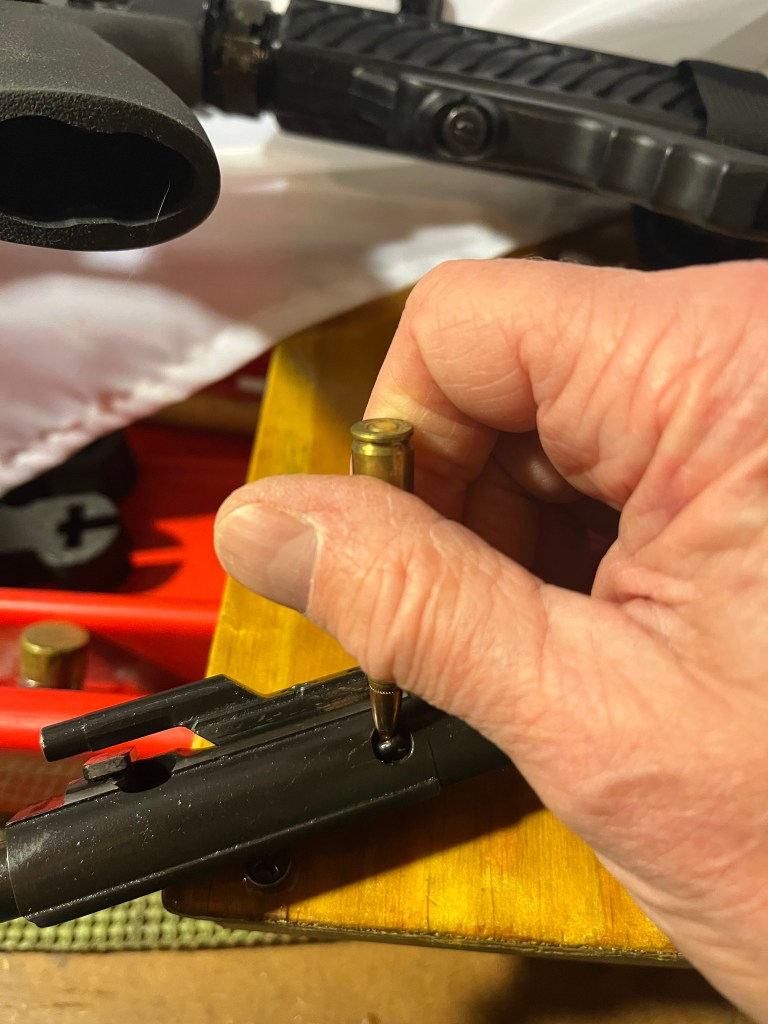
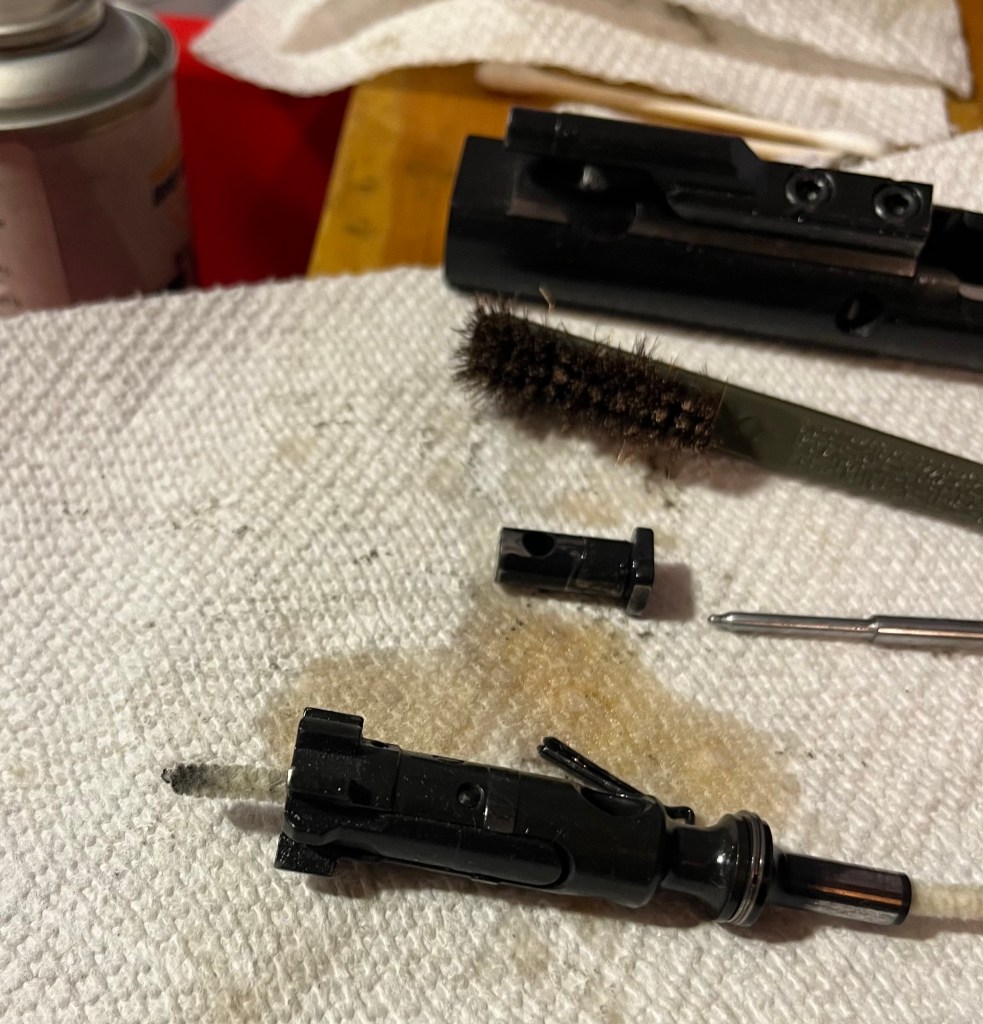
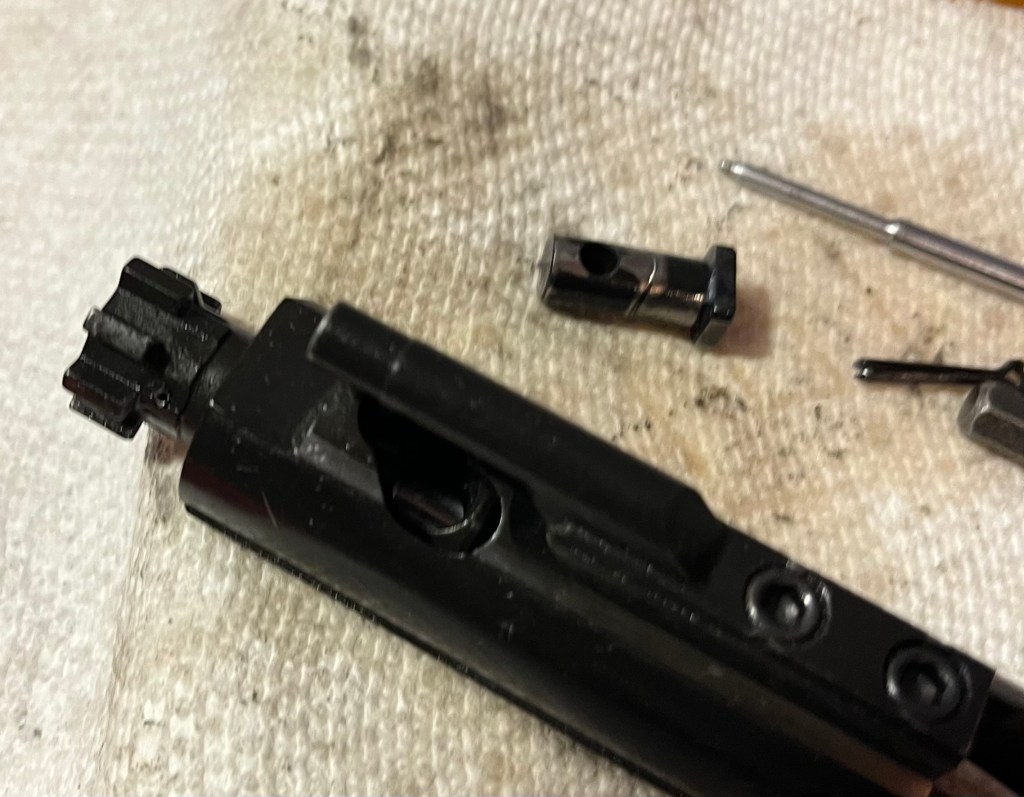
And now you can remove the bolt.
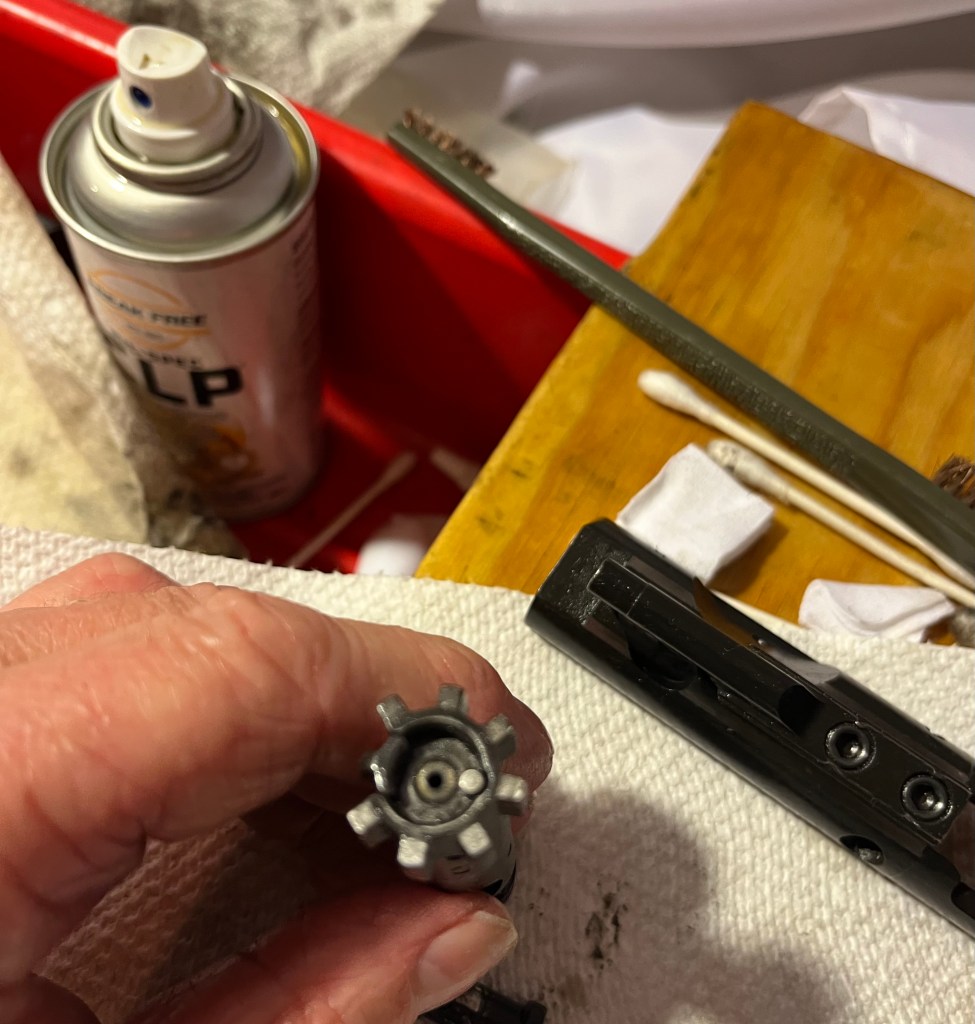
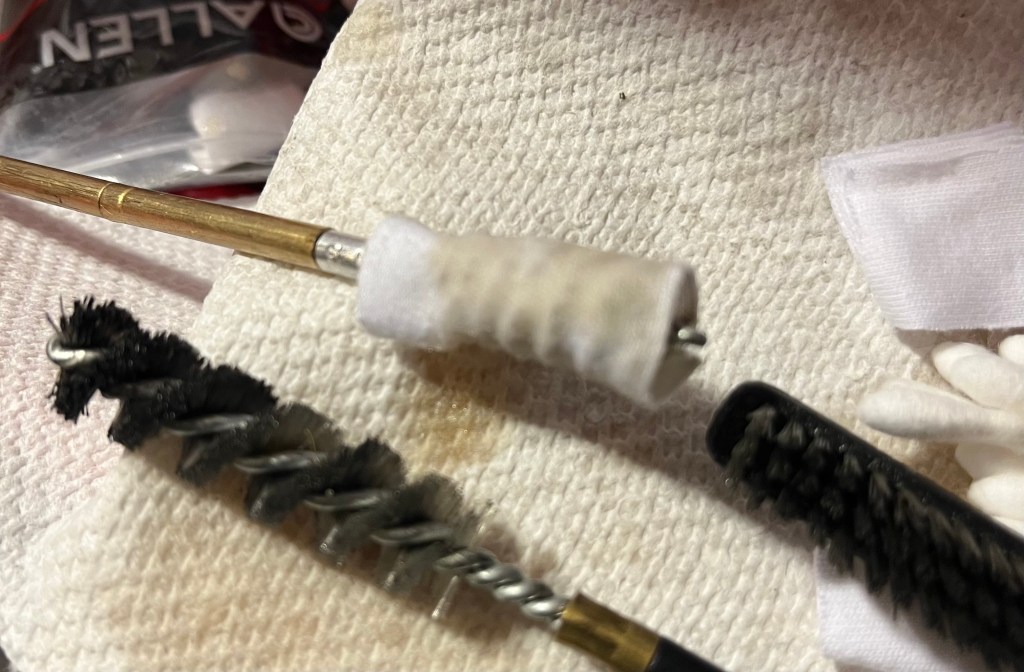
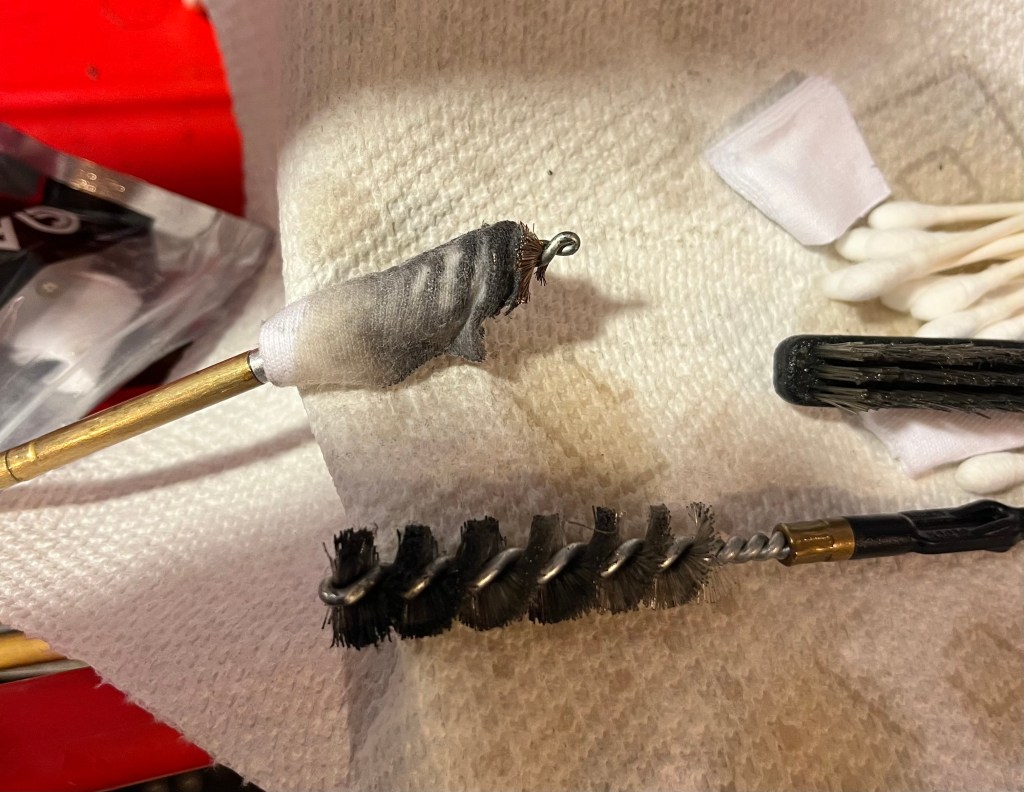
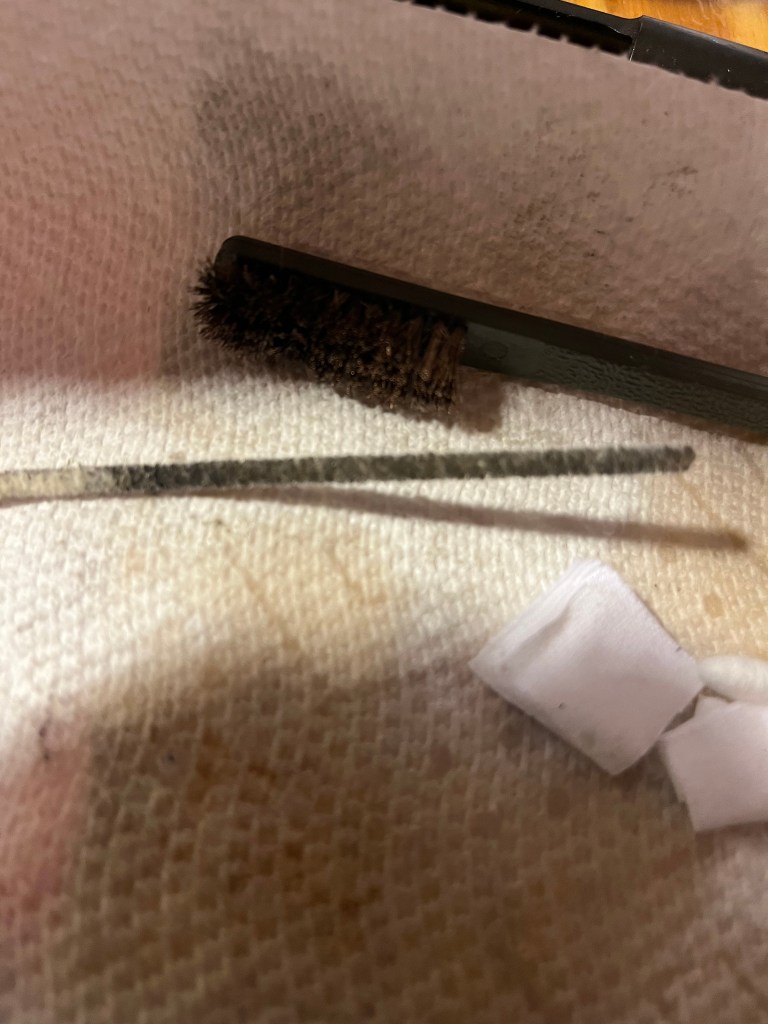
Congratulations! Now the cleaning begins. Clean the bolt face – you may need a toothbrush or wire brush to get all the spots.
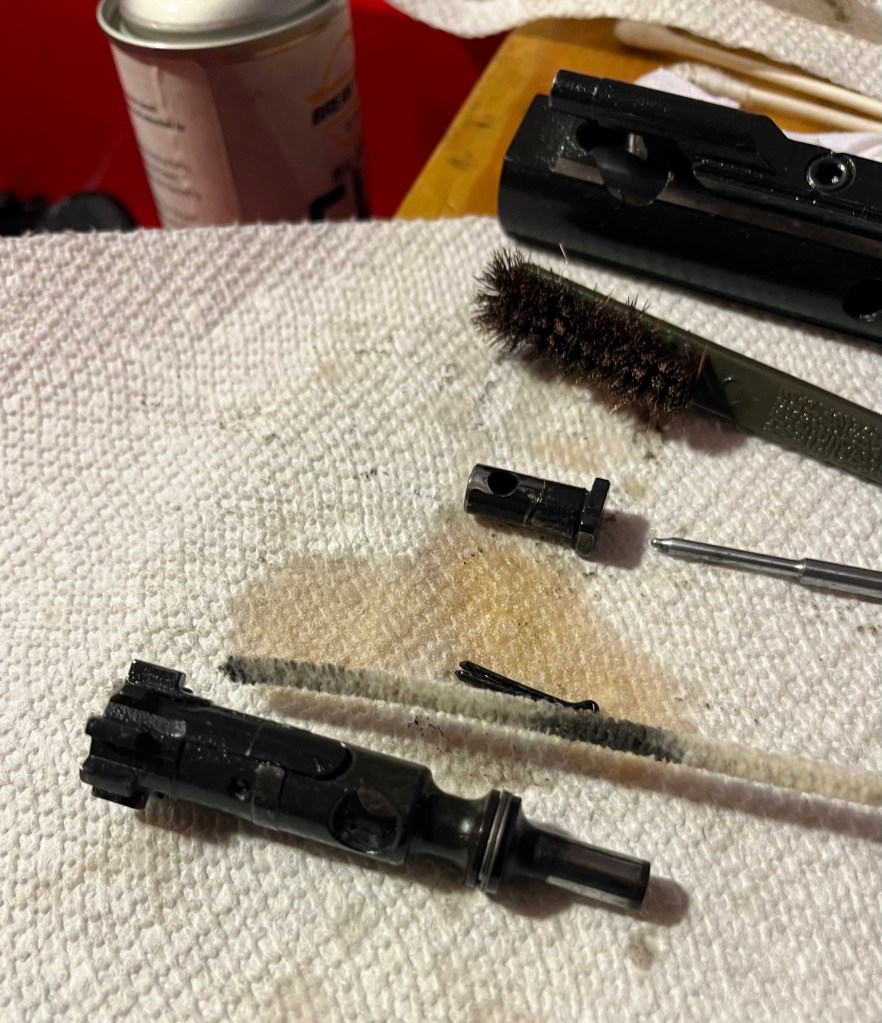
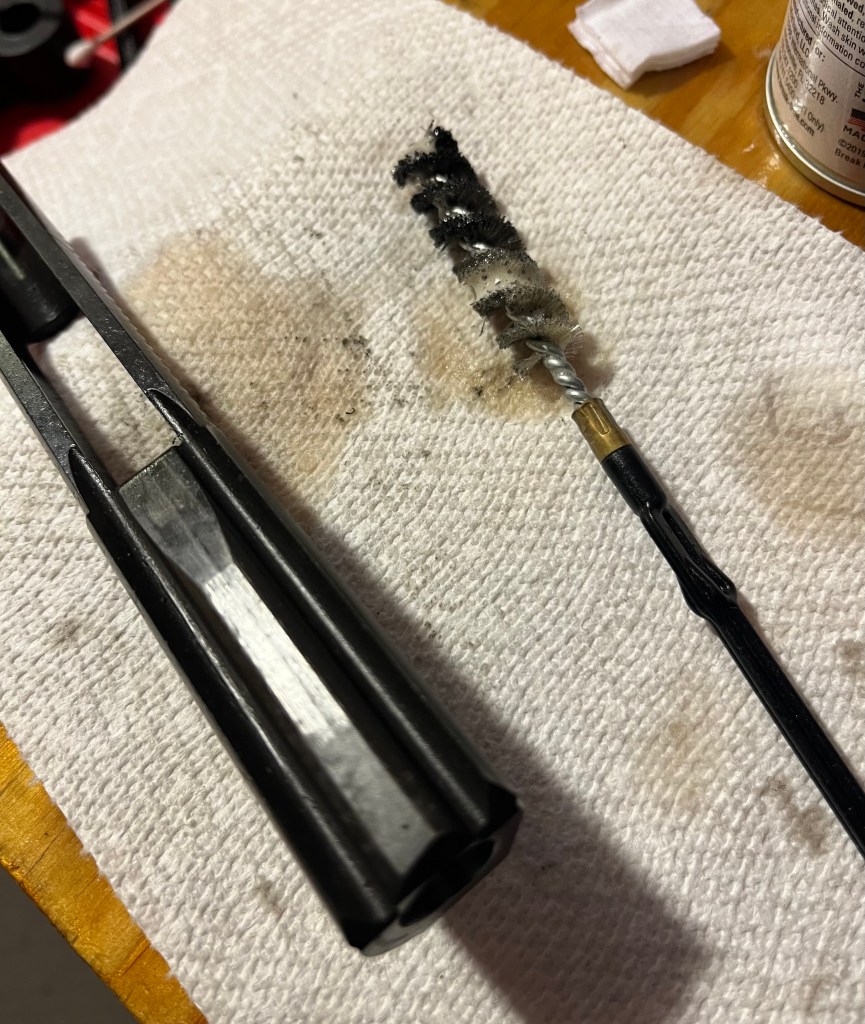
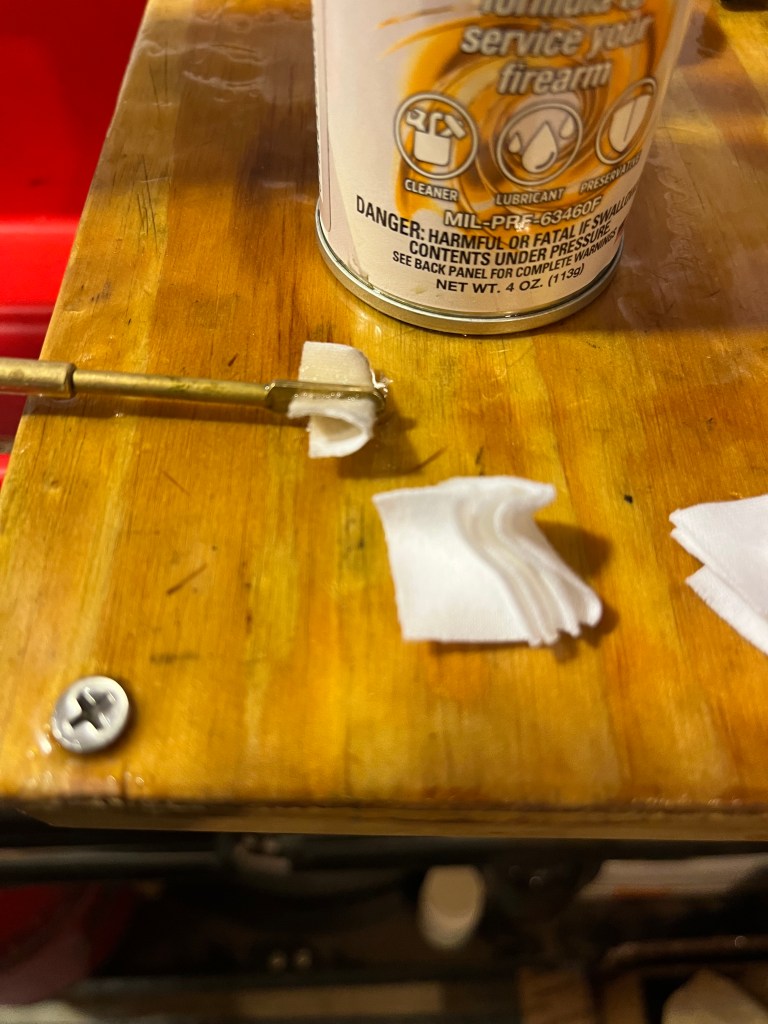
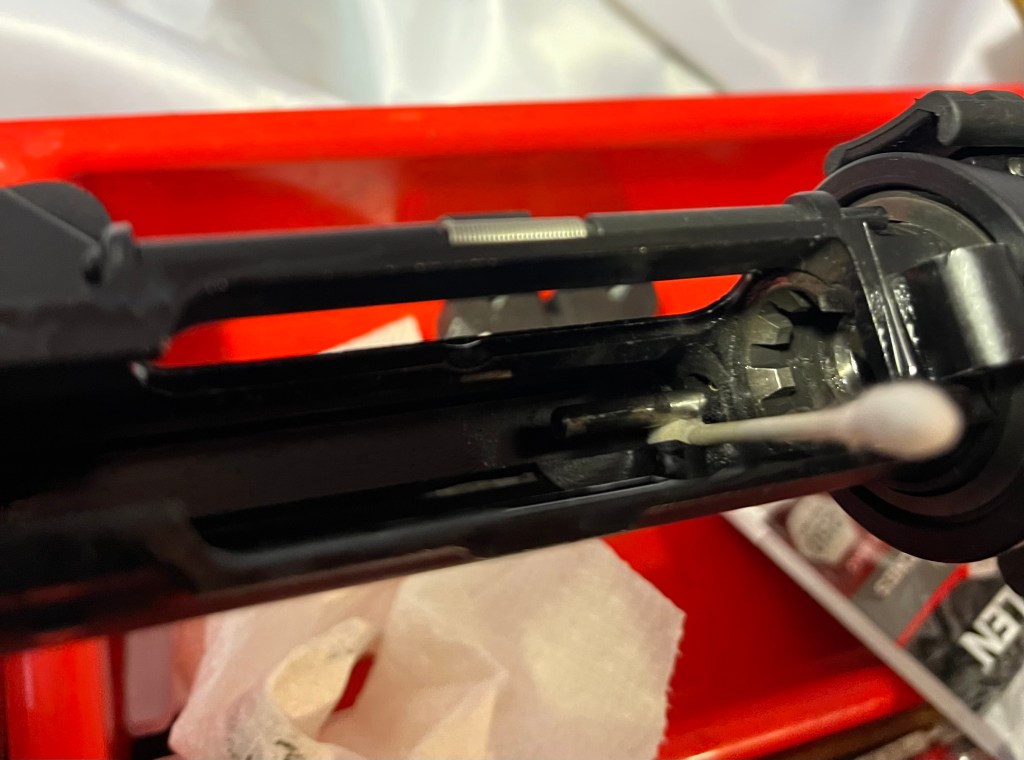
Take the clean end of your pipe cleaner (oh, yeah. They make special ones about a foot long for ARs) and wet it with solvent.
And clean out the firing pin channel. Blow it clean with a compressed air can after.
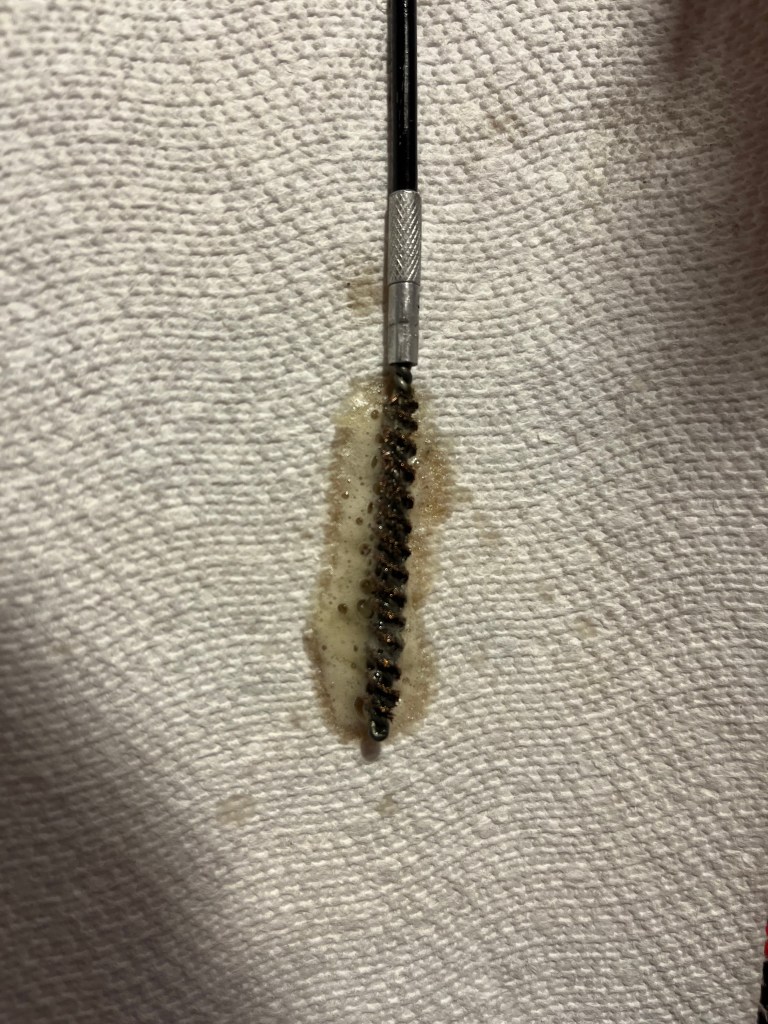
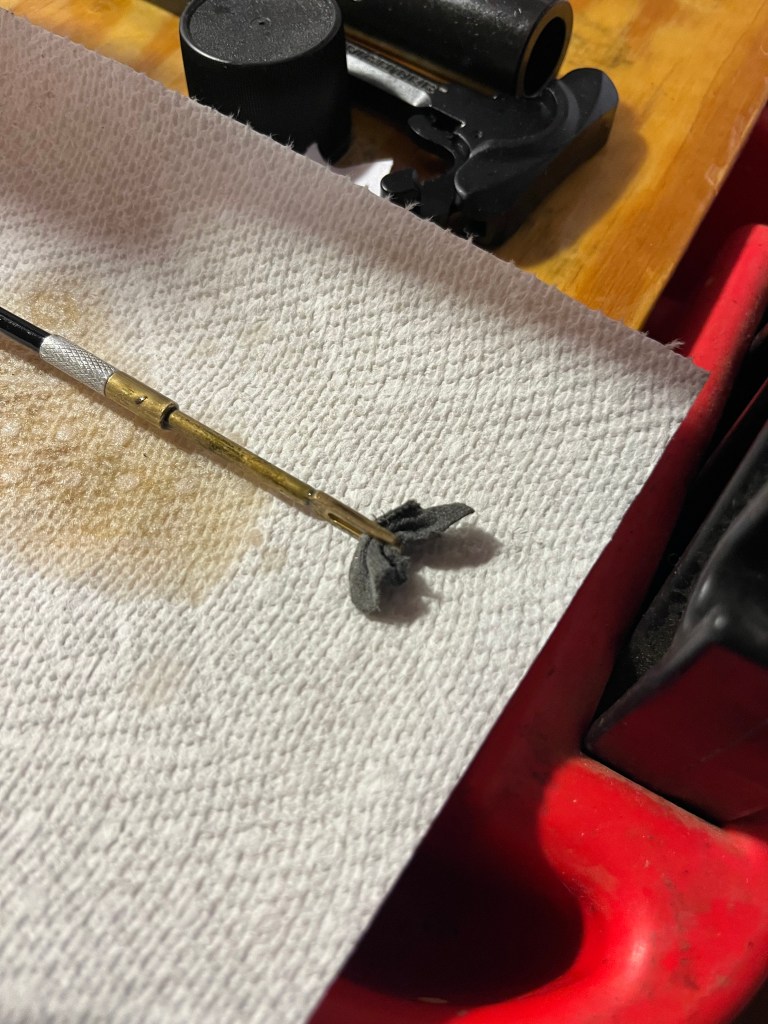
Imagine that – more schmutz!
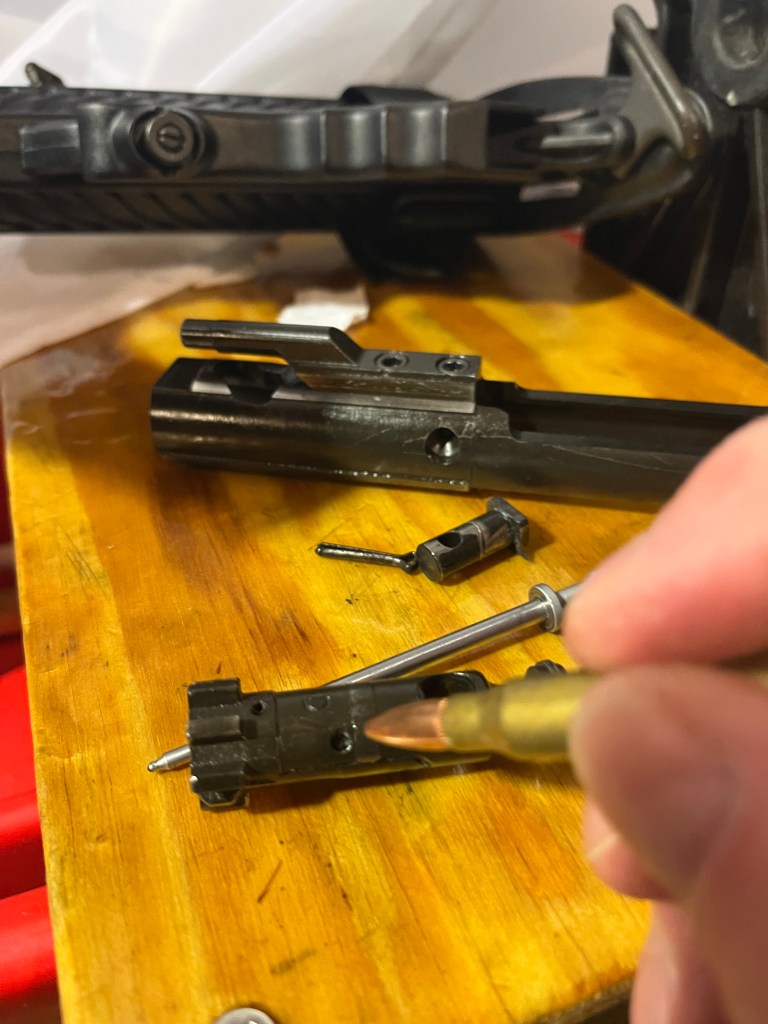
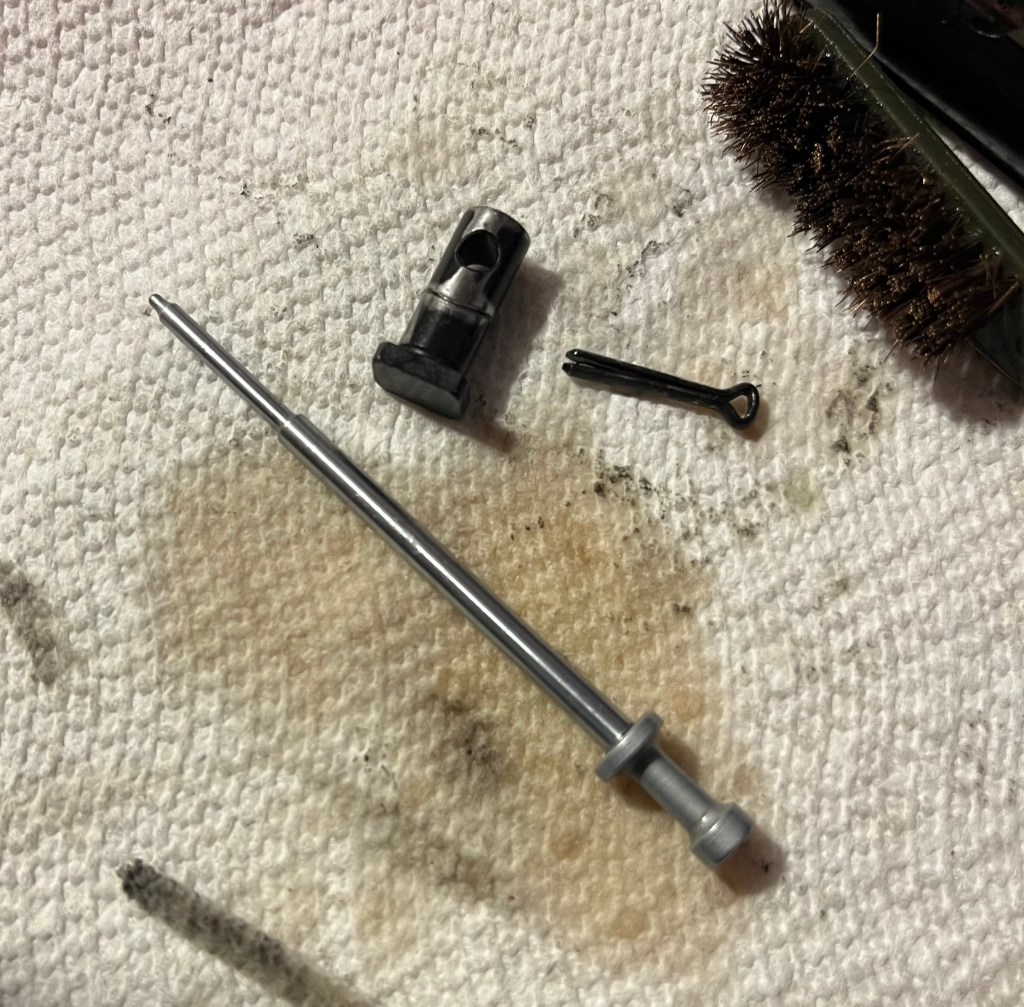
Clean your small parts with solvent. Note the friction wear on the cam pin. Any place you see shiny metal on the gun is a place that will require lubrication when reassembled.
Clean the inside and outside of the carrier. Oh, look, more shiny surfaces!
Now, the gas key.
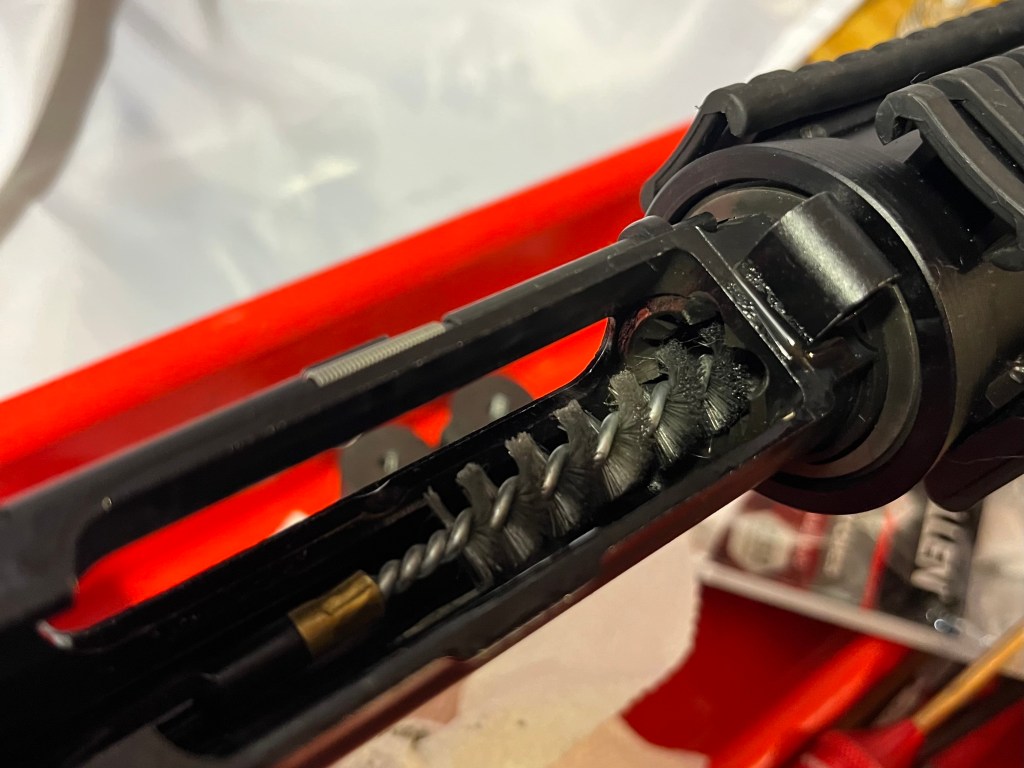
Get in all the interior nooks and crannies.
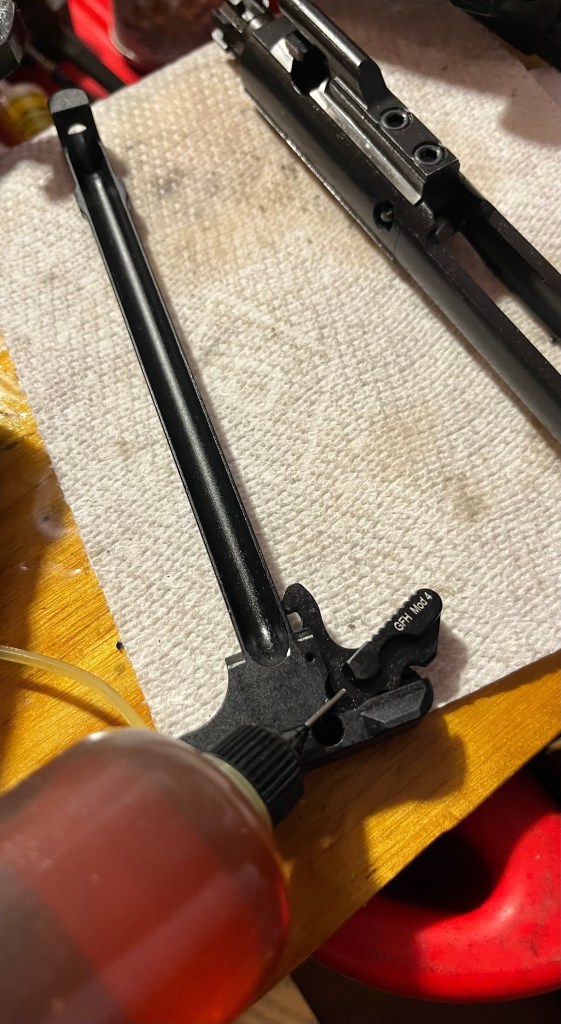
Don’t forget the charging handle. The groove gets filthy.
When completely clean, you are ready to REASSEMBLE!
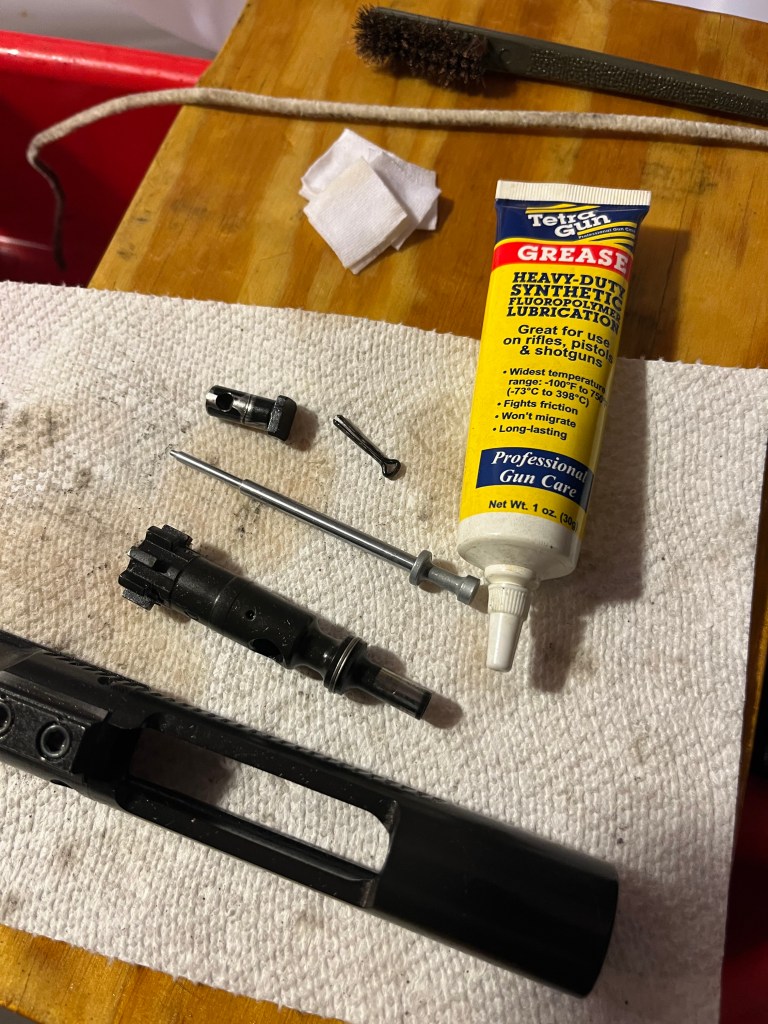
Now, this is my personal choice to use a film of grease for bolt lube. I don’t use it on firearms that will be sitting around a long time – it will cake up. Those guns get CLP or Rem Oil. But I do like it for a regularly used gun.
When lubing the bolt, take time to rotate the three gas rings so that none of them line up.
Remember the wear marks?
The bolt can go in with either end of the cam pin hole up, BUT the cam pin will only go in one of them! (Yes, I do recall an incident with an AR 10 where that was not the case . . .).
Insert and rotate 90 degrees.
Pull bolt forward to check operation. There should be some resistance if the gas rings are operating properly.
Slide firing pin back and retain it. When assembled, shake the BCG up and down. The firing pin should stay in, but move back and forth slightly.
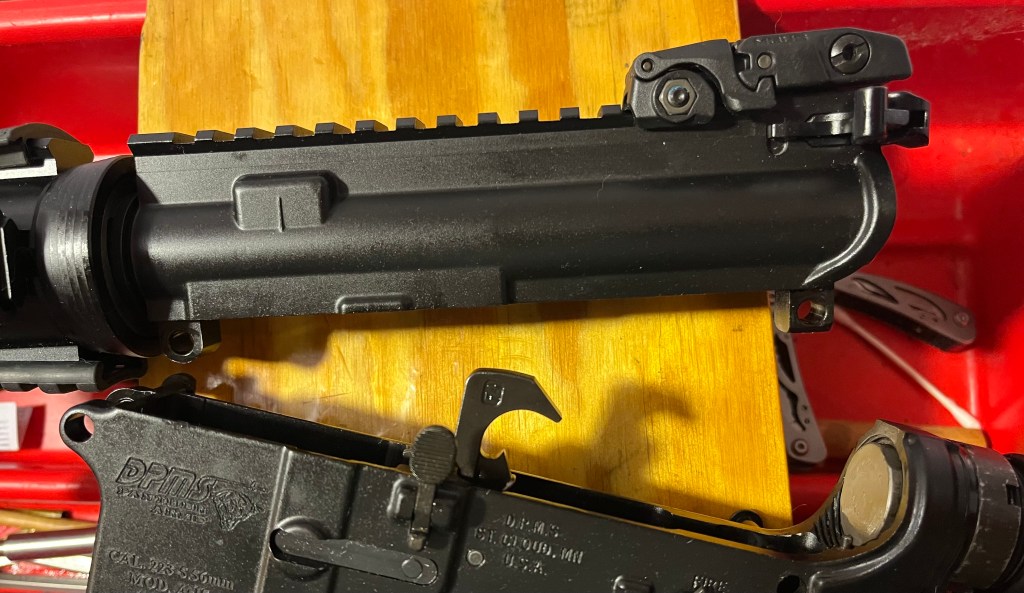
Now, retrieve the upper and lower that you so carefully set aside and start with the pivot pin.
The end of the charging handle goes in and then up and into its channel partway. The gas key on the bolt then fits into the bottom of the charging handle, and the entire unit goes forward all the way.
You can now swing the lower up into position. Make sure the bolt is all the way forward for clearance.
Slide the takedown pin in to place.
Function test by locking the bolt back, releasing it, check that the safety works, then squeeze the trigger. Wipe all the surfaces down and head to the range, where you can dirty it up again!
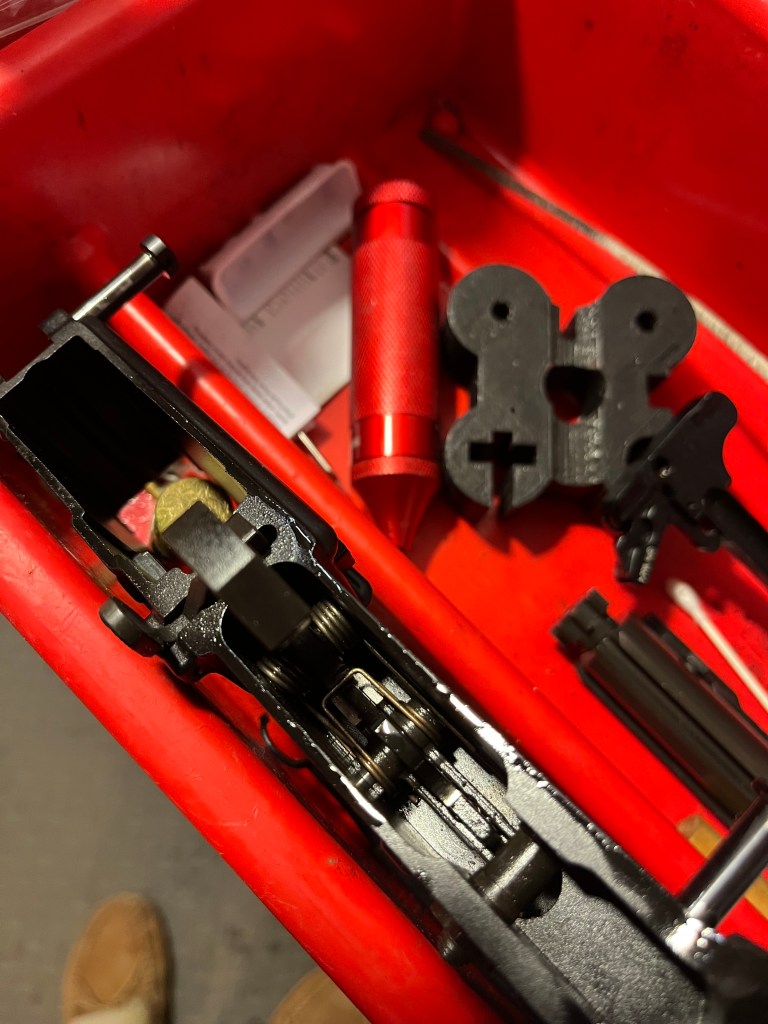
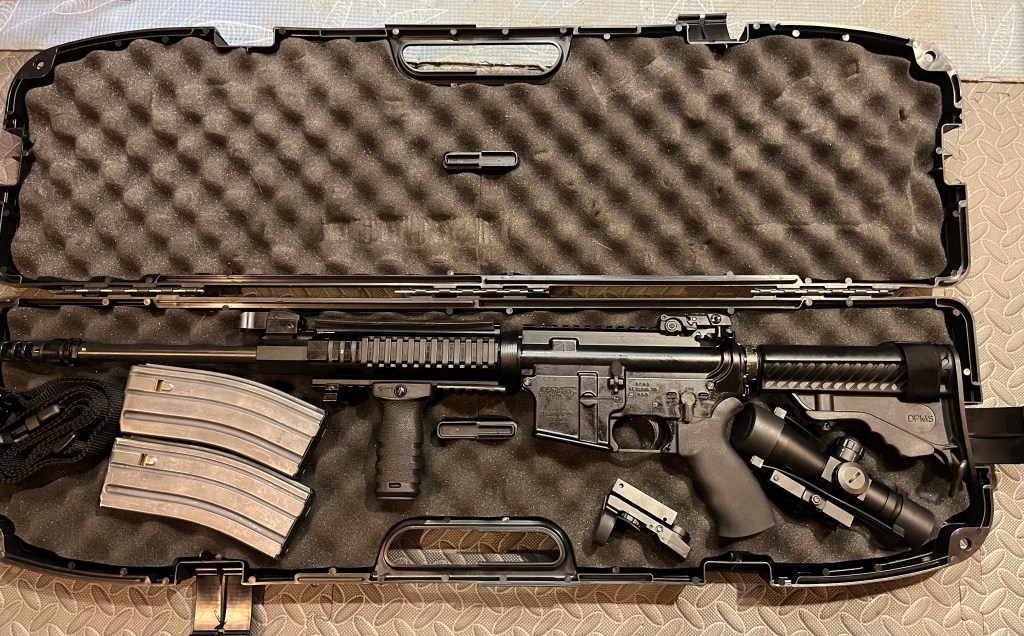
The Four Rules still apply! Remove the magazine and make your weapons safe. No mags or ammo on the work bench!
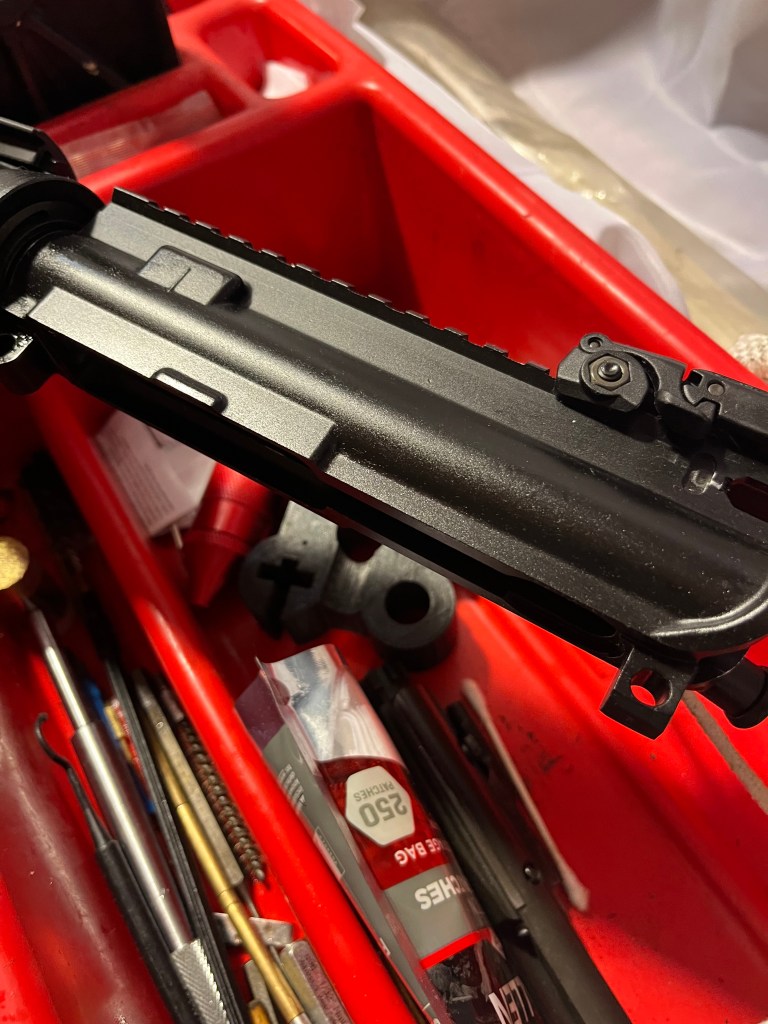
First, this Mr. Red’s approach to cleaning; YMMV. Second, ARs are dirty – you’re going to see a lot of black carbon deposits. This is because ARs are “direct impingement” meaning that some of the hot gas that propels the bullet forward is tapped to push back directly on the bolt carrier group (“BCG”). The BCG races backward, ejecting the spent shell casing and cocking the hammer/trigger, then is stopped by compressing the recoil buffer spring, returns forward, stripping a new round off the magazine and delivering it into the chamber, with the bolt lugs rotating to lock the bolt in place in full battery. The hot gas that did this impinges directly on all of those mechanisms, and is full of burnt gunpowder residue. A good cleaning tries to remove all of this gunk. You will use a lot of CLP (or other solvent/cleaner), patches, Q-tips, paper towel, rags and brushes. Rubber gloves are a good idea (although not used in these pix).
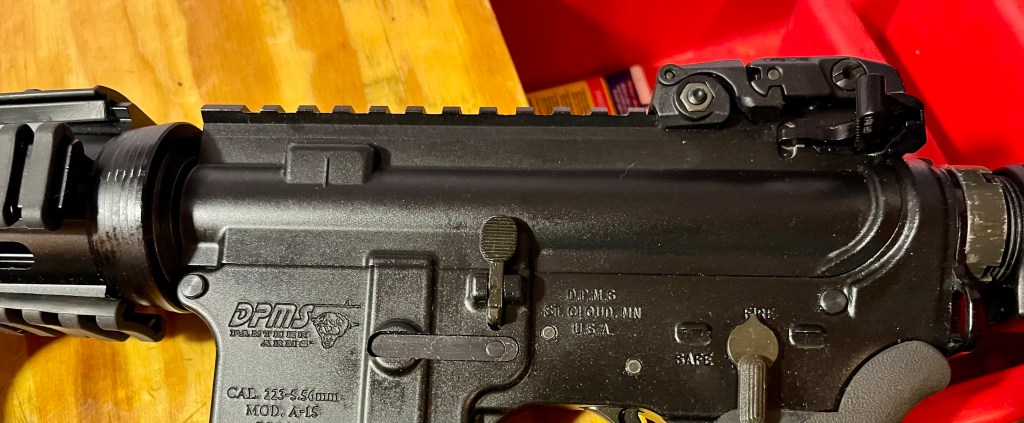
Locate the takedown pin and the pivot pin. Push through from left to right in sequence. Don’t worry about losing them; they are captured on the right side.
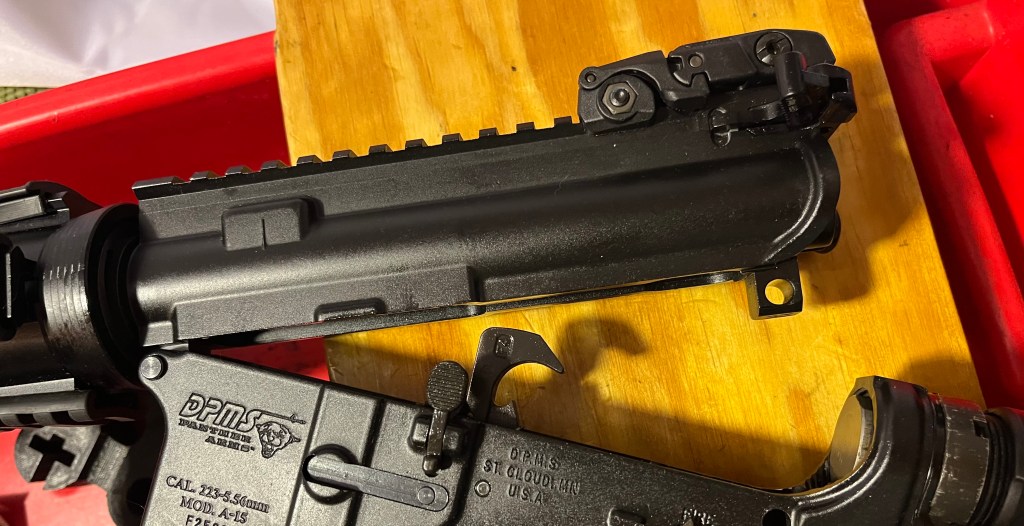
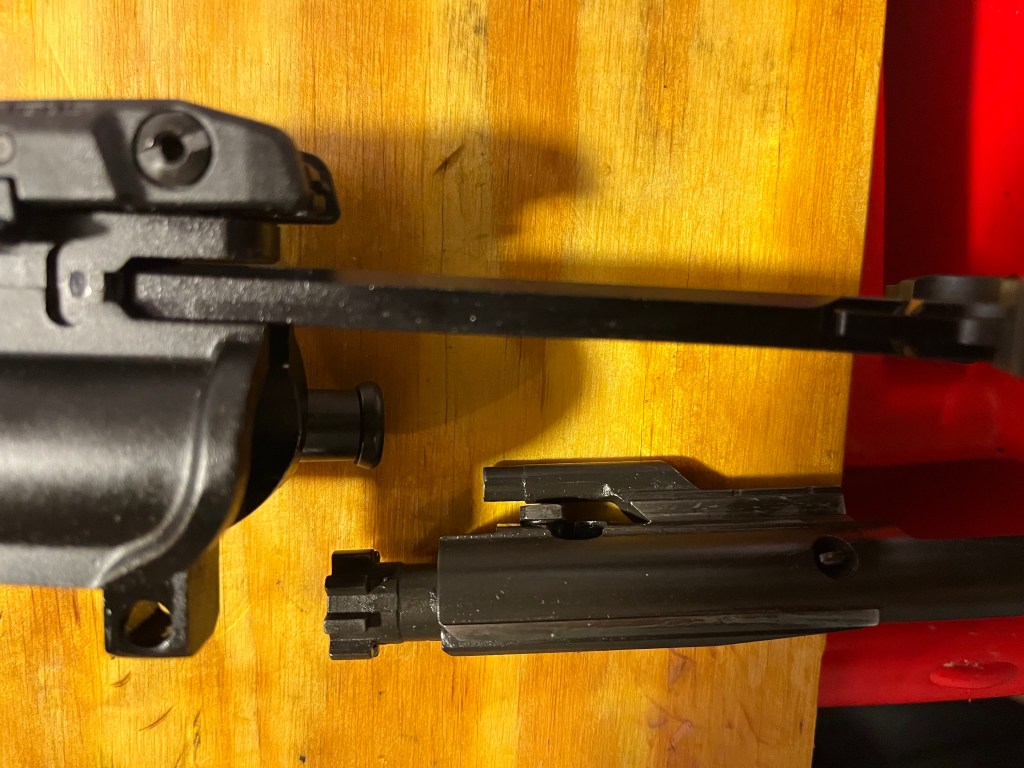
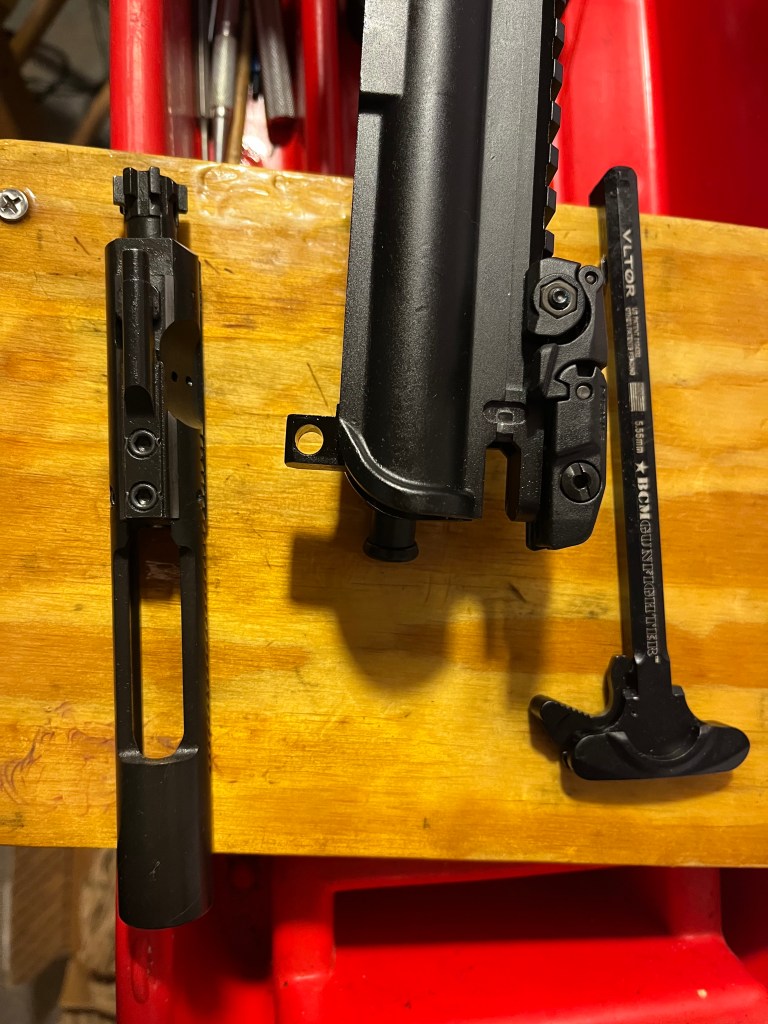
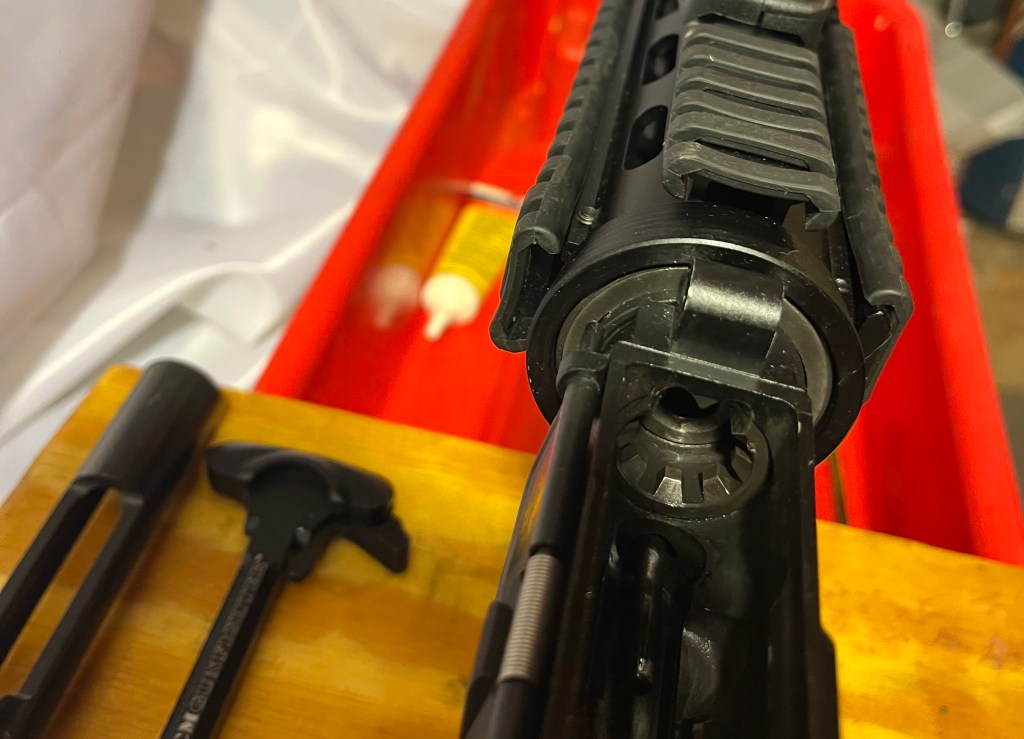
Remove charging handle and BCG.
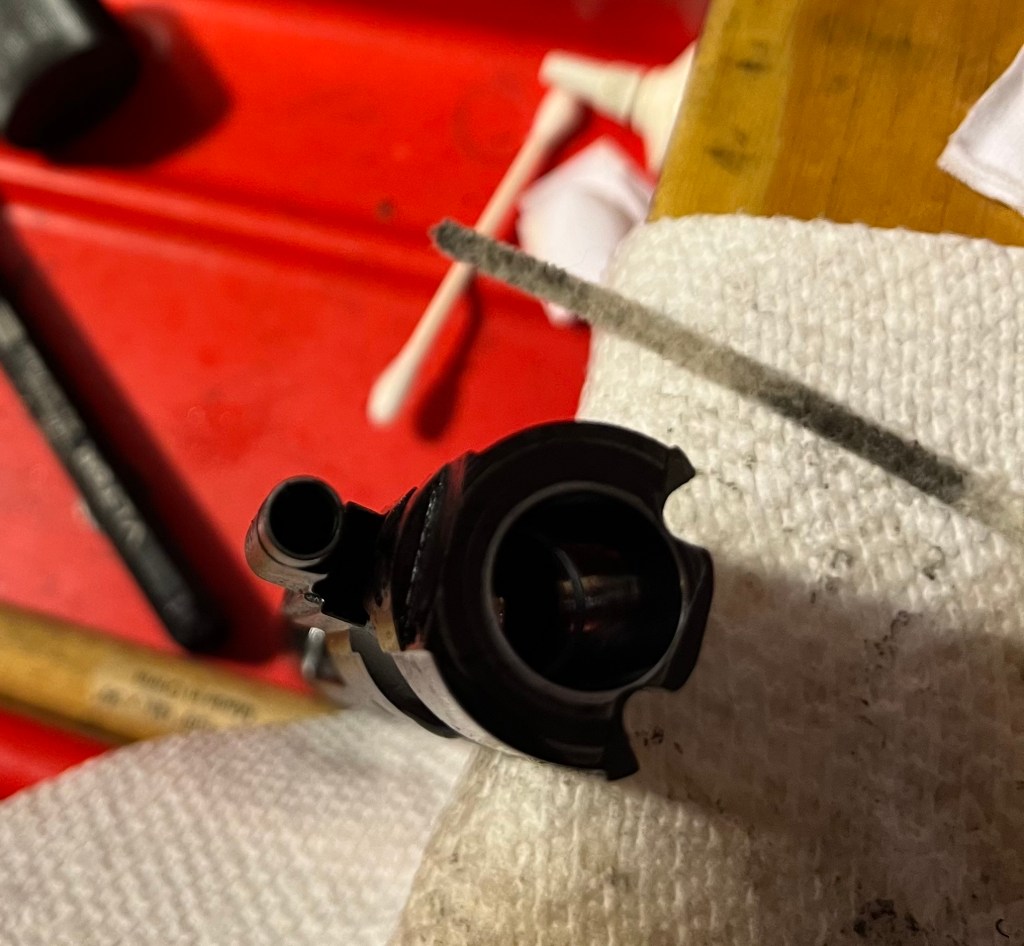
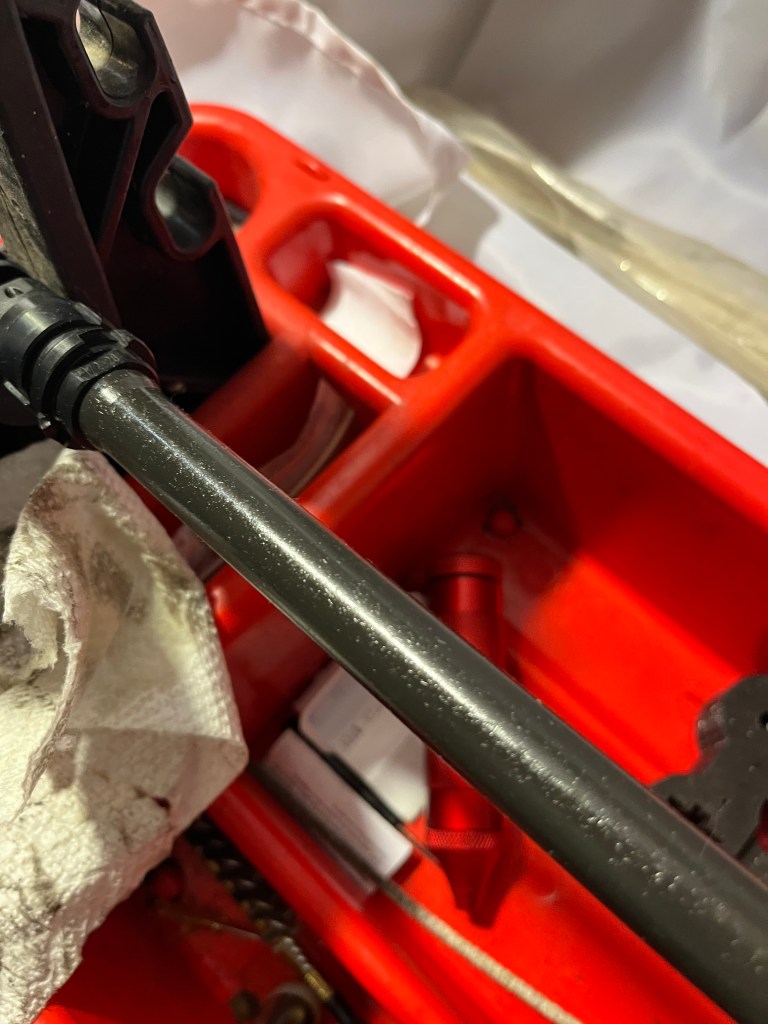
Black carbon and residue on the gas tube and in the chamber.
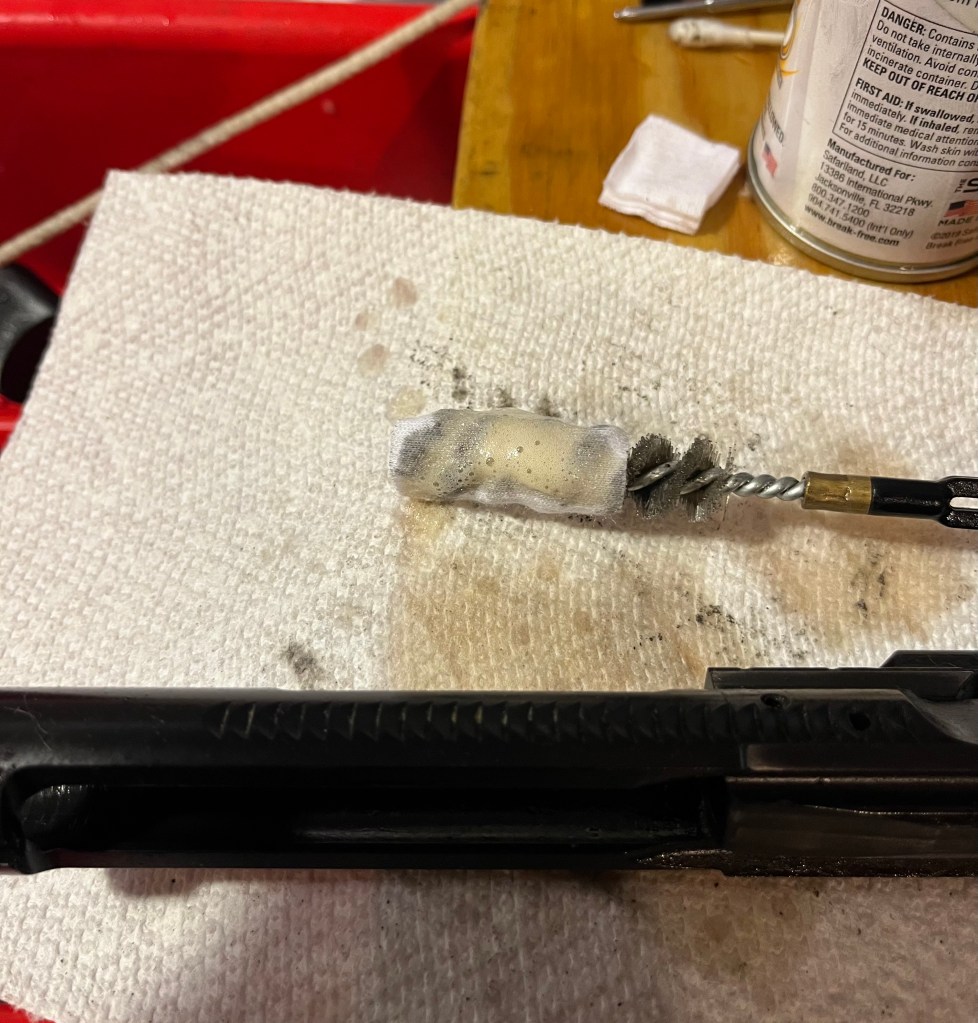
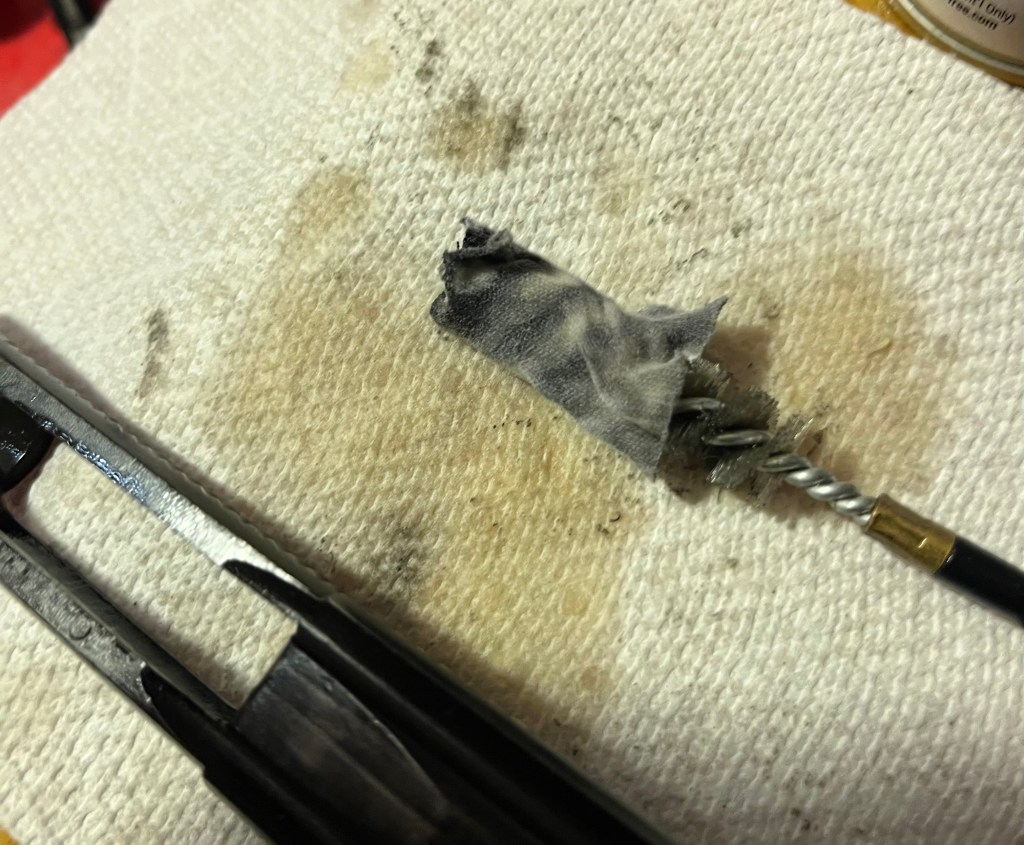
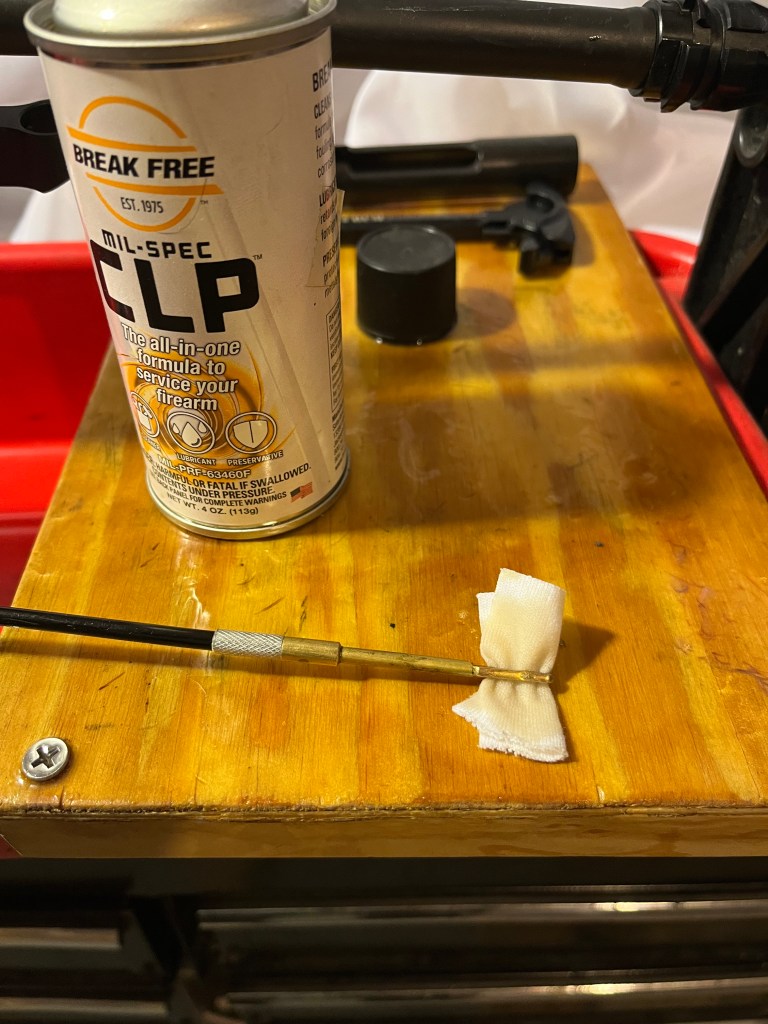
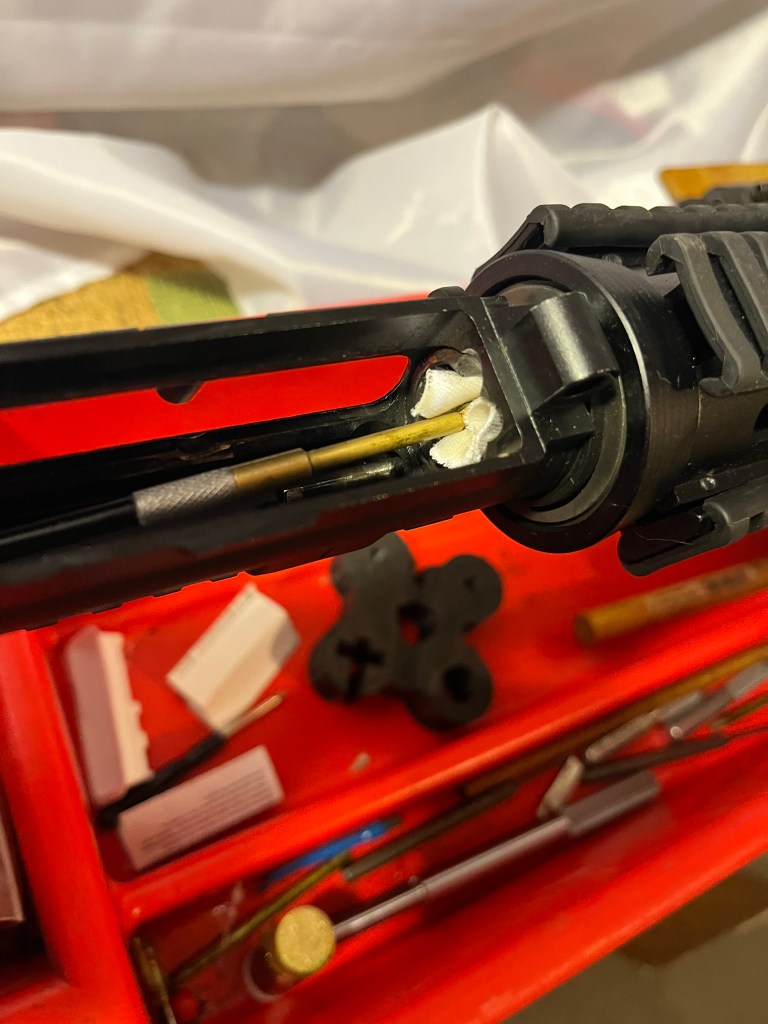
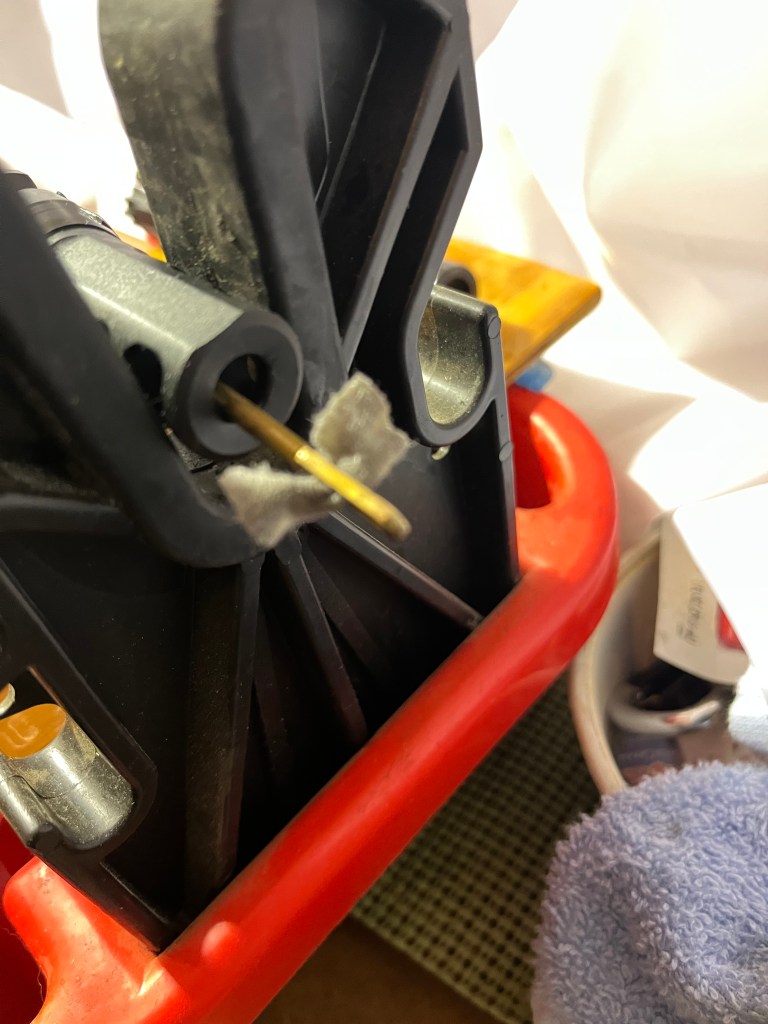
Get your patches out. Soak with CLP and apply to the chamber and inside the length of the barrel. Let it sit a bit before soaking your brass bristle brush and scrubbing, followed by another wet patch, then dry patches till clean. I think this barrel required a dozen patches. At least.
Ok, that looks clean, so I’ll run one more wet patch to leave a coat of protectant (CLP = Cleaner Lubricant Protectant, right?)
Now, to the rest of the upper. Be liberal with the CLP; we’ll be wiping everything down at the end.
*Yes, Grok hallucinated that spelling of culprit and gave me attitude when it was pointed out.
Catheterizing the DISS.
Get out your paper towels or clean rags and clean out every surface in the upper.
You’ll be amazed at how filthy it is. That was a clean paper towel above.
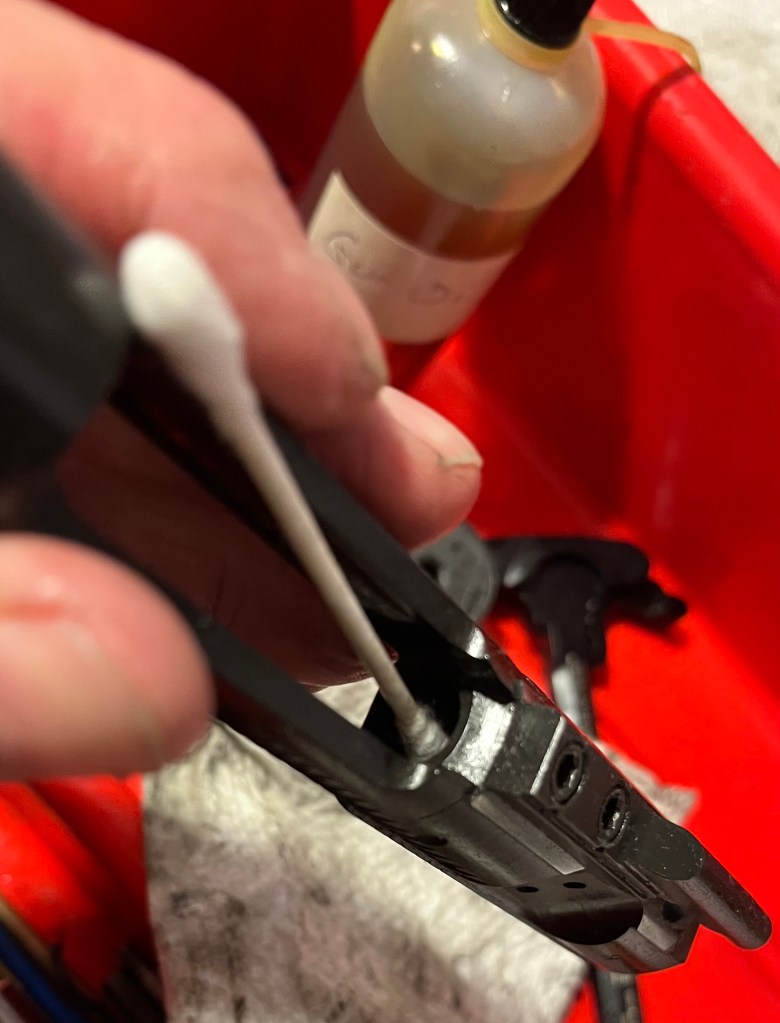
See the schmutz on the Q-tip after cleaning the feed ramps?
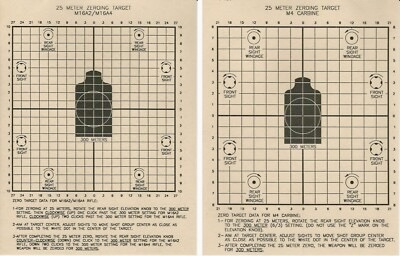
Here are the deets on adjusting your sights for the 25/300 meter zeroing for M 4 and M 16 style ARs. Shamelessly ripped from the internet.
To achieve a 25/300 meter zero for your AR-15, follow these detailed instructions.
Hang the target so that the center cross is at the shooter’s eye level. For best results, shoot from a benchrest.
Set the rear sight to the appropriate position for your rifle model. For M4-style sights, turn the rear sight to the “8/3” position. For M16A2 and M16A3 sights,
turn up one click past “8/3”. For M16A4 sights, turn up two clicks past the “6/3” setting to the “Z” mark.
Hang the target at 25 meters. Fire precise, three-shot groups at the center dot and adjust your sights according to the targets above. This gives you a battle-zeroed rifle out to 300 meters
And this hack will amaze you! Simply aim at the belt buckle of any ‘target’ out to 300 meters. The round will impact there at 25 and 300. In between it will rise up the torso. At 400, aim at the head and gravity will get you a center of mass hit.
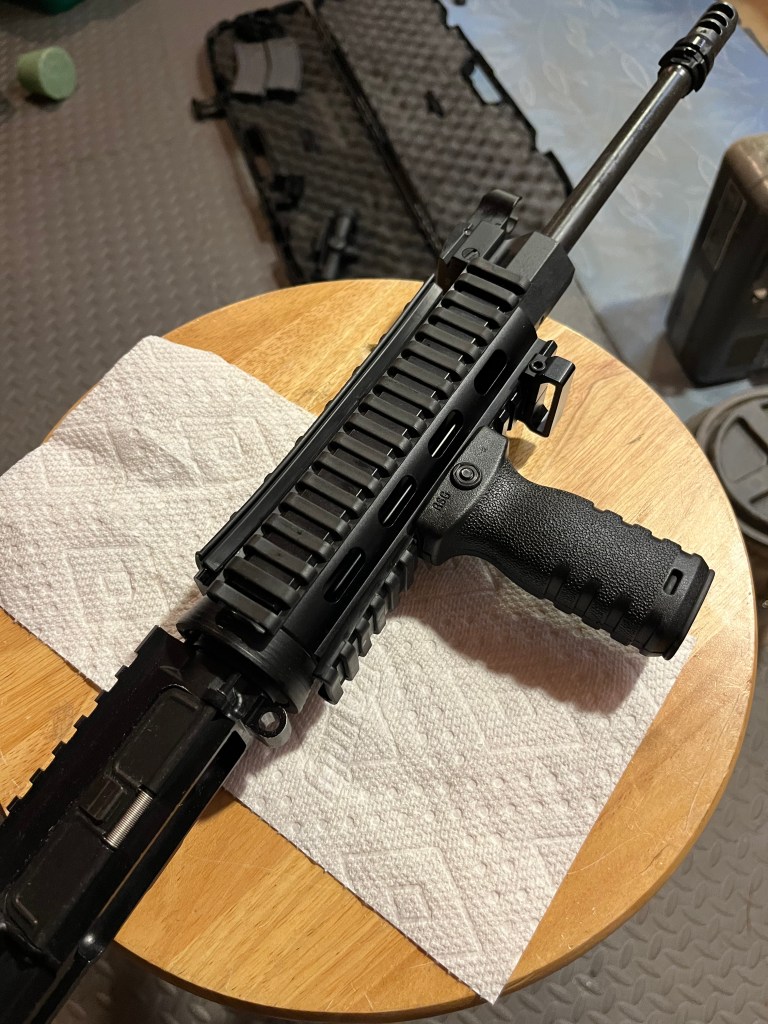
When last we visited Emily, she had shown us how to load and make safe her AR 15. Now, she is ready to shoot.
But how do you aim? How do you hit what you are aiming at?
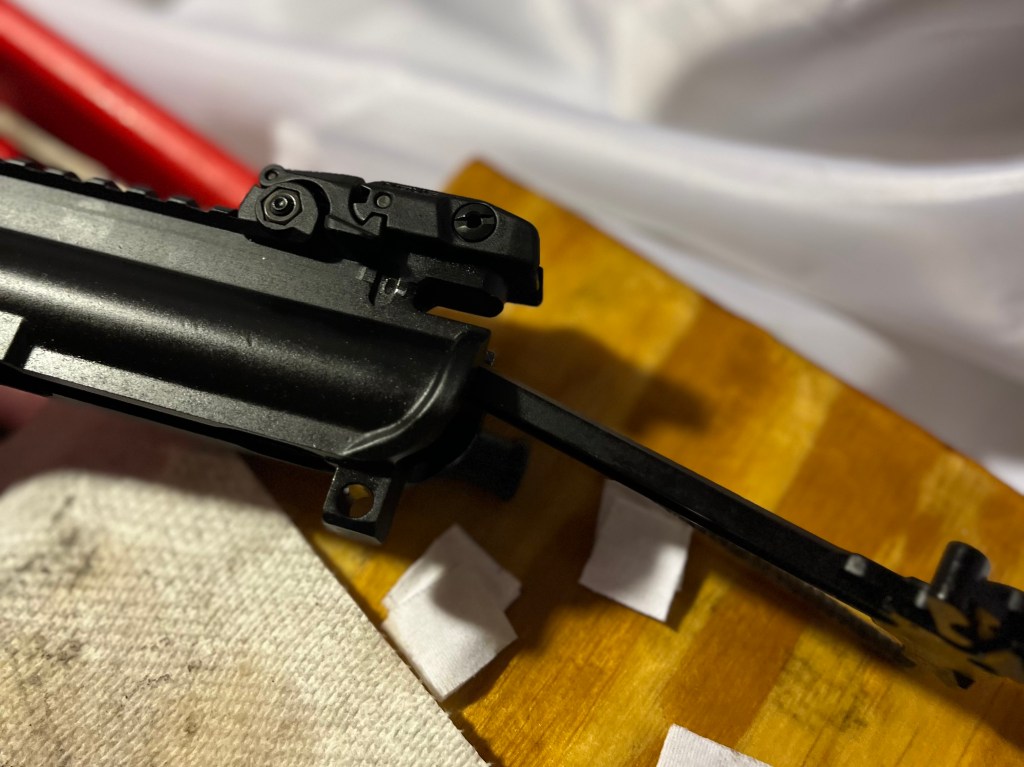
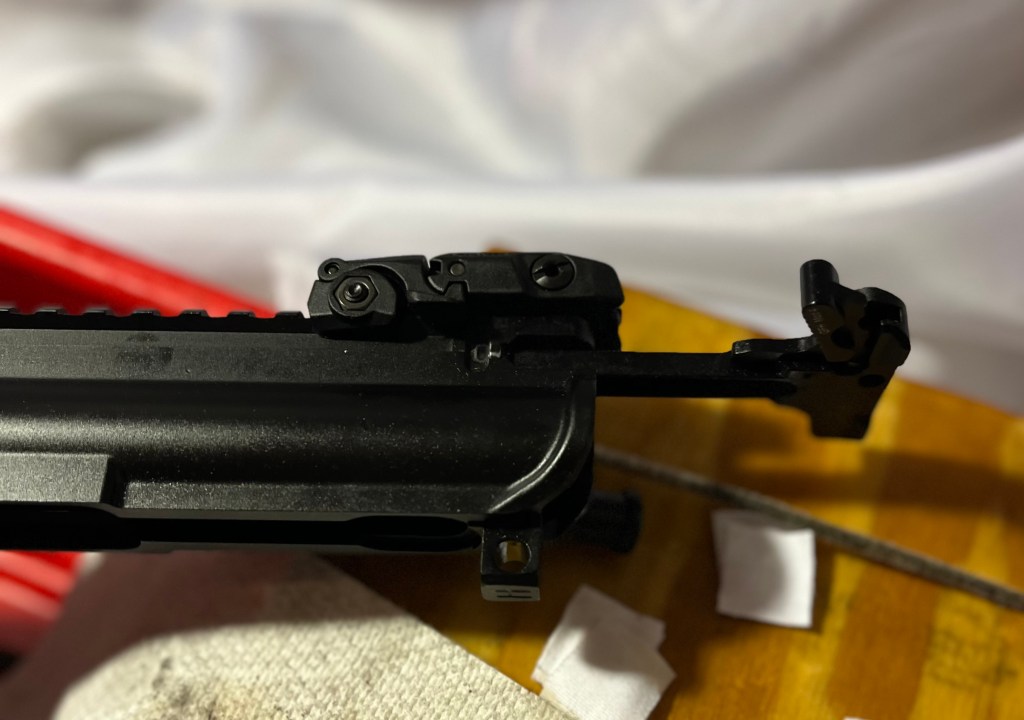
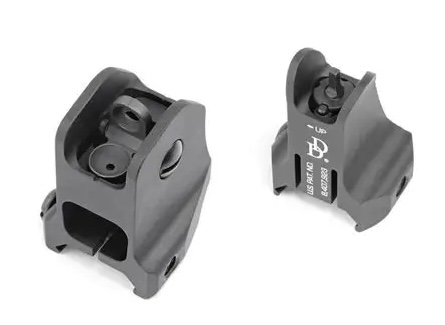
Great questions! First, you aim using sights, that sounds simple. But nooo. There are as many sights as there are AR variants. So, let’s start with the basics – “iron sights”. That really means “not optical” sights. They are mechanical and are made of steel, aluminum or plastic. They can look like this, front and rear:
And you look through them like this:
Simple, right?
Here, you can see Emily aiming off to the right of the target with the early “carrying handle” and fixed front sight of the original M16 and AR 15.
Precisely because they are simple. No batteries, no fragile optics, and they are hard to damage. They are good out to several hundred yards (depending on your eyes). If you are looking at an AR 15 for general self defense, you can sight in iron sights so that they are zeroed at 25 and 300 meters, and the bullet will only rise a few inches in between. That means you can aim at the center of mass of any target within that range and you will ballistically be guaranteed of a hit. That is why you will see most AR platforms with BUS – Back Up Sights – in addition to optics, red dots, thermals, etc. When all else fails, you can fall back to the simple solution.
These are the targets that the US military sets out at 25 meters (just over 27 yards). By shooting at these close up targets, you can make the required adjustments to the front and rear sights to zero the rifle to the center of the target.
Uncle Sam has made it extremely easy for Pvt. Snuffy to follow these directions. Once zeroed, it will hit the center of the target at both 25 and 300 meters. That’s because the bullet trajectory looks like this:
You can see that the first vertical line is at 25 meters where the bullet climbs through the line of sight, continues climbing and then descends through the line of sight at 300 meters.