Let’s get the BBB going!

No, I’m not talking about the Big Beautiful Bill. I’m talking Back to Bangsticks for Beginners!
Our story to date has covered .22 caliber firearms, starting with the single shot, bolt action rifle, the 6-shot revolver, and the 10-shot semi-automatic pistol. We now head to the .22 caliber semi-automatic rifle in various magazine capacities.

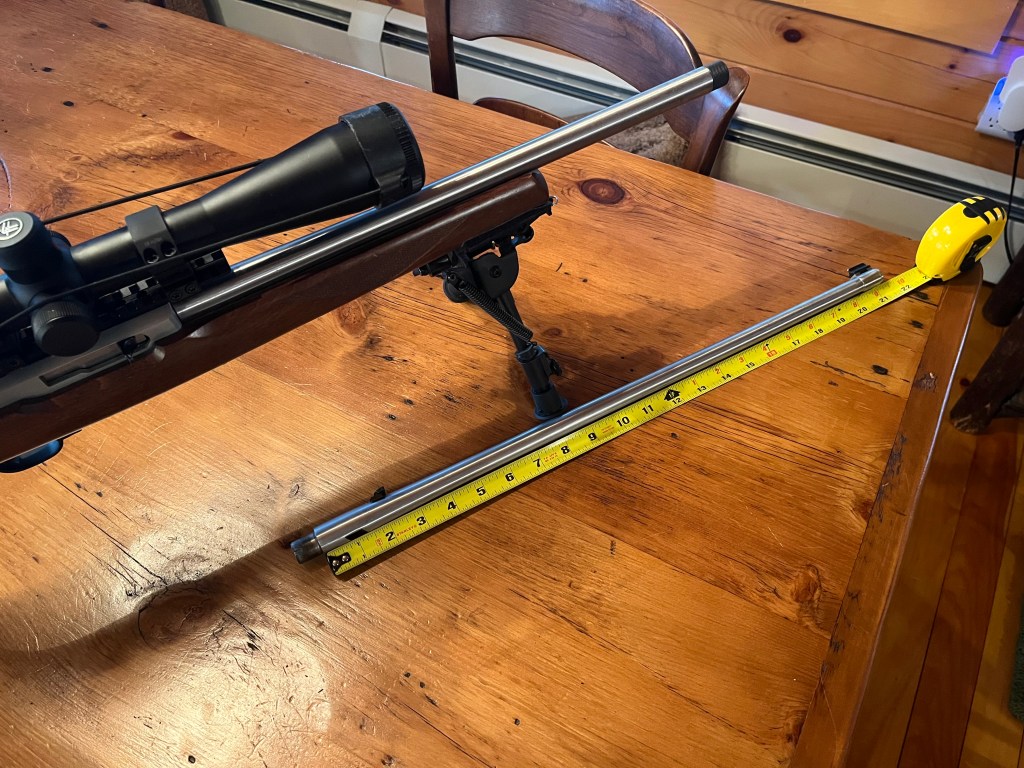
Surely you know that I’m coming back to the Ruger 10-22. But not just yet! Believe it or not, there are other rifles available. In 1972, the first firearm I bought on my own was a used Mossberg Model 352 KC, built between 1967 and 1969 according to the inter tubes.

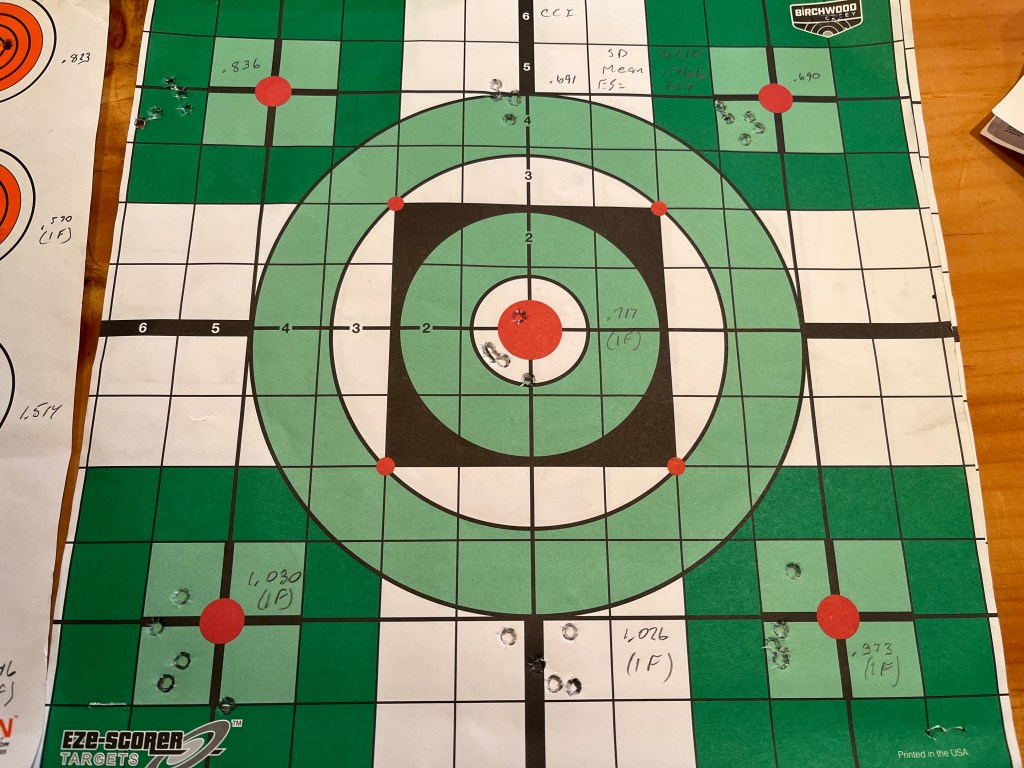
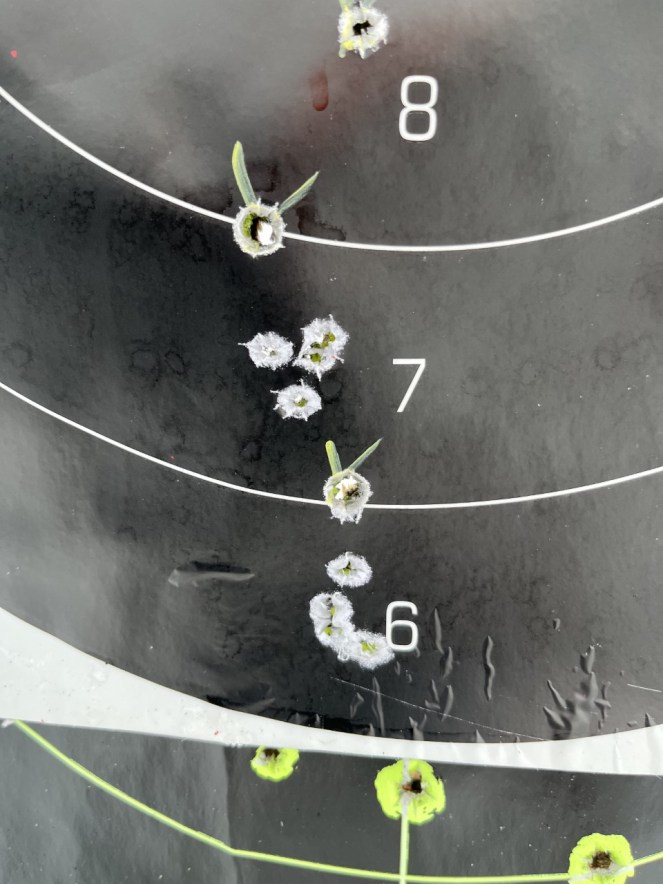
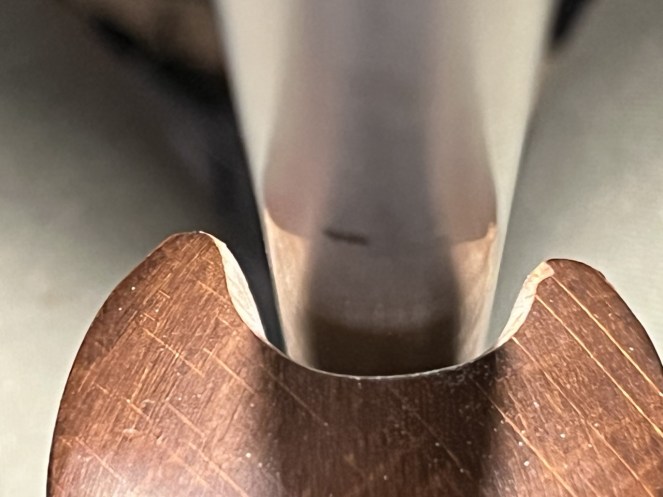
Originally it had a crappy 1×4 (?) scope where the crosshairs would travel toward 7 o’clock when you increased the magnification. But it was accurate, both with the scope and with the iron sights. And it had a 7 round magazine, quite a step up from my old single shot. The magazine allowed Short, Long, and Long Rifle cartridges with a moveable tab to get the feed angle right.

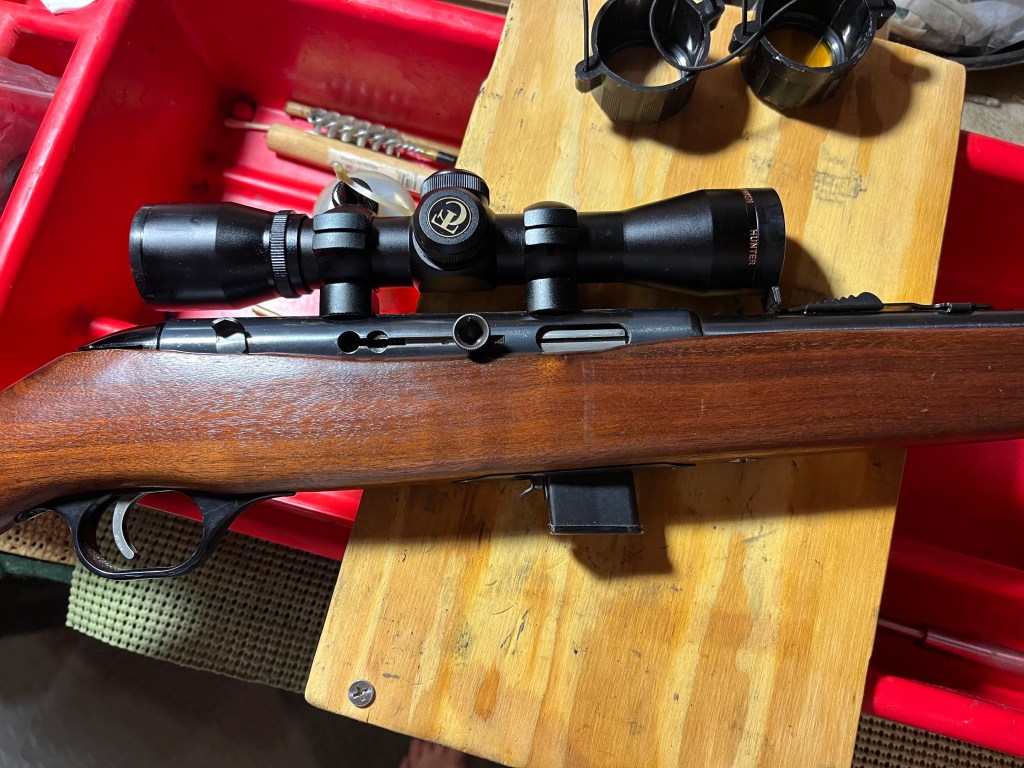
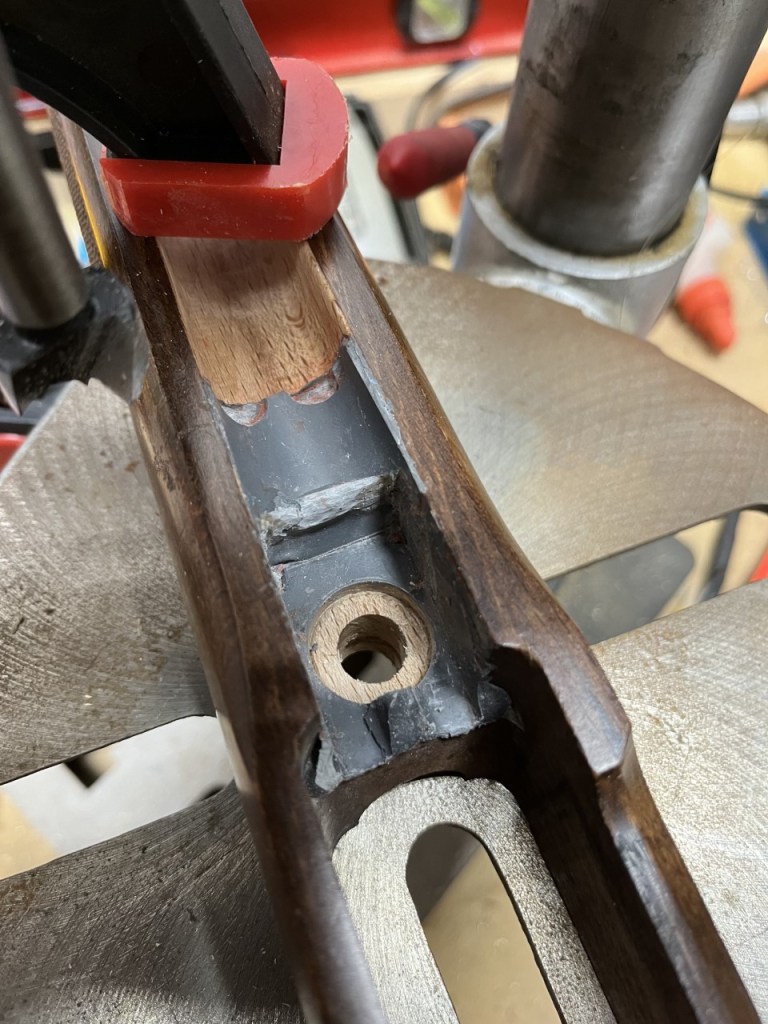
A Thompson Center Arms on special scope mounts that clamp on to grooves in the sides of the receiver has replaced the original chinesium.
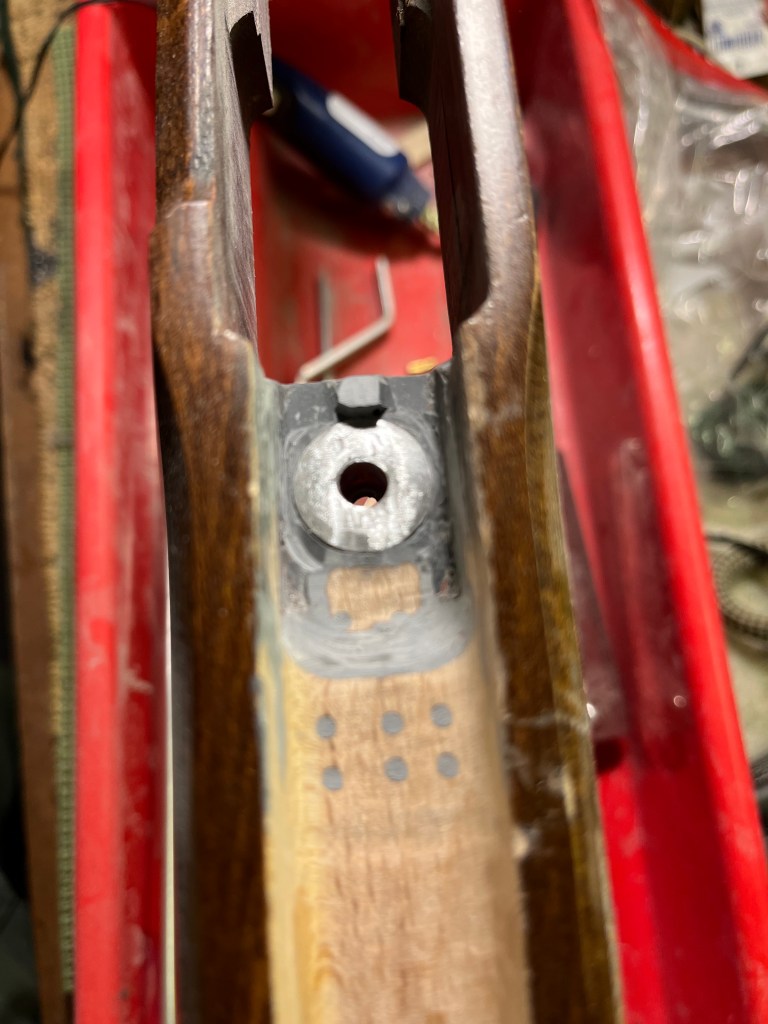
But even better, it has a thing that goes down!

Yes, the fore-end rotated down 90 degrees to make it a truly awesome Assault Rifle (TM).

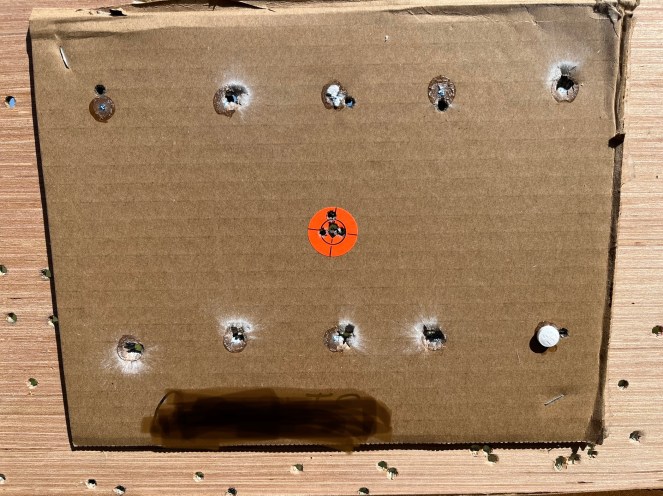
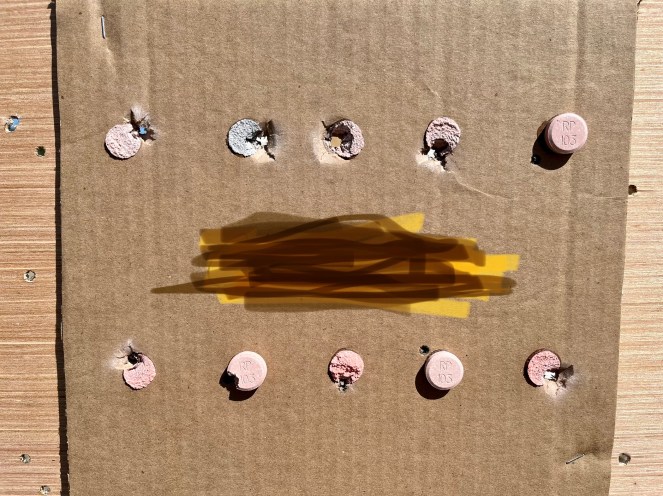
So what does this step up for beginners get us? A much more stable platform than a handgun, where you have the ability to make follow-up shots without having to lose your sight picture or your grip. Since repeatability is a key factor in accuracy, keeping the rifle in the exact same position relative to your body is critical. And now you can do it 7 times in a row!

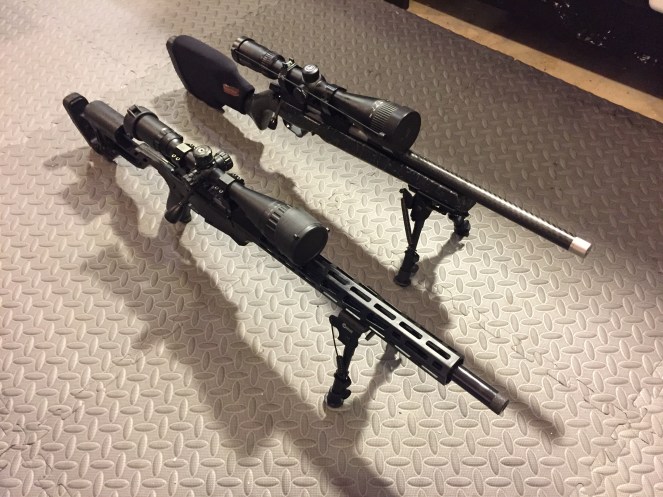
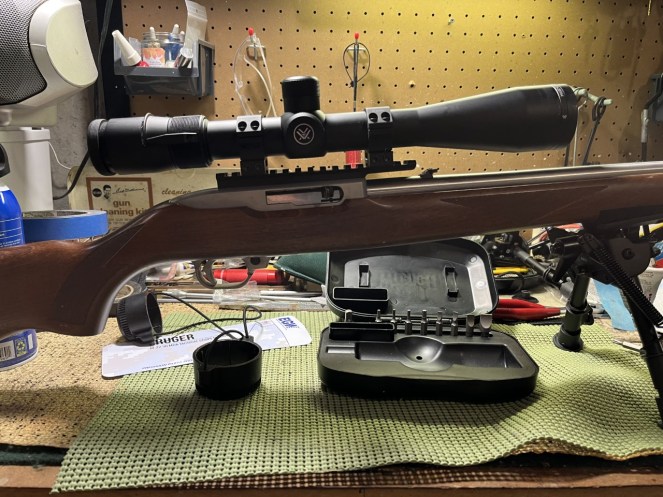
There are a ton of semi-auto .22s out there from which to choose (the Ruger 10-22 is ubiquitous, with a huge aftermarket for accessories, making it probably the most successful .22 rifle ever made). But there are other great manufacturers and options: Box magazines, tubular magazines, rotary magazines, drum magazines, they all are available to increase your ammo capacity. Find a rifle that fits your body and your length of trigger pull. It should feel natural and comfortable – you should not have to contort yourself to get a good sight picture and a comfortable trigger finger position.

OK, I think we can go on to a new class of Bangsticks for Beginners – shotguns!

What the heck is an “Aspirin Shoot”?

Well, d’oh. You get up early in the morning and scout those little rascals and blast the heck out of them . .

Really, though, you have to get up pretty early in the morning to claim your favorite shooting table at the club. The rock solid one that gives you the best angle on those little devils.
Here is the course of fire: Aspirin at 50 yards. Tums at 100. Know Your Limits steel at 150. Same at 200. .22 caliber only, but any rifle you want. Bipod and rear bag only.

10 aspirin on your individual cardboard target. One fluorescent sighter target. You may take up to 10 sighter shots, but once on the aspirin, you cannot go back. One shot per aspirin. If the round touches any part of the aspirin it is a hit. Yes, black wax streak on the side is a hit. Max score of 10.

Same thing at 100 yards with Tums. Word to the wise – this is the hardest stage.

At 150, the 5 hanging KYL targets start at 8” diameter and go down to 2.5”. You must hit each target before going on to the next. Once you hit the smallest one, you keep shooting at it.

200 yards is the same. So max score possible is 40 points. On a great day the winning score is 32-34 points. On a cold winter day in blowing snow, low 20s will win.
So what rifle do you use? At least at our club, everyone started out with Ruger 10-22s, and shot CCI Standard. But is wasn’t long before ammo changed to Eley, SK, Wolf, and rifles changed to CZ, Ruger

Precision Rimfire, and the like. My own upgrades were the Christiansen Ranger and the Ruger Precision Rimfire.

Let’s take a look:

This is the best I’ve shot. 9/10. Pretty sure won that day with a 34.

Tums are tuff. At 100, wind really kicks in.

An 8 will keep you in the running.

This is what you are shooting at.

And it looks like this:

Some people say that .22 at 200 yards is similar to large caliber at 1000. I tend to agree. The .22 LR is an anemic round; it gets pushed around by the wind a lot. But it’s been around for a hundred and fifty years and is arguably the most popular caliber. It is hard to shoot well at distance.

But would you stand there and offer to be a target? I don’t think so.

Accurizing the Ruger 10-22, Part 5

A quick recap to see how we got here:

  1. Barrel free-floated.
  2. Receiver bedded.
  3. Pillar and new escutcheon bedded in place.
  4. New trigger group installed.
  5. New action screw to receiver torque-tested.
  6. Receiver tune-up parts installed.

At this point I’ve put about $150.00 and many man-hours into the project. My initial conclusions were that I had increased accuracy somewhat, and that it was a fun project. But final testing after finding the proper torque on the pillar-bedded rifle showed a significant improvement – from over an inch at 50 yards to just over 1/2”. For a stock 20 year-old Walmart-purchased Ruger 10-22, I’ll take that.

However.

Before I had figured out the absolute criticality of torque on the action screw, I was getting such inconsistent results that I thought that I’d just order a new barrel. I also wanted to shoot suppressed; therefore it needed to be threaded. Off to Green Mountain.

Now, the original barrel is stainless, 21”. There is constant discussion about the perfect .22 barrel length – 16, 18, 22”? My Aspirin Shoot rifles are 16” and are under 1 MOA. I decided to try the Green Mountain stainless, threaded 16.25” bull barrel.

But to install it, we have to change our bedding.

Off to the range!

Sorry, the Dirty Bird targets don’t splash with .22. But unsuppressed we get groups of CCI Standard – .846, .544 1 F; Wolf – .457, .346 1 F; SK Rifle Match – .618, 1.00; and CCI Green Tag – .861, .744 1 F.

Suppressed is a little easier to see. We get CCI Standard at 1.126, 1.207 1 F (ouch!); Wolf – .343, .615 1F; SK – .658, .847; and CCI GT – .861, .645 1F.

Looks like my old standby, CCI Standard is out of the running, at least when suppressed? But all in all, the barrel seems to perform very well with some ammo and decently with other. My one regret is that the rifle no longer feeds Eley ammo. That stuff is superb in my Aspirin Shoot rifles. Unfortunately, it has a flat nose with a little cone in the center (patented!). The flat nose catches on the chamber edge and turtles.

And that’s the end of this story. 😇 Don’t worry. There’s more. Much more. Can you say “Aspirin Shoot”?

Accurizing the Ruger 10-22. Part 3.

Yes, she’s shooting pretty well, but unintended consequences rears its ugly head: the pillar raises the barrel a bit more up off of the fore-end, so the scope zero has now gone much higher. I’ll need at least a 30 MOA ramp to bring it down.

Well, 30 MOA didn’t cut it. Turns out I needed much more. So I grabbed the old 20 MOA ramp and commenced to filing. Comes in at about 45-50 MOA.

Now that’s a ramp! However . . . The forward mounting screw now sticks down into the receiver and binds the bolt enough to keep it from going into battery. Hmmmm. That’s what dremels are made for.
But now I have the MOAs to shoot at 300 yards with no hold-over.

Looks like this rifle likes CCI Standards for regular chow (although I know she like some brands of match-grade ammo for dessert). More on that later.

She sprays most other kinds. Looking at past data, CCI Standard groups have gone from an average of 1.71” at 50 yards to 0.682”. That’s down 0.489”, almost a full half inch and 1 MOA! Accurizing successful, so far.

But from a low of 0.373” and a high of 1.03”, both with a flyer, I’m still not completely happy. Almost time for a Part 4.

Have you ever wondered about how to make your Ruger 10-22 more accurate? Part 2.

So how did she shoot after our first accurizing steps?
Terrible. All over the place. What gives?

As it turns out, torque on the action screw dramatically affects point of impact and group size. So, back to the range with my Wheeler Engineering FAT wrench.

10 inch pounds to 25 inch pounds, and group size from .466” to 1.421”, a huge difference, but with accuracy nodes at about 13 inch pounds and 20-23 inch pounds.
So far, so good. On to pillar bedding (which i probably should have done first).

The pillar is sort of the shape of a flattened mushroom with a hole through it.The top surface of the pillar should sit at or slightly above the wood where the receiver normally rests, and the bottom goes through the stock to a new escutcheon. The pillar and escutcheon are glassed in place to become a permanent part of the stock. The new action screw now pulls the receiver down flush to the pillar – metal to metal so no compression of the wood in the stock.

First, scary cutting with drill press, levels, etc. Then Forstner drill bit cut. It fits! Glass in place.

About 1/2” 5-shot groups at the nos. 7 and 6 with CCI Standard.

Yes, I’ll take it. But there’s more in Part3!

Have you ever wondered about how to make your Ruger 10-22 more accurate? Part 1.

I did.

A while back I was disappointed that my trusty old Ruger 10-22’s groups were spreading out. I think I bought it around 2005, so it’s had a lot of rounds through it. But my Christensen Ranger and Ruger Precision Rimfire shoot 1 MOA or less, so I’m spoiled. But they are bolt-action and the 10-22 is semi-automatic, inherently less accurate. Still, 3-4 MOA (1.5”-2”) at 50 yards just won’t do.

So, 1. free-float the barrel; 2. Bed the receiver at the action screw and the rear of the receiver; 3. Bed in a support pillar and replace the flat head action screw with a hex head (easier to measure torque); and 4. Swap out the old factory trigger group.

One accuracy issue with the 10-22 comes from the fact that the receiver is only mounted in place with one action screw. The receiver sits on bare wood and the escutcheon at the base of the action screw hole is mounted in the wood of the under stock. According, there will always be some compression of the wood every time the action screw is tightened (like every time the rifle is disassembled for cleaning). By installing a pillar, the receiver and the escutcheon will be a metal to metal connection with much less compressibility.
So, let’s get started:

Sanding out the forearm to free-float the barrel.

Checking free-float with President George Washington.

Drilling holes to insure adhesion.

Taping the stock and blocking no-resin areas. A liberal coating of shoe polish on exposed metal works as a good release agent. Note also the black electrical tape winding to keep the barrel centered and off the fore-end when everything is clamped.


Glopping in the JB Weld.

Pressure applied overnight.

Initial results. Dremel clean-up to follow.


Free-floated barrel.

New trigger group.


But will she shoot?

Stay tuned for Part 2.