Have you ever wondered about how to make your Ruger 10-22 more accurate? Part 2.

So how did she shoot after our first accurizing steps?
Terrible. All over the place. What gives?

As it turns out, torque on the action screw dramatically affects point of impact and group size. So, back to the range with my Wheeler Engineering FAT wrench.

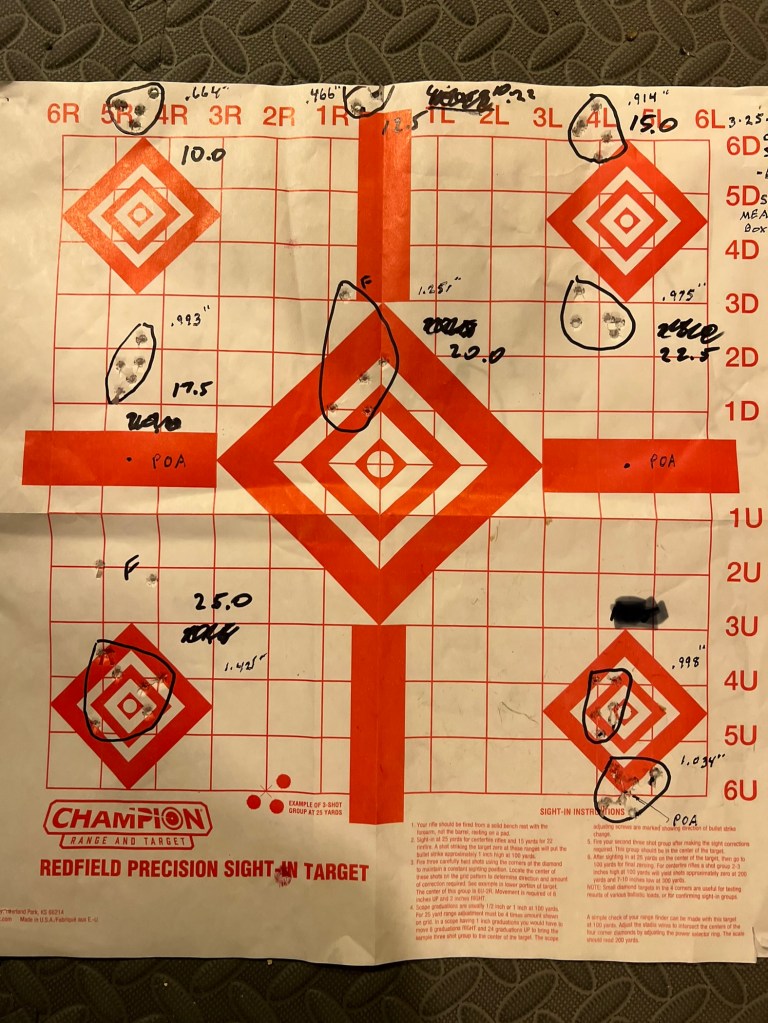
10 inch pounds to 25 inch pounds, and group size from .466” to 1.421”, a huge difference, but with accuracy nodes at about 13 inch pounds and 20-23 inch pounds.
So far, so good. On to pillar bedding (which i probably should have done first).

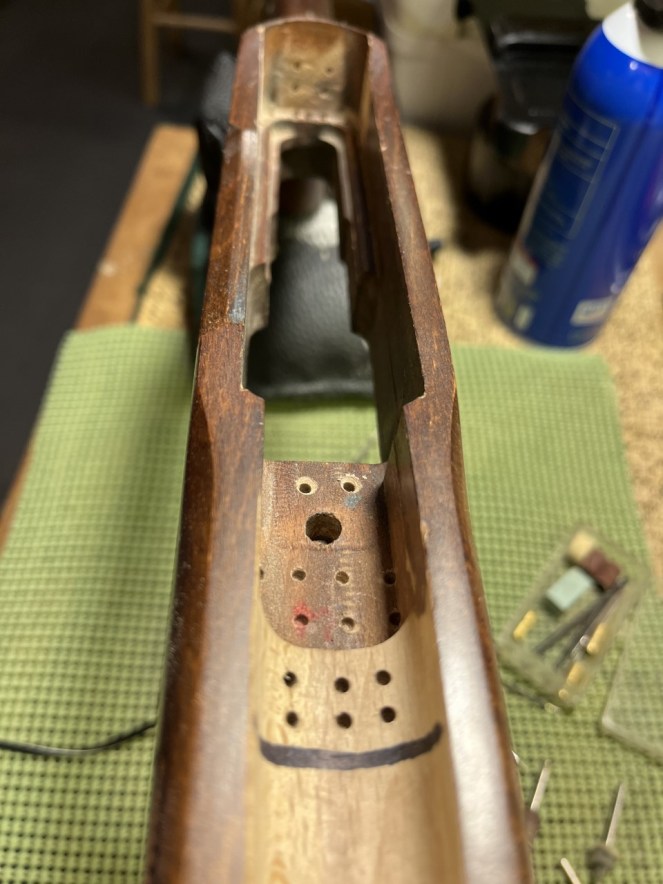
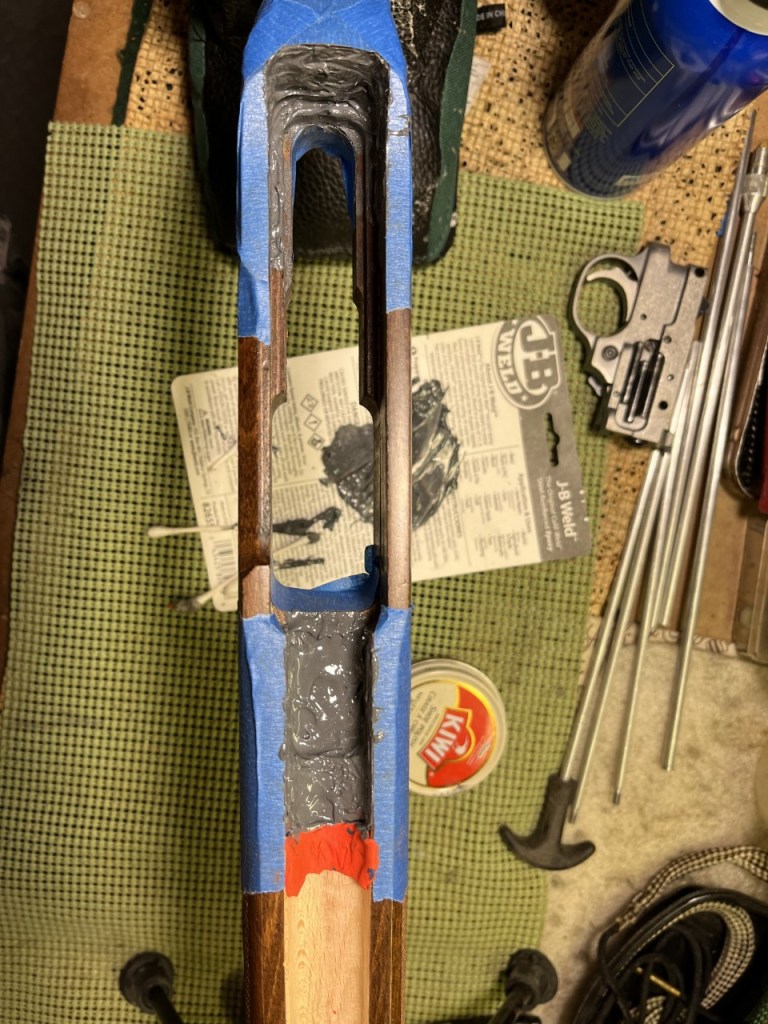
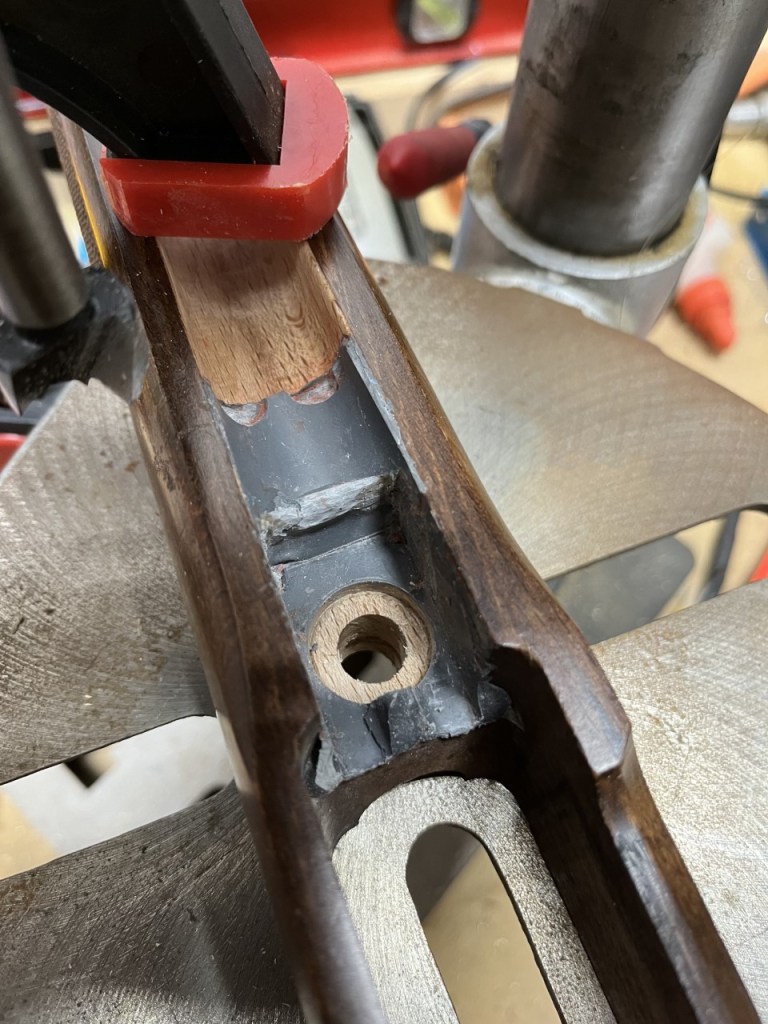
The pillar is sort of the shape of a flattened mushroom with a hole through it.The top surface of the pillar should sit at or slightly above the wood where the receiver normally rests, and the bottom goes through the stock to a new escutcheon. The pillar and escutcheon are glassed in place to become a permanent part of the stock. The new action screw now pulls the receiver down flush to the pillar – metal to metal so no compression of the wood in the stock.

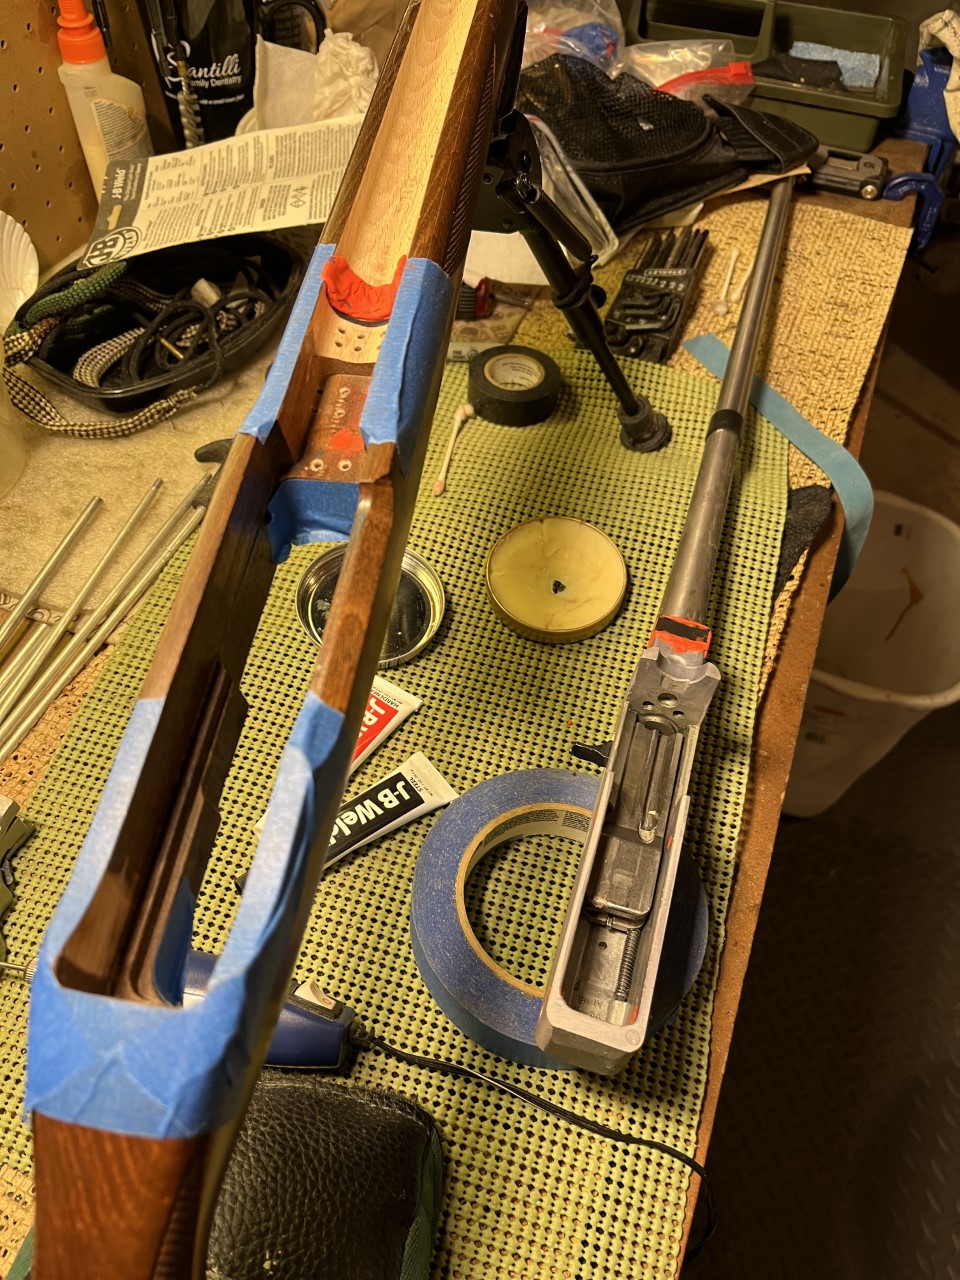
First, scary cutting with drill press, levels, etc. Then Forstner drill bit cut. It fits! Glass in place.

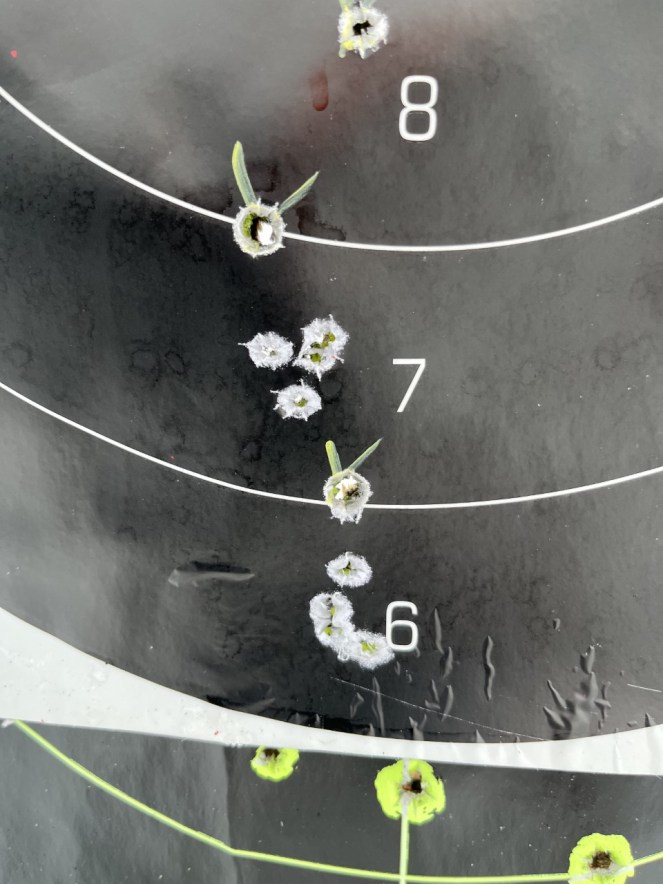
About 1/2” 5-shot groups at the nos. 7 and 6 with CCI Standard.

Yes, I’ll take it. But there’s more in Part3!

Have you ever wondered about how to make your Ruger 10-22 more accurate? Part 1.

I did.

A while back I was disappointed that my trusty old Ruger 10-22’s groups were spreading out. I think I bought it around 2005, so it’s had a lot of rounds through it. But my Christensen Ranger and Ruger Precision Rimfire shoot 1 MOA or less, so I’m spoiled. But they are bolt-action and the 10-22 is semi-automatic, inherently less accurate. Still, 3-4 MOA (1.5”-2”) at 50 yards just won’t do.

So, 1. free-float the barrel; 2. Bed the receiver at the action screw and the rear of the receiver; 3. Bed in a support pillar and replace the flat head action screw with a hex head (easier to measure torque); and 4. Swap out the old factory trigger group.

One accuracy issue with the 10-22 comes from the fact that the receiver is only mounted in place with one action screw. The receiver sits on bare wood and the escutcheon at the base of the action screw hole is mounted in the wood of the under stock. According, there will always be some compression of the wood every time the action screw is tightened (like every time the rifle is disassembled for cleaning). By installing a pillar, the receiver and the escutcheon will be a metal to metal connection with much less compressibility.
So, let’s get started:

Sanding out the forearm to free-float the barrel.

Checking free-float with President George Washington.

Drilling holes to insure adhesion.

Taping the stock and blocking no-resin areas. A liberal coating of shoe polish on exposed metal works as a good release agent. Note also the black electrical tape winding to keep the barrel centered and off the fore-end when everything is clamped.


Glopping in the JB Weld.

Pressure applied overnight.

Initial results. Dremel clean-up to follow.


Free-floated barrel.

New trigger group.


But will she shoot?

Stay tuned for Part 2.