
Yep, I understand. But did you see there’s now a German “Maria”? I wonder if you’re also related…
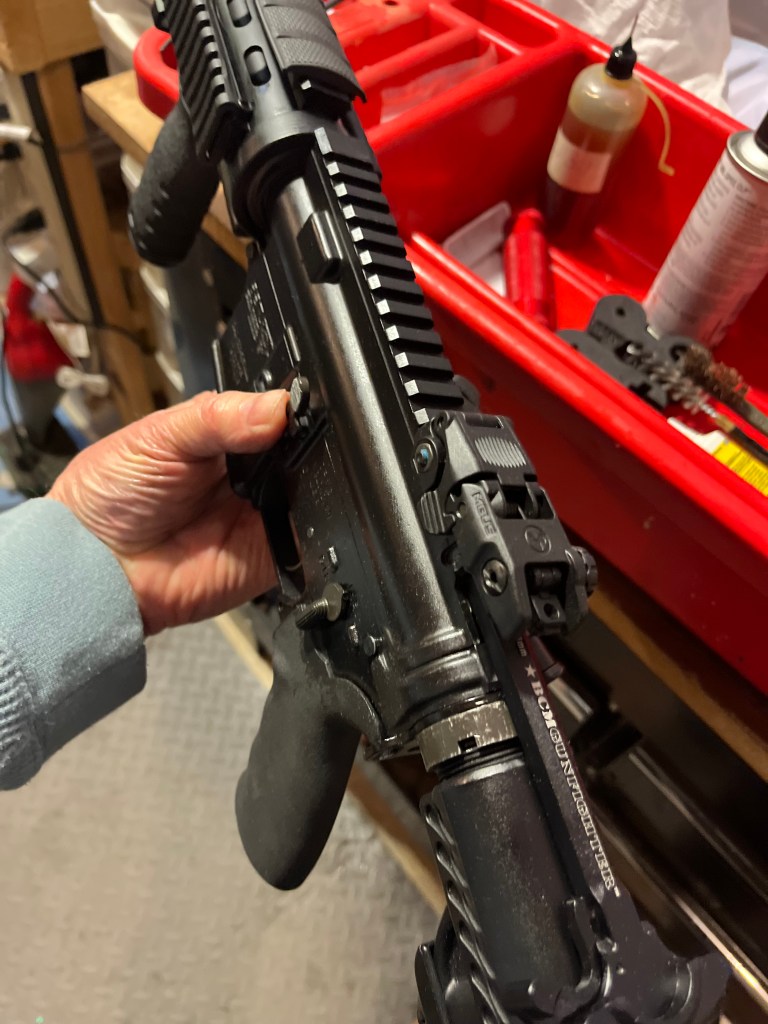
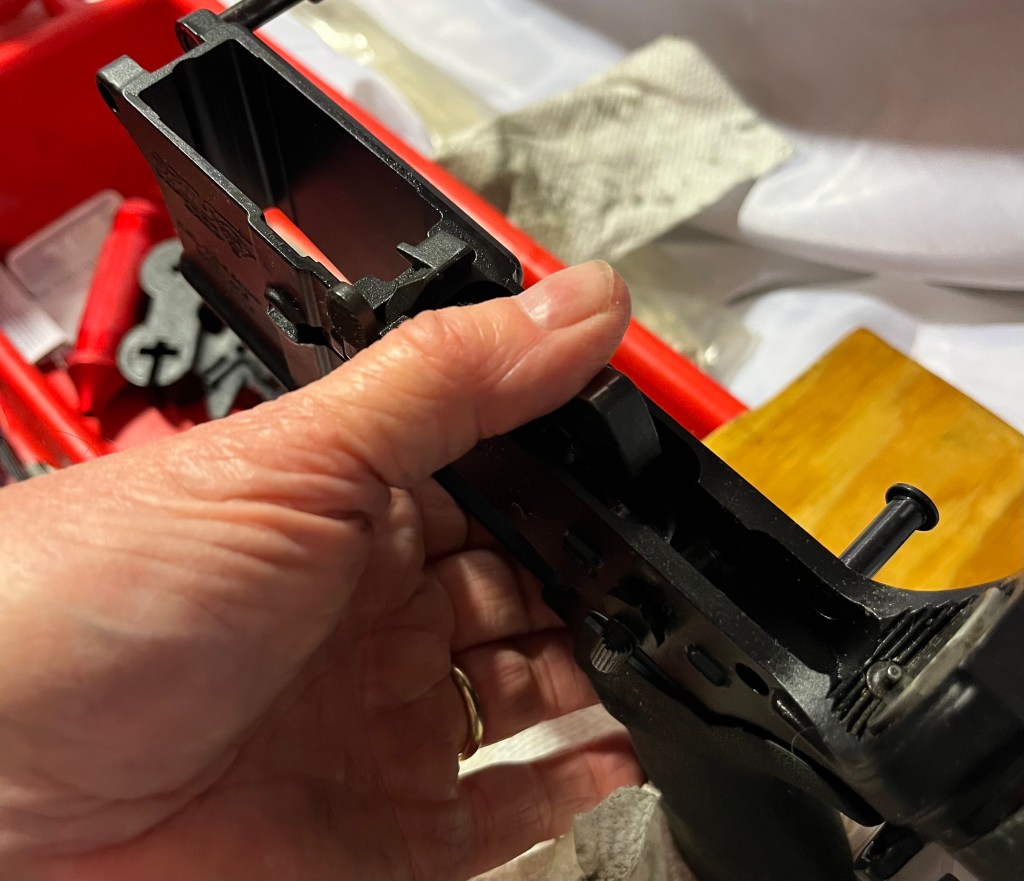
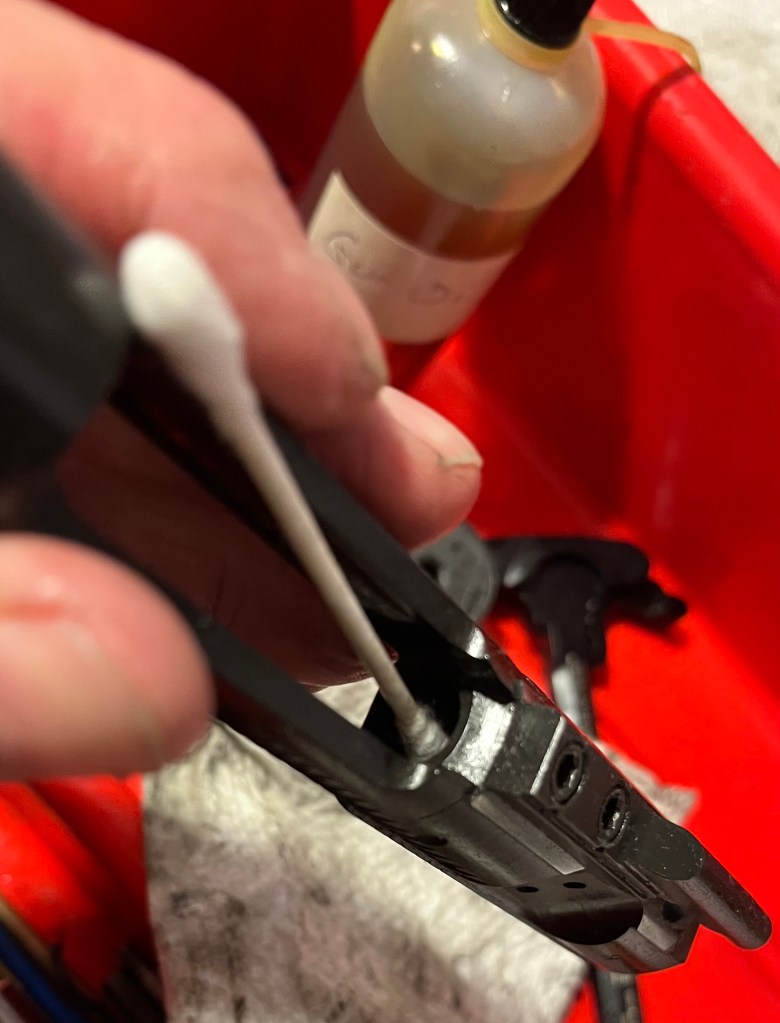
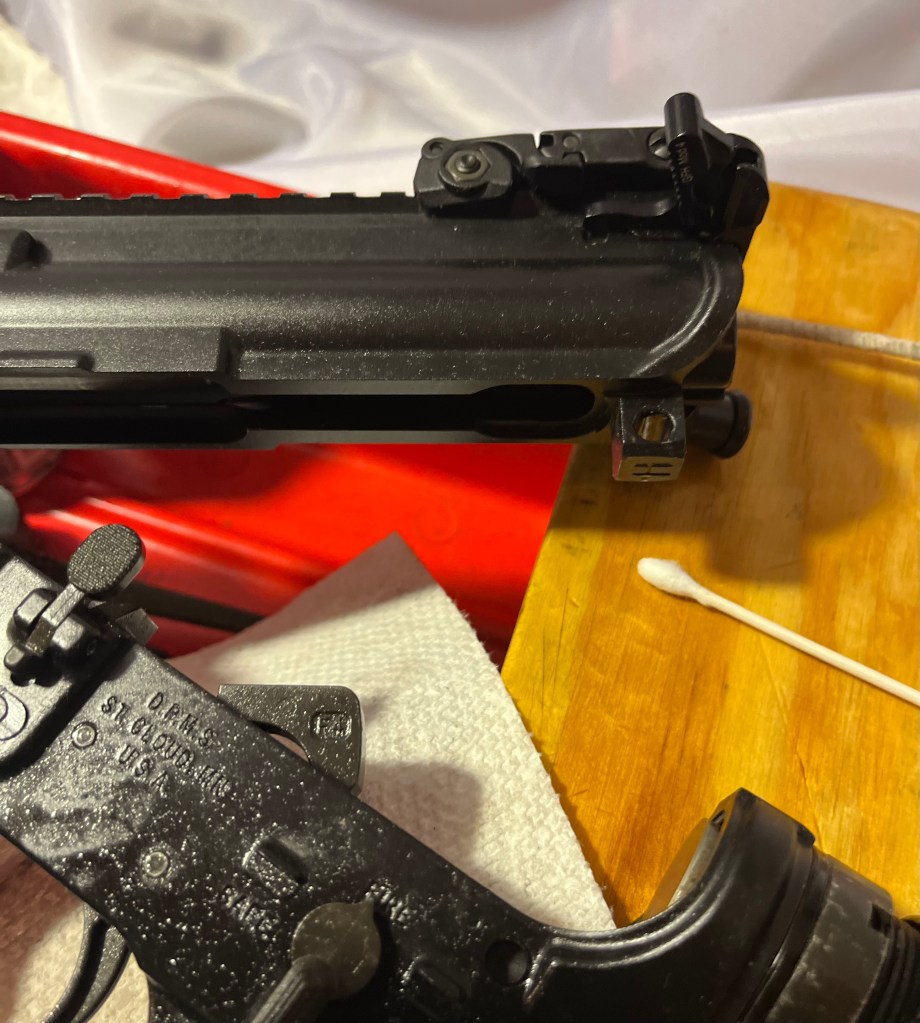
Back to cleaning. Before we get to the BCG, let’s do a little work on the lower. It doesn’t get as dirty as the upper, but still needs attention. Wipe everything down, including the inside of the mag well.
Put a drop of oil (Mobil 1 works fine) on springs and rotating devices like the safety and the mag release, and operate them a few times for smoothness, then wipe away any excess.
The hammer face may be dirty and needs a wipe.
Operate the hammer and trigger, BUT make sure to ease the hammer down with your thumb. You don’t want it flying forward.
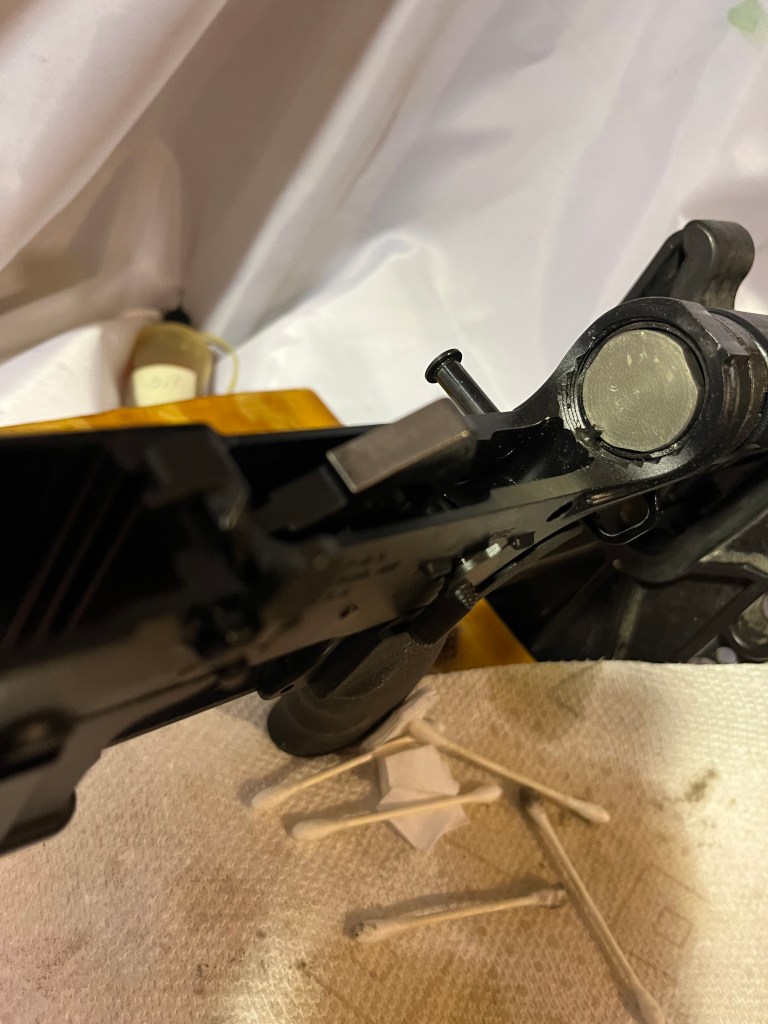
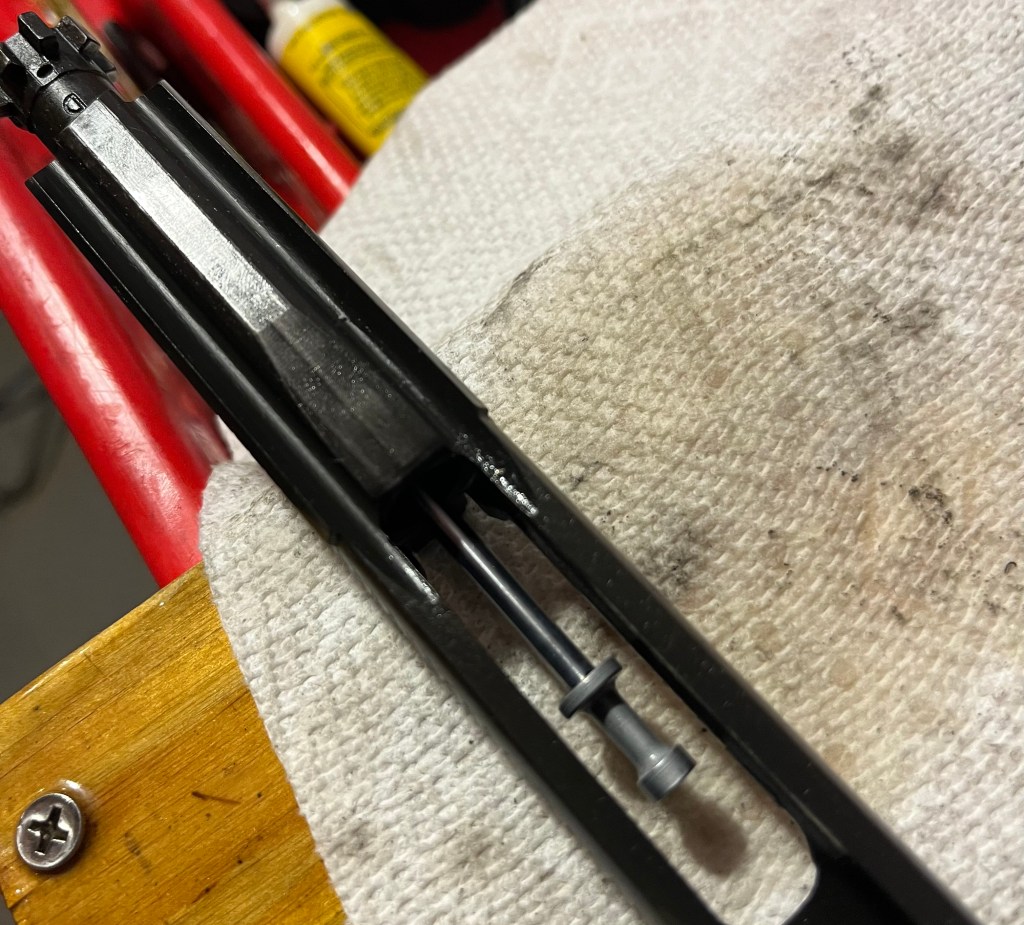
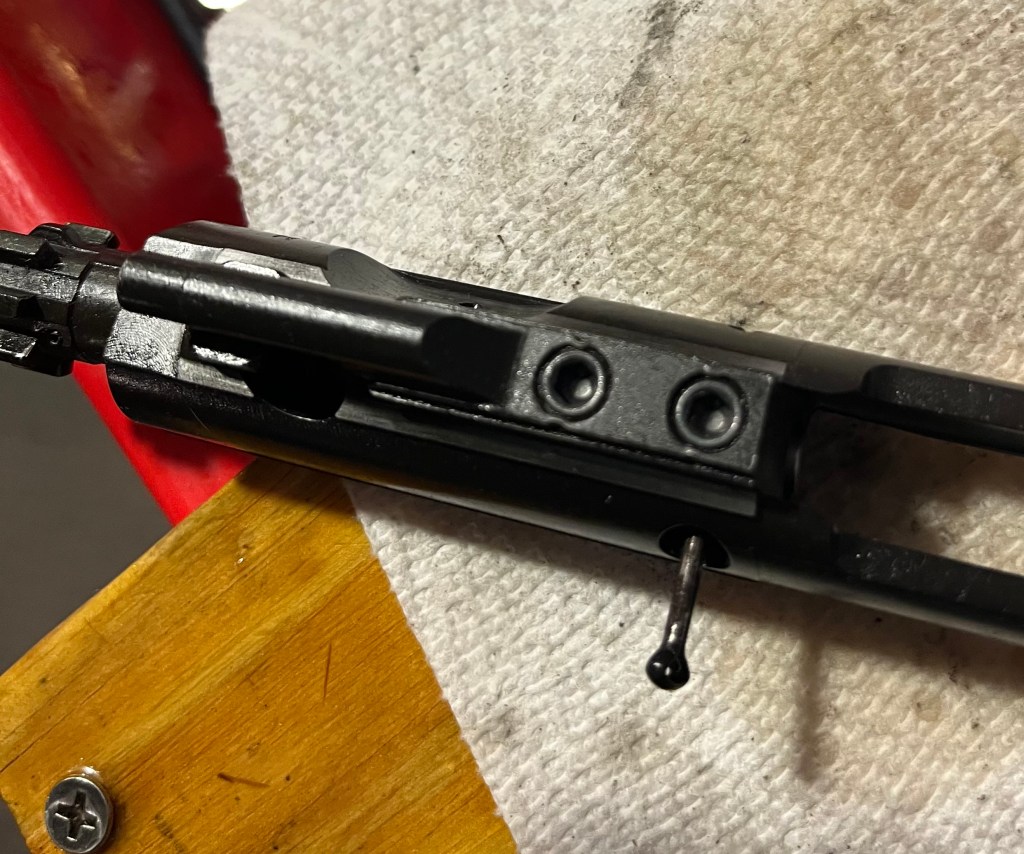
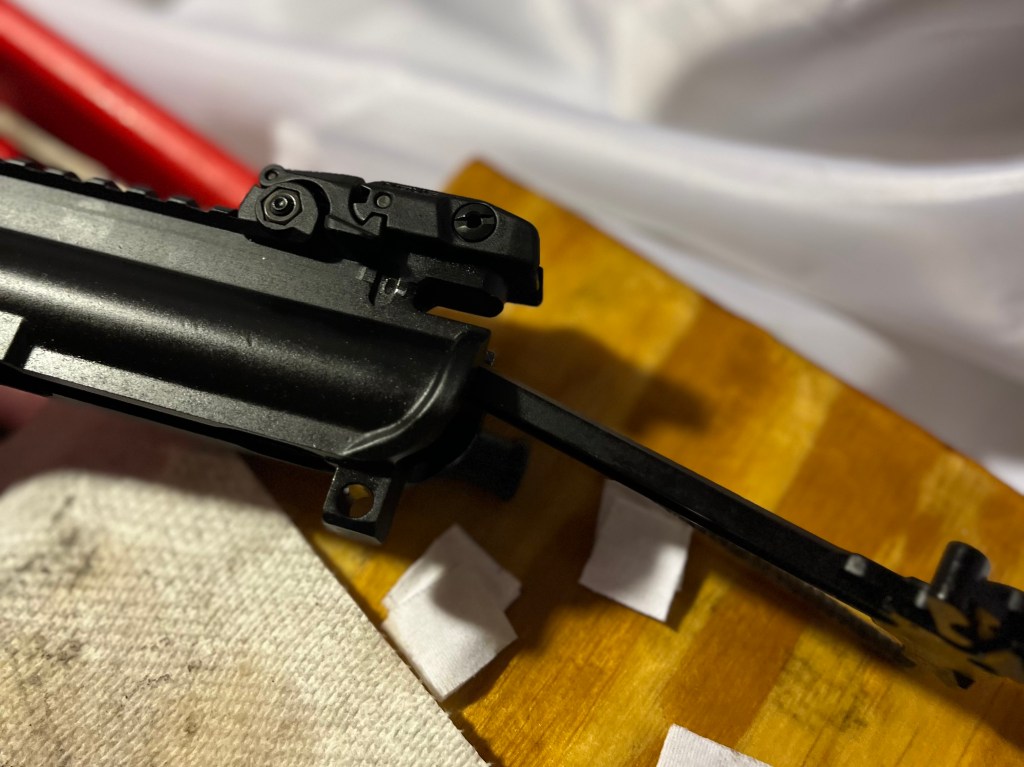
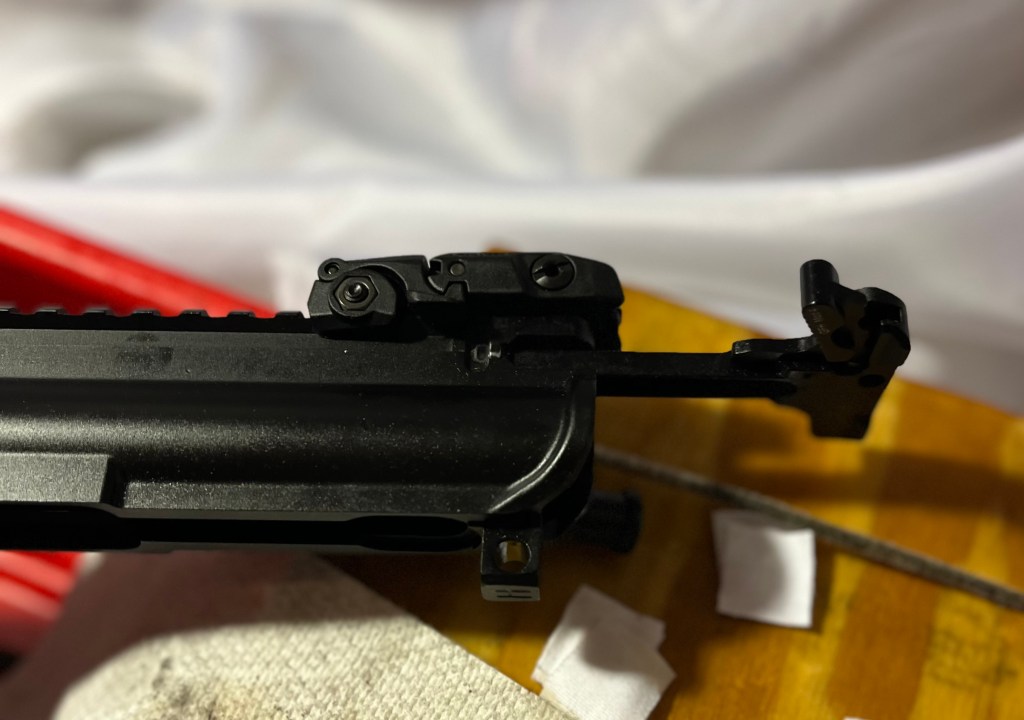
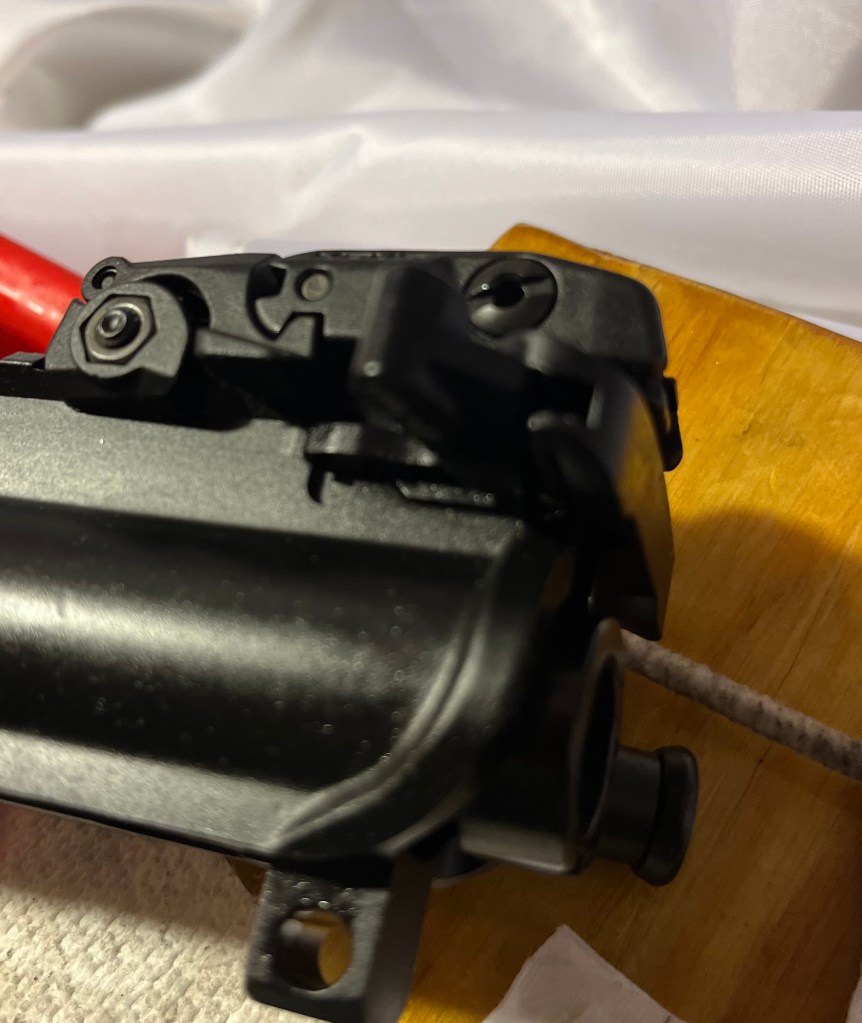
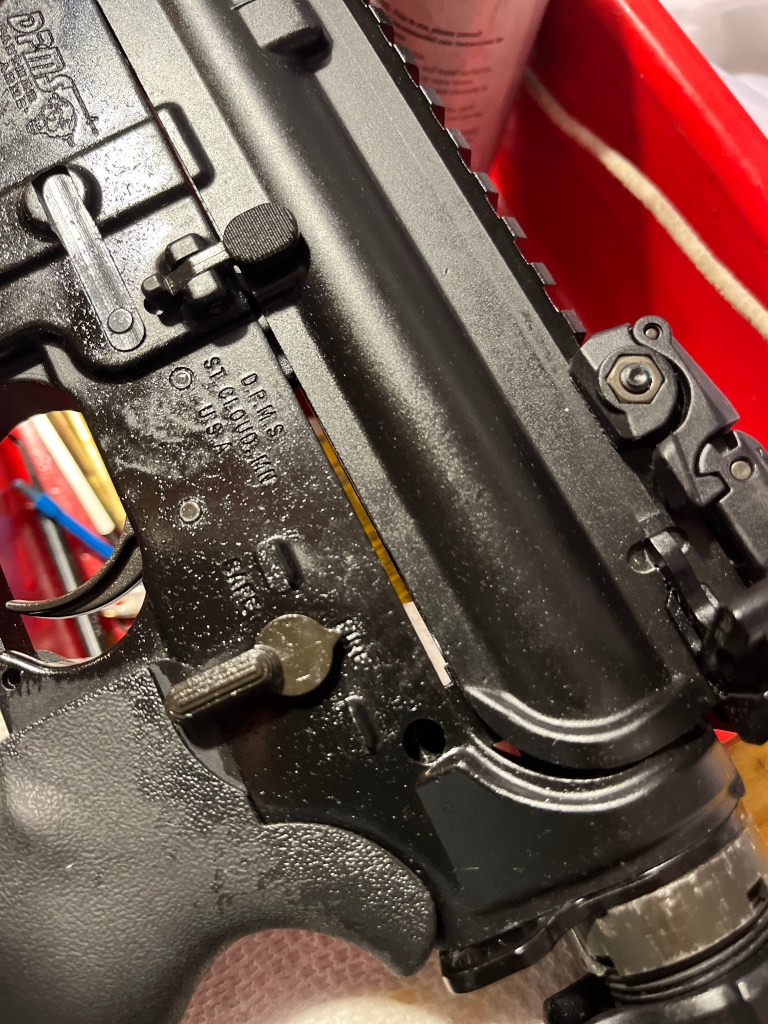
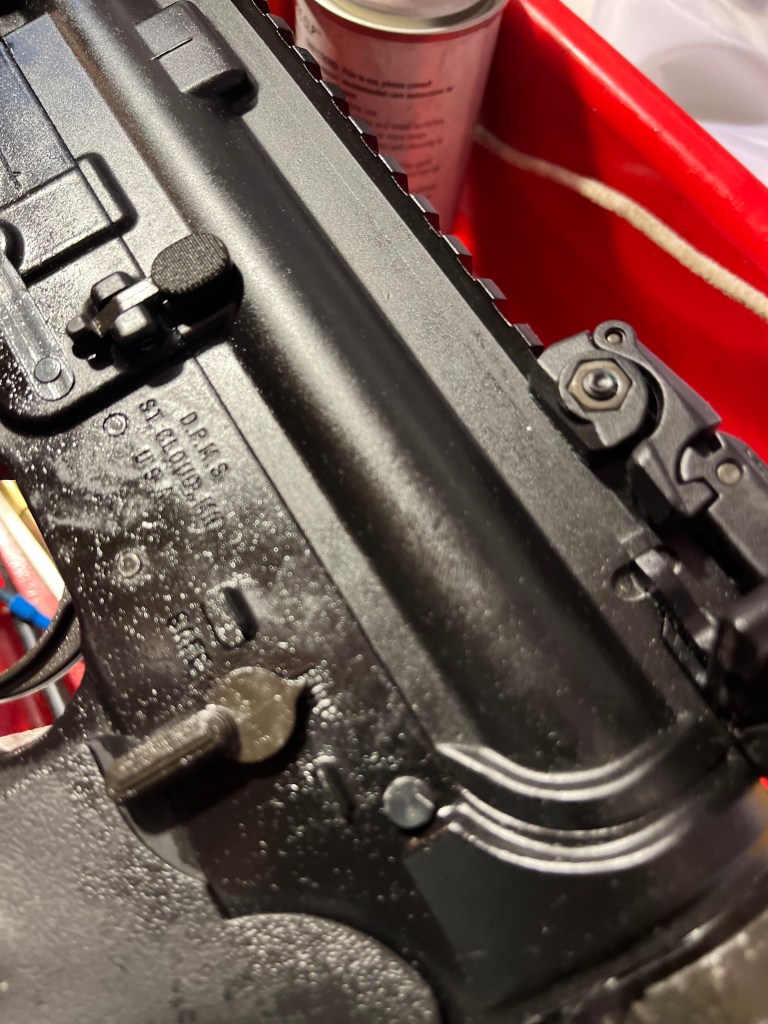
That’s the buffer tube. It has a long recoil spring behind it. To remove them you would press down on the little pin in front, and rotate the tube to a flat edge, then pull them out. It doesn’t need a lot of attention, but should occasionally be checked for cleanliness and wiped down lightly with lube.
Give the Lower a wipe down and set it aside.
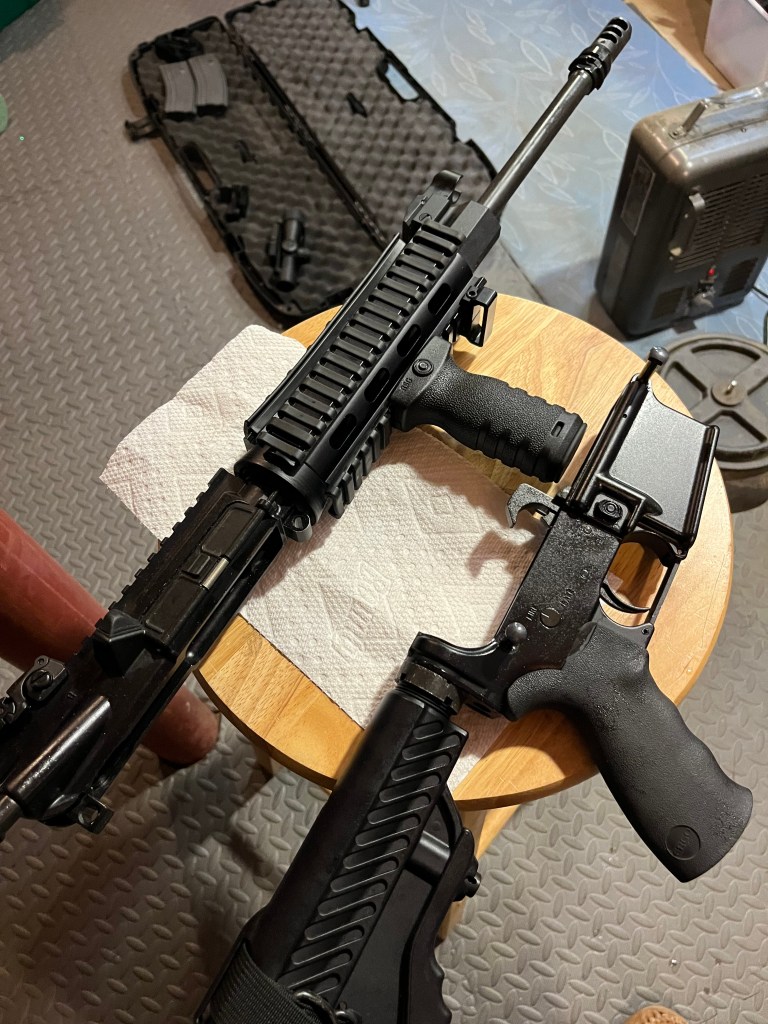
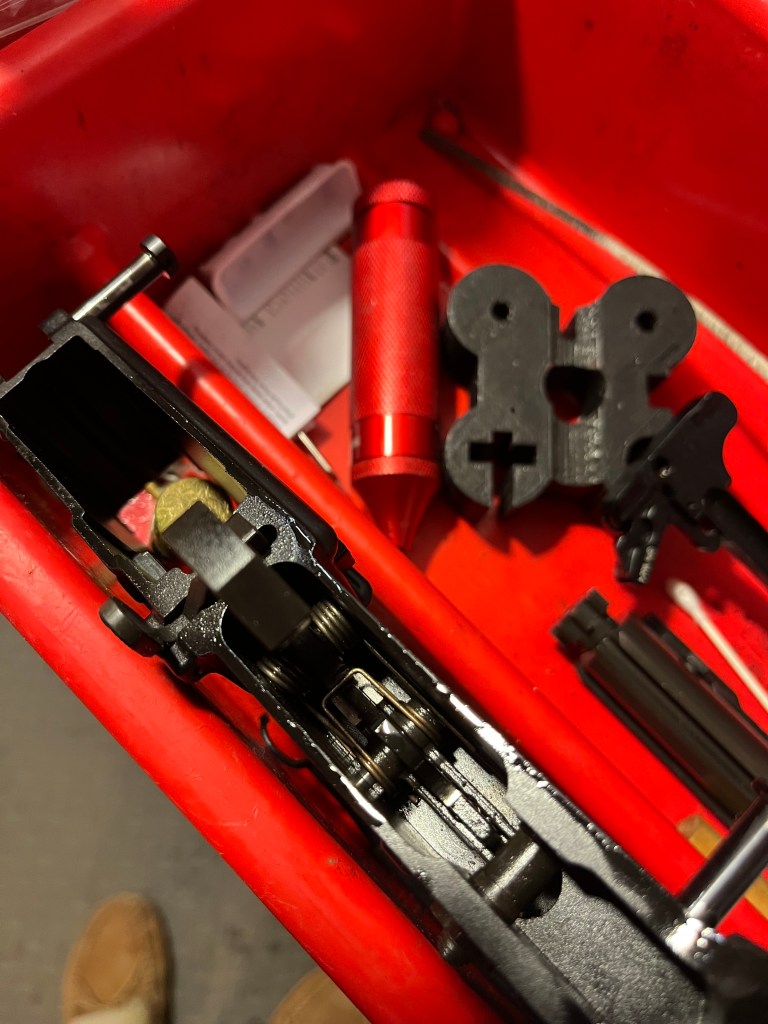
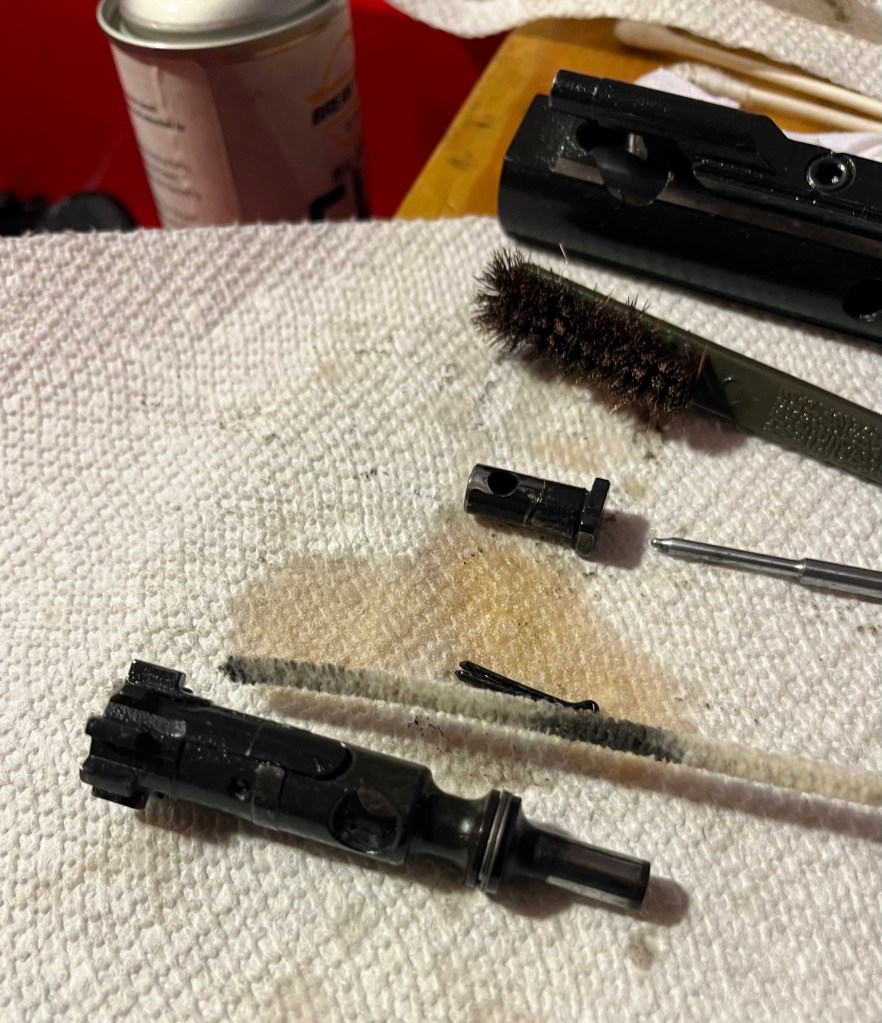
THE BOLT CARRIER GROUP:
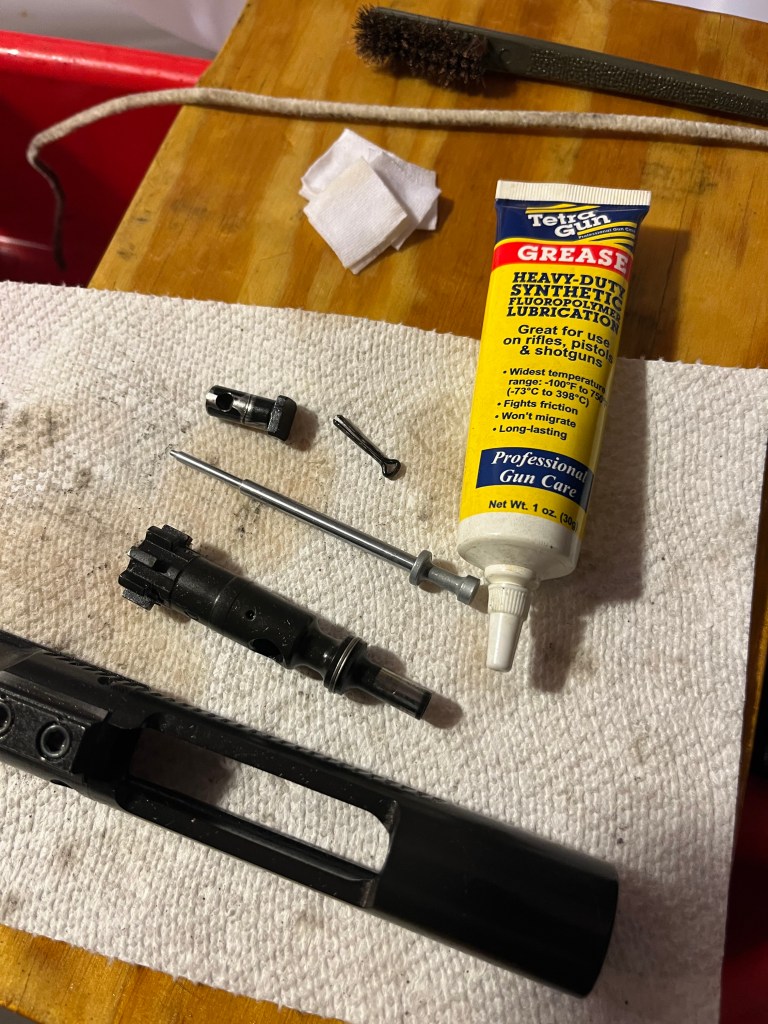
The BCG is the heart of the AR. Practice disassembly and assembly!
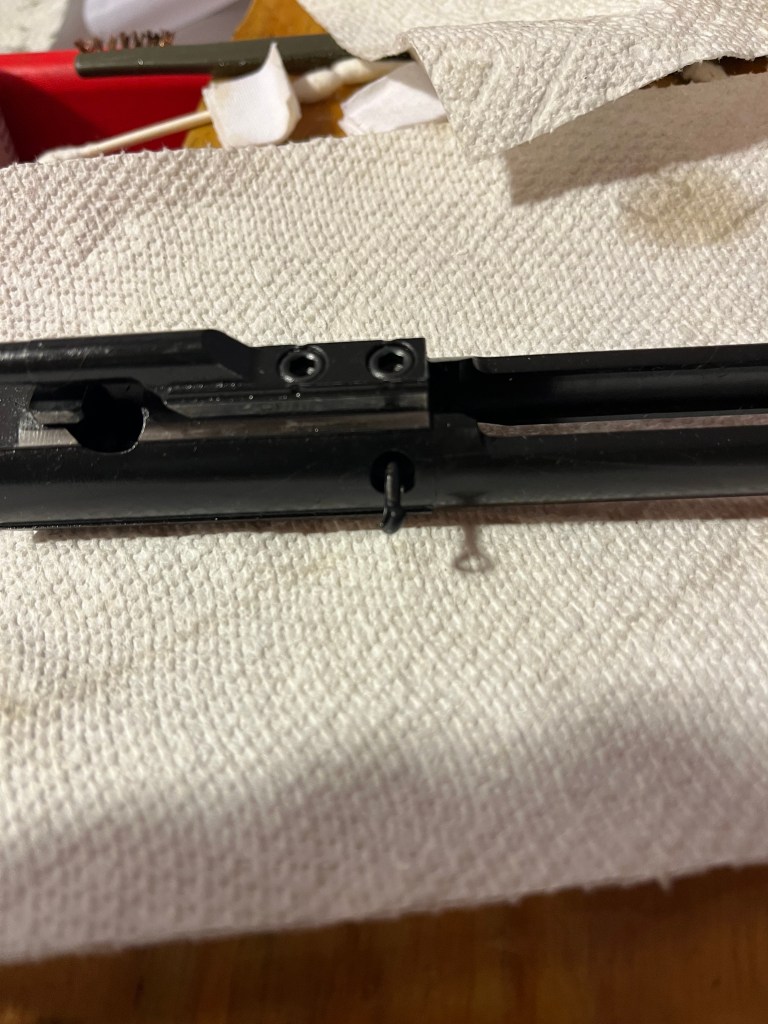
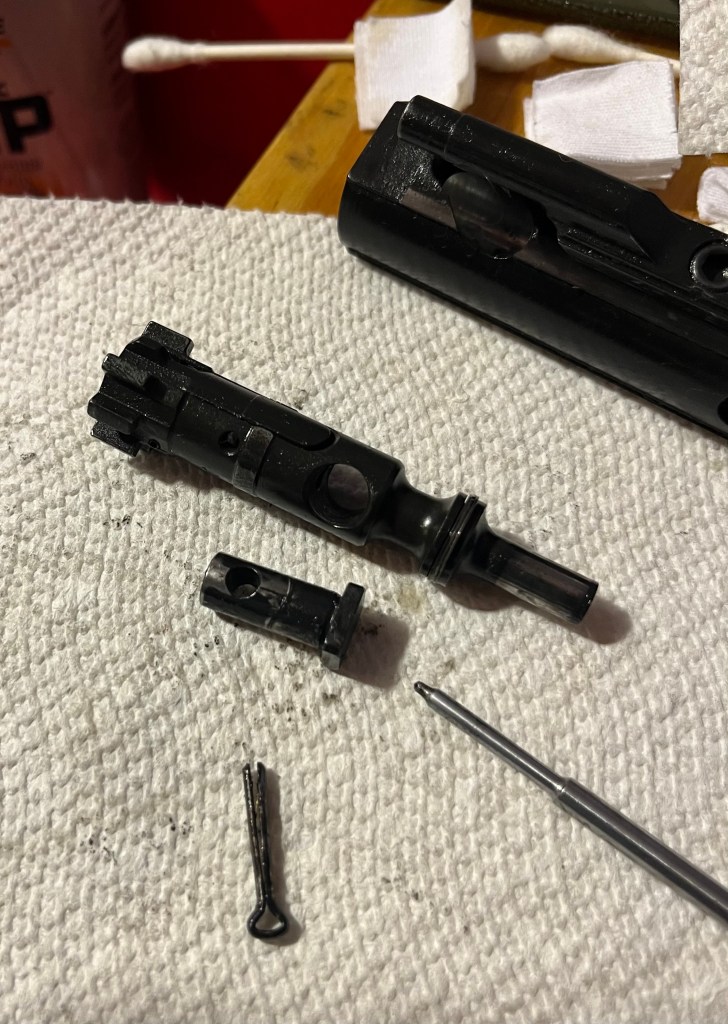
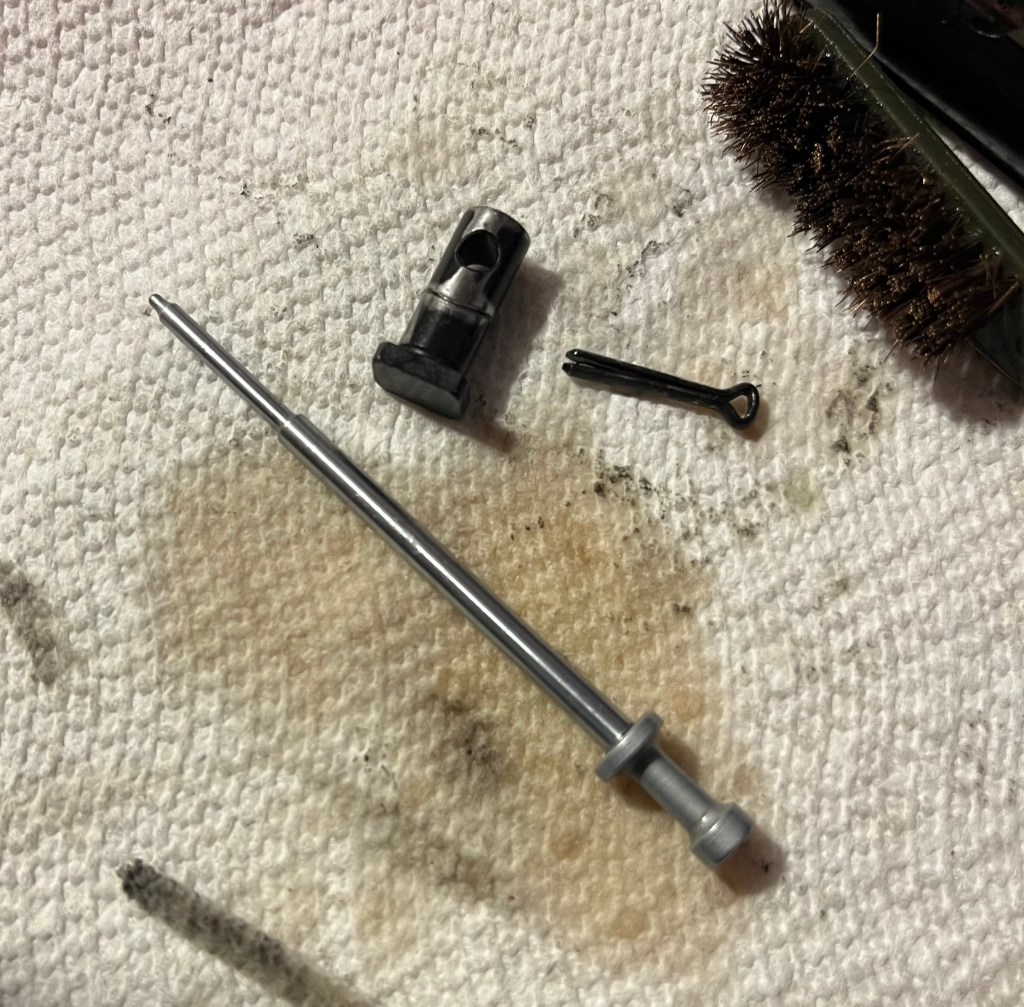
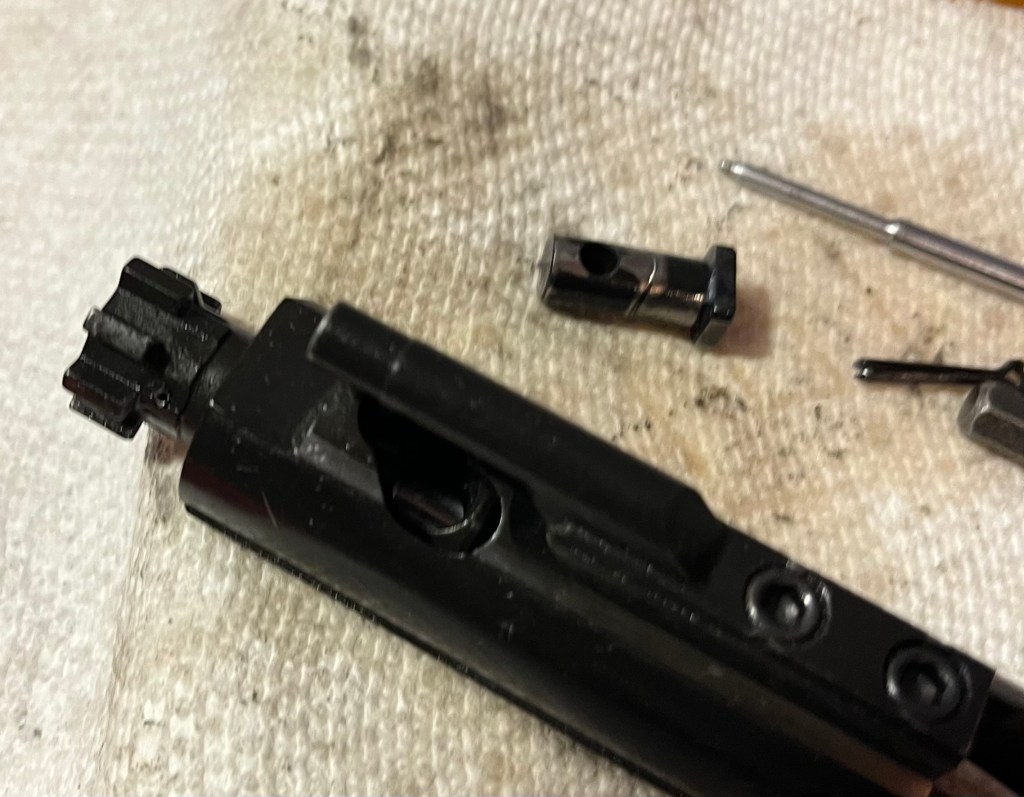
That’s the firing pin retention pin.
Remove it and slide the firing pin out.
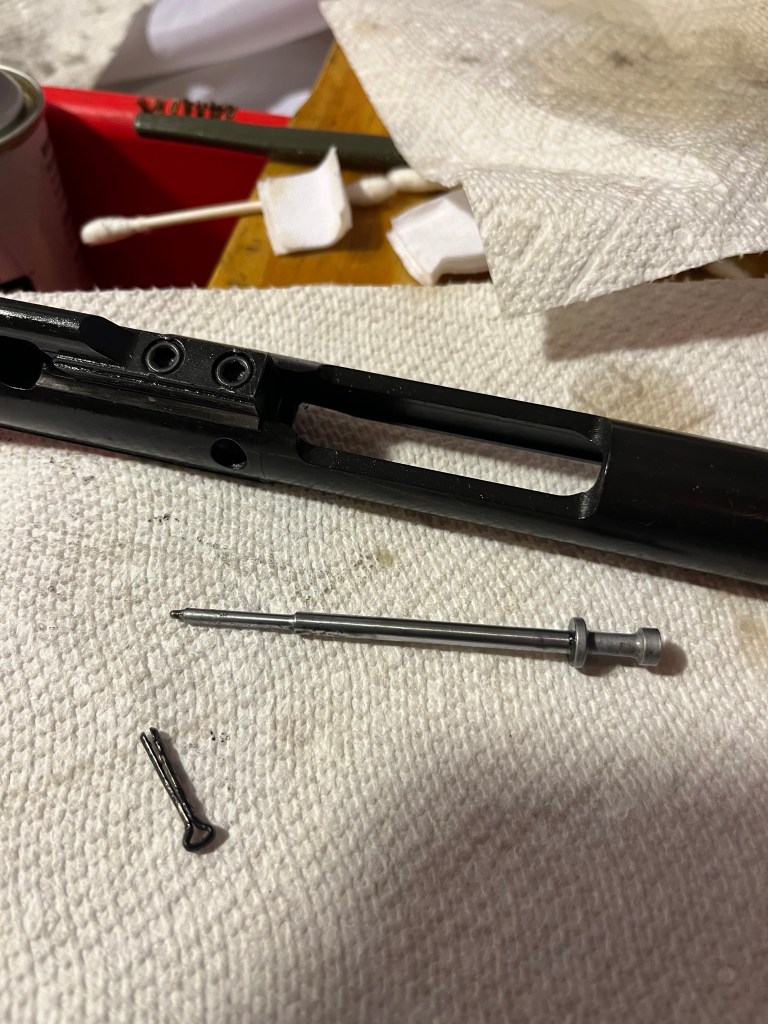
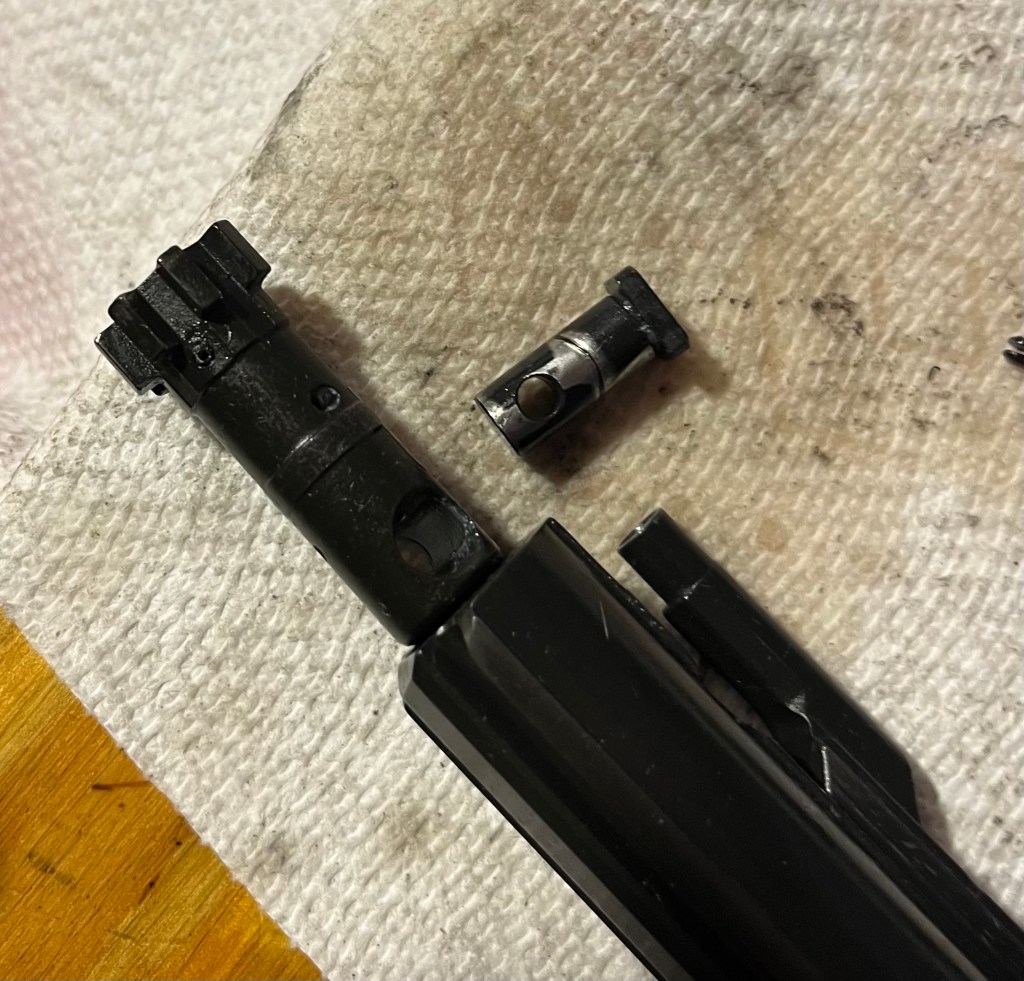
This is the cam pin. In this position the firing pin goes through a hole in it. It moves in that channel as the bolt cycles forward and back.
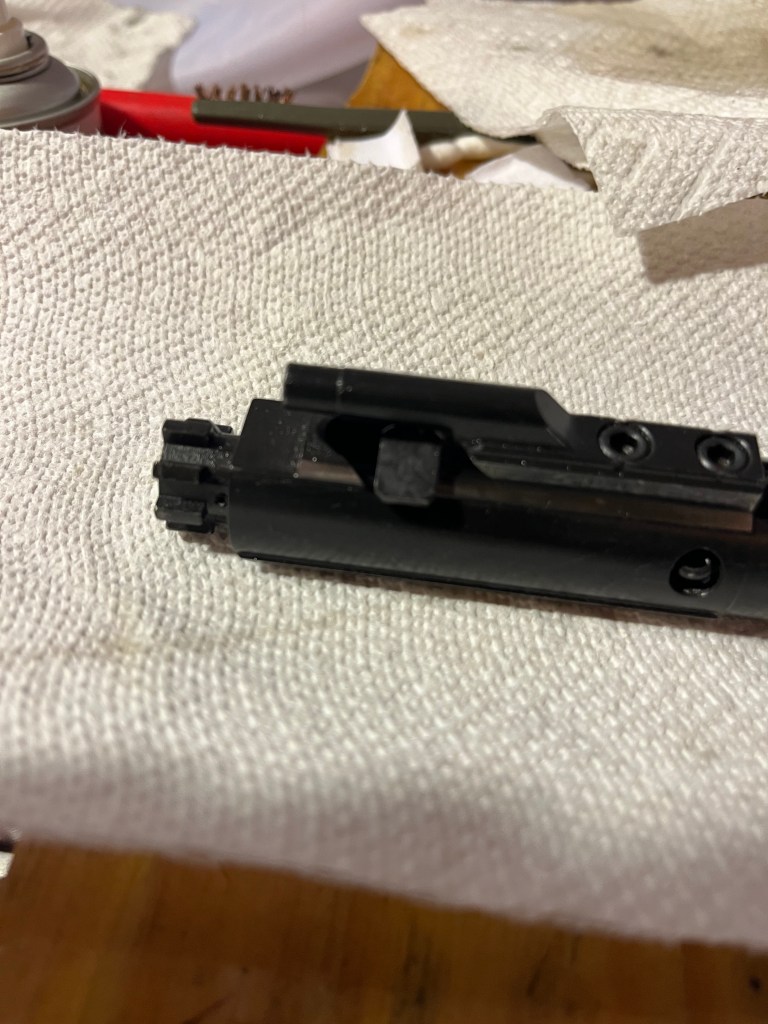
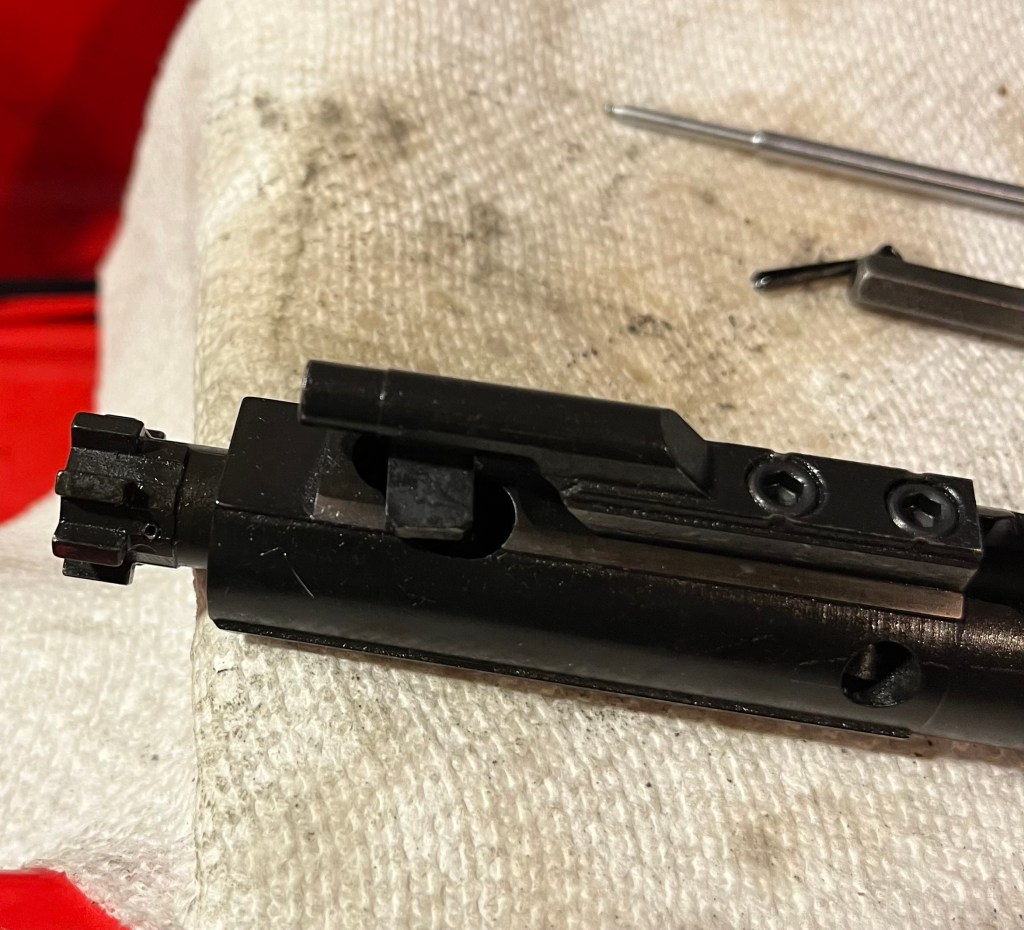
It must be rotated 90 degrees to be removed.
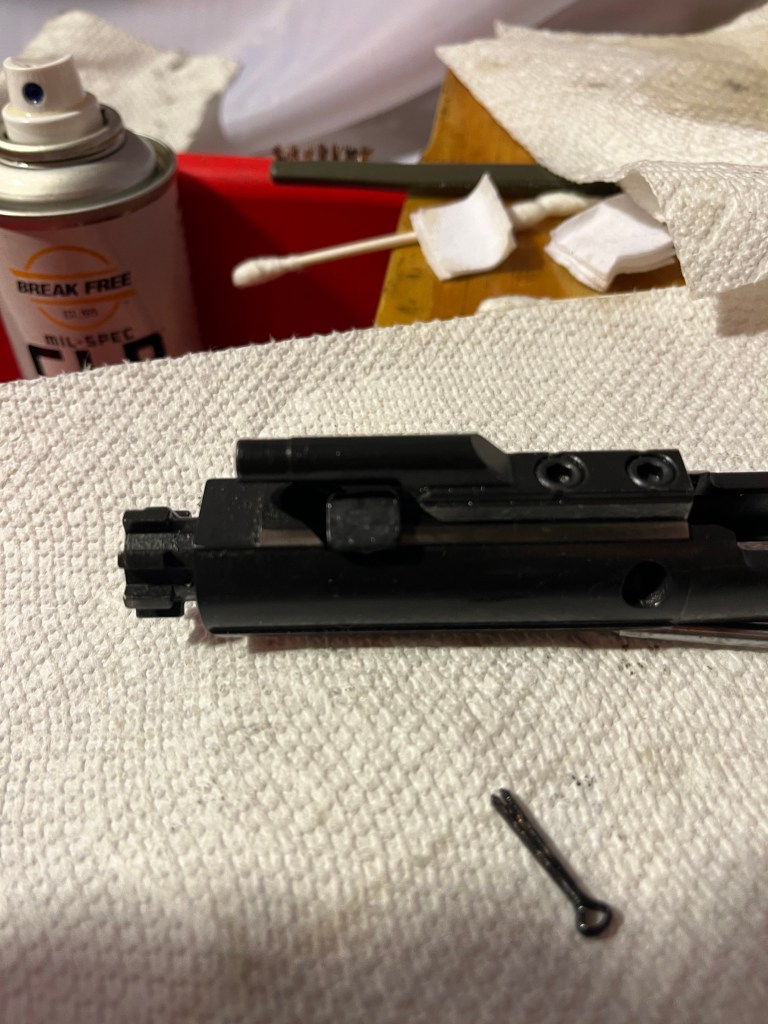
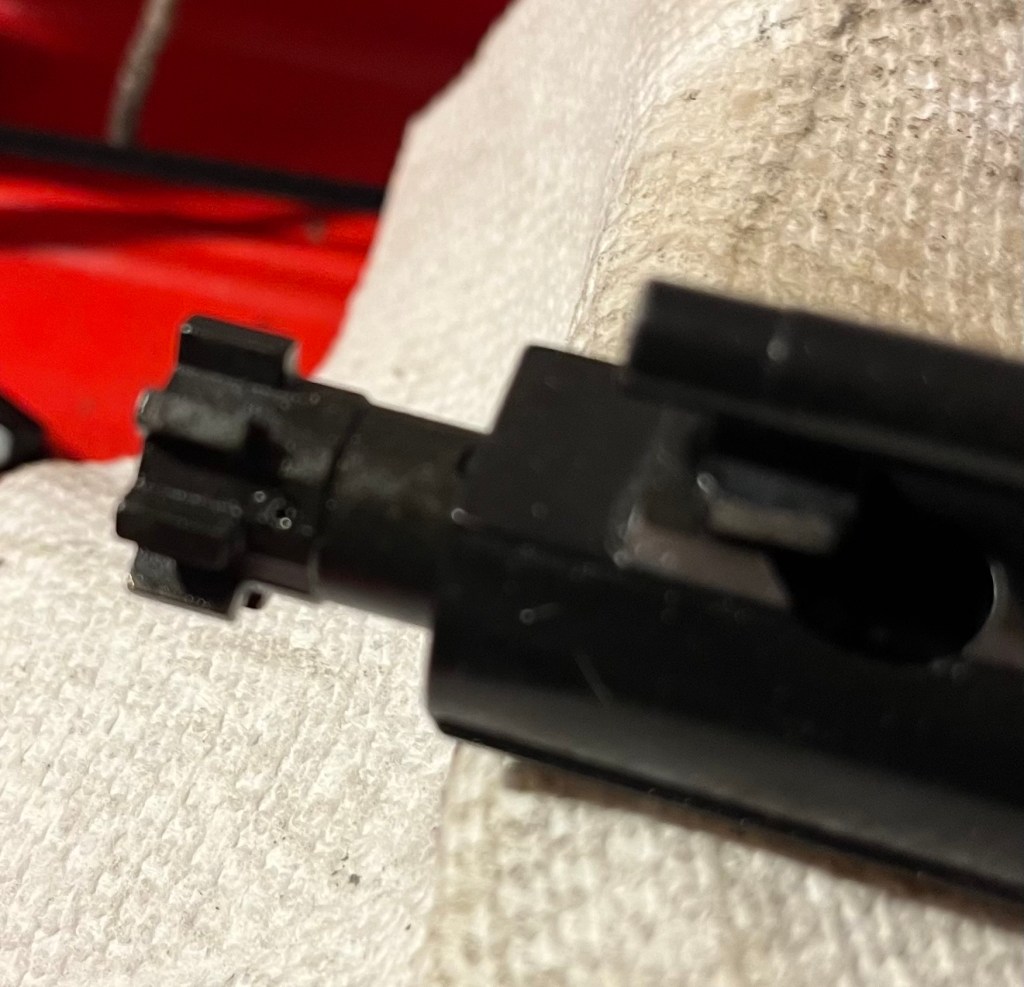
And now you can remove the bolt.
Congratulations! Now the cleaning begins.
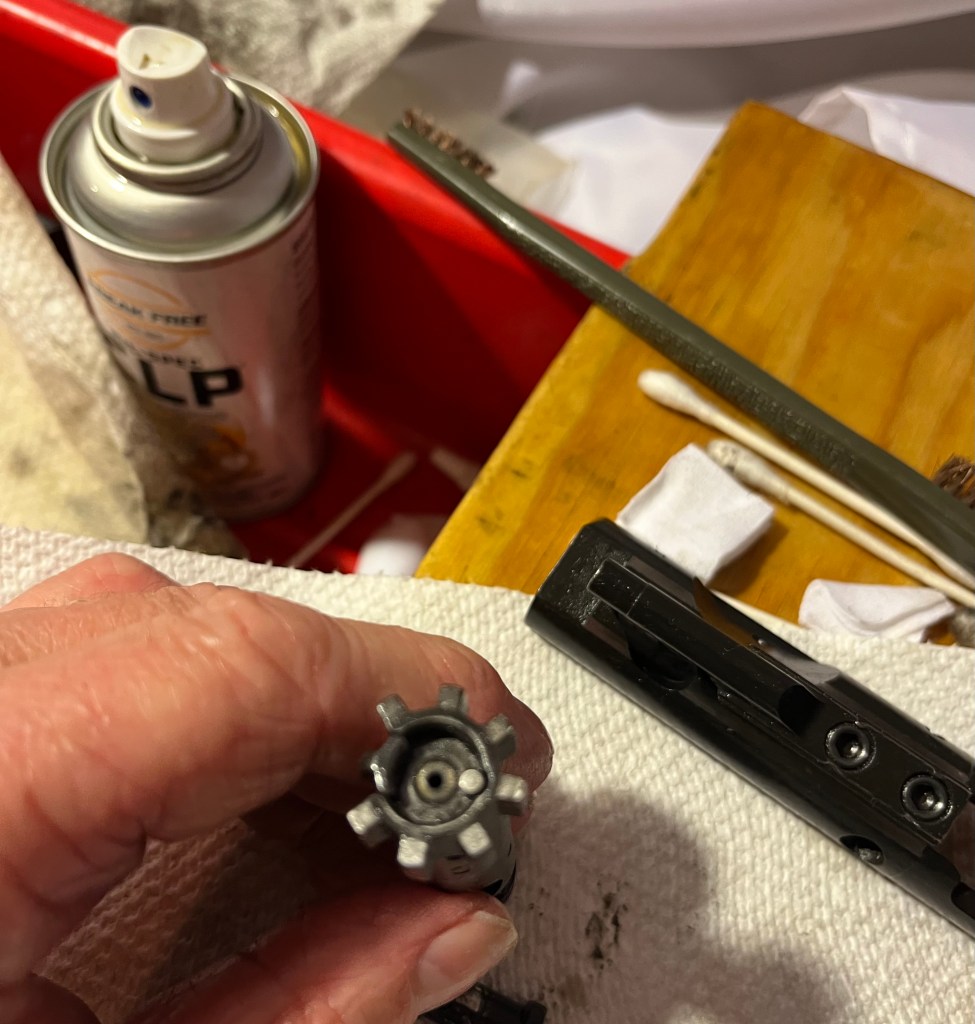
Clean the bolt face – you may need a toothbrush or wire brush to get all the spots.
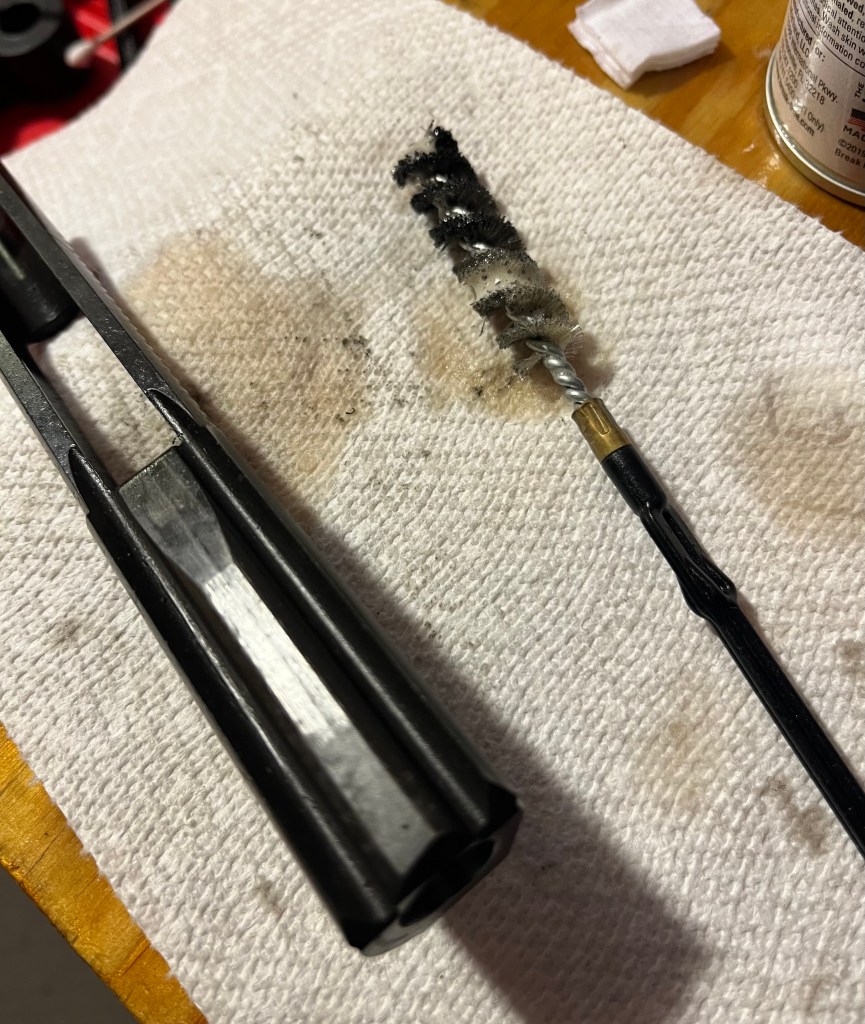
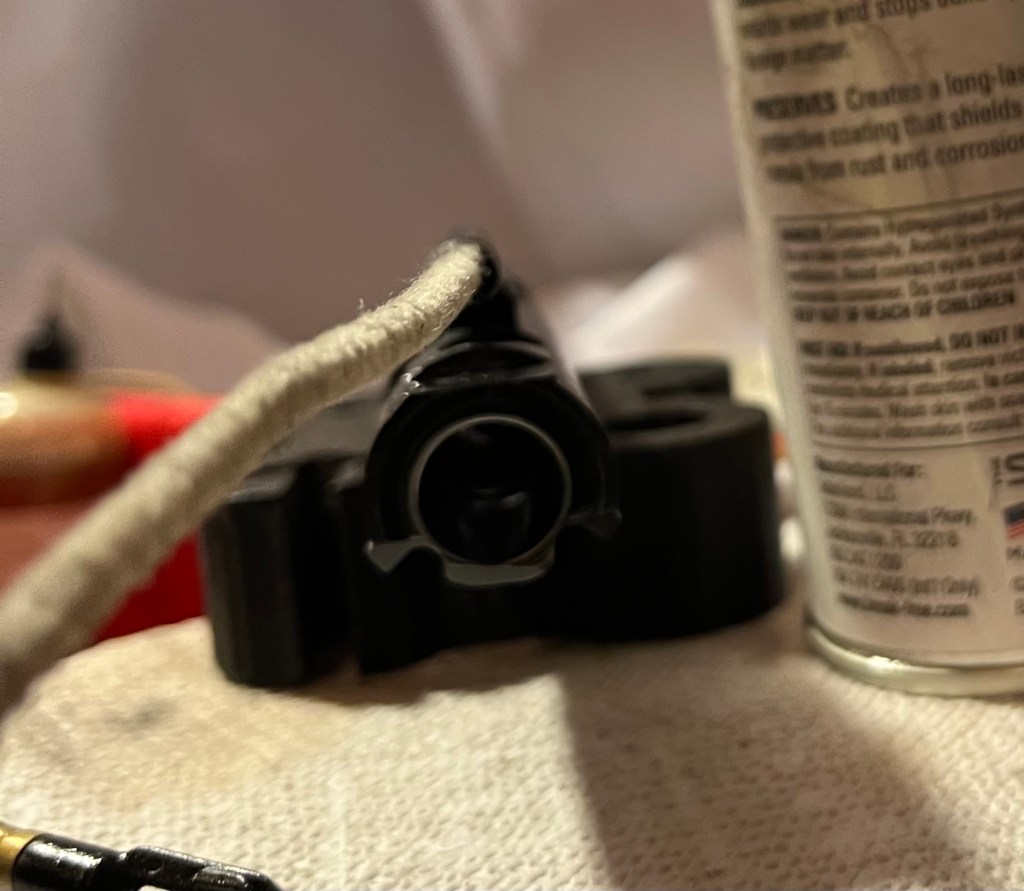
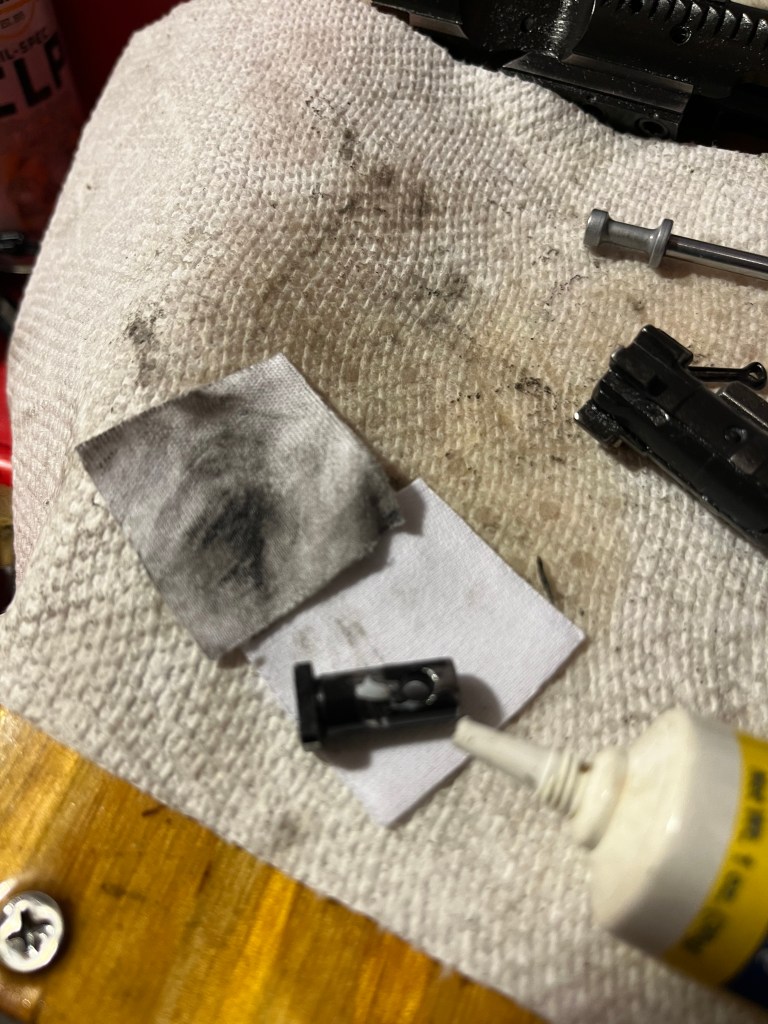
Take the clean end of your pipe cleaner (oh, yeah. They make special ones about a foot long for ARs) and wet it with solvent.
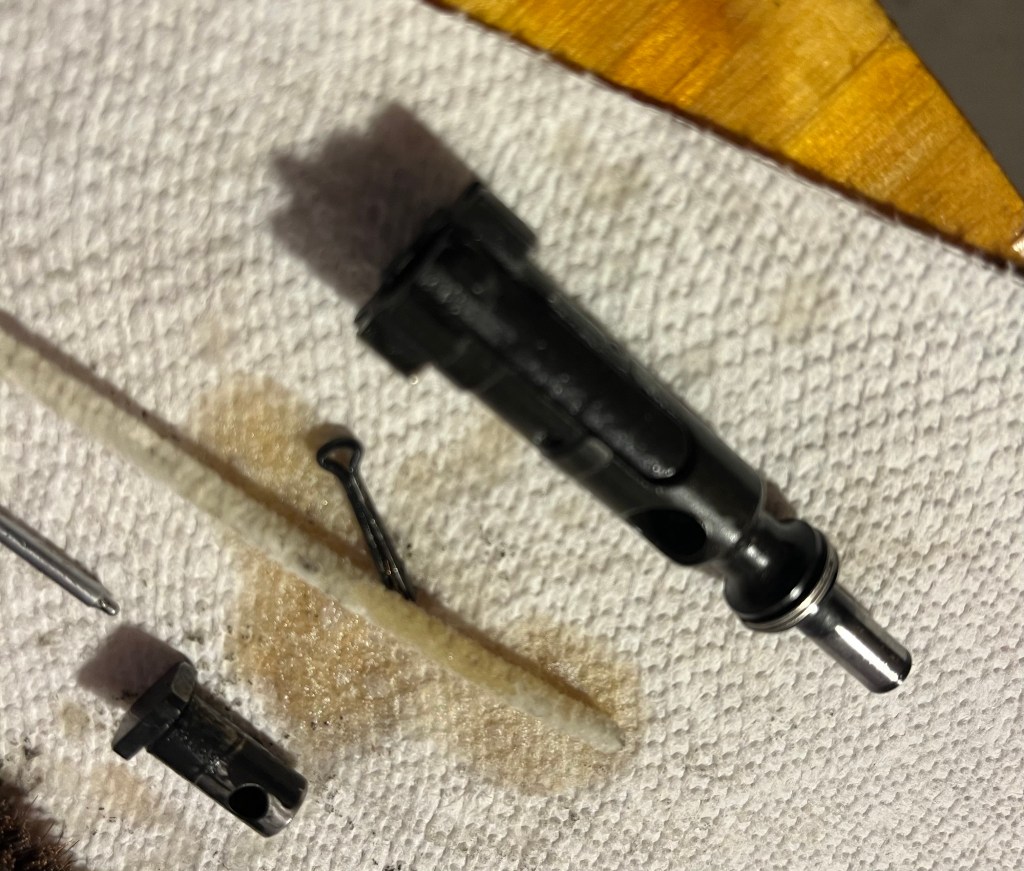
And clean out the firing pin channel. Blow it clean with a compressed air can after.
Imagine that – more schmutz!
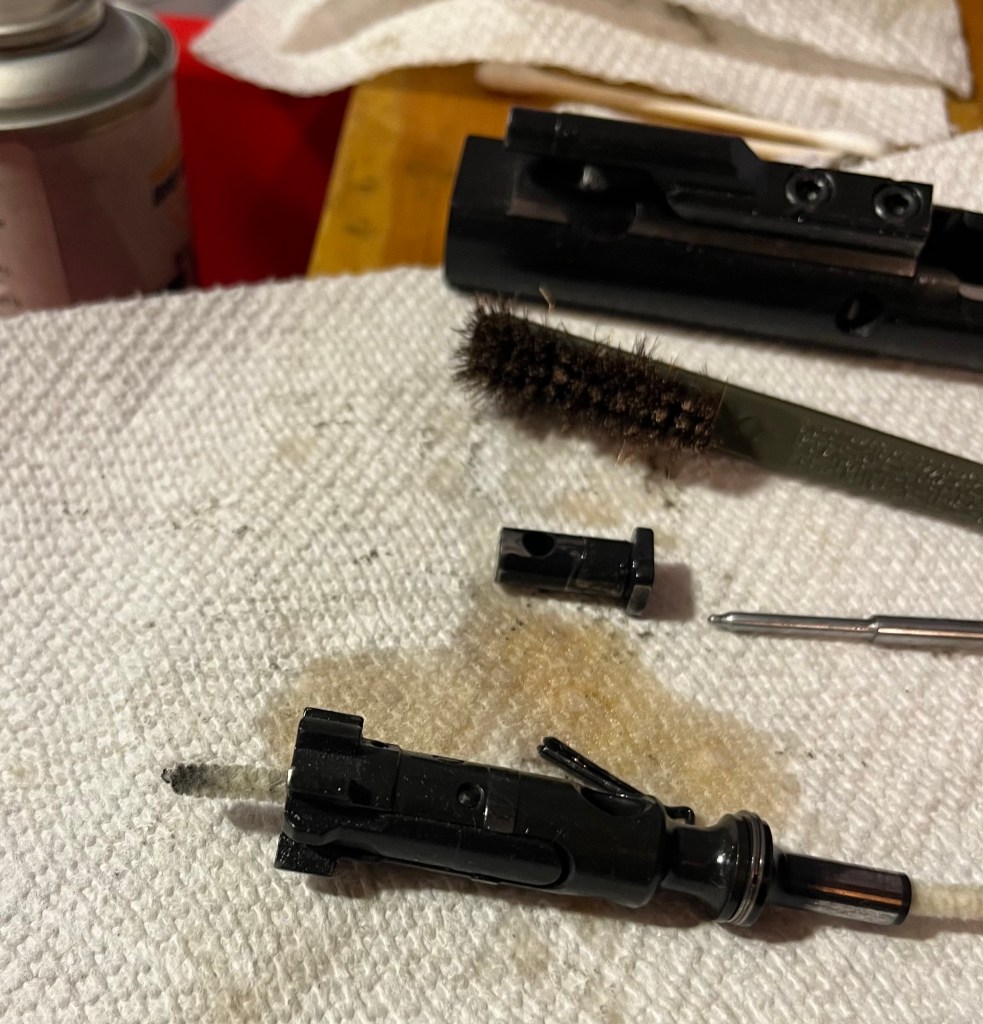
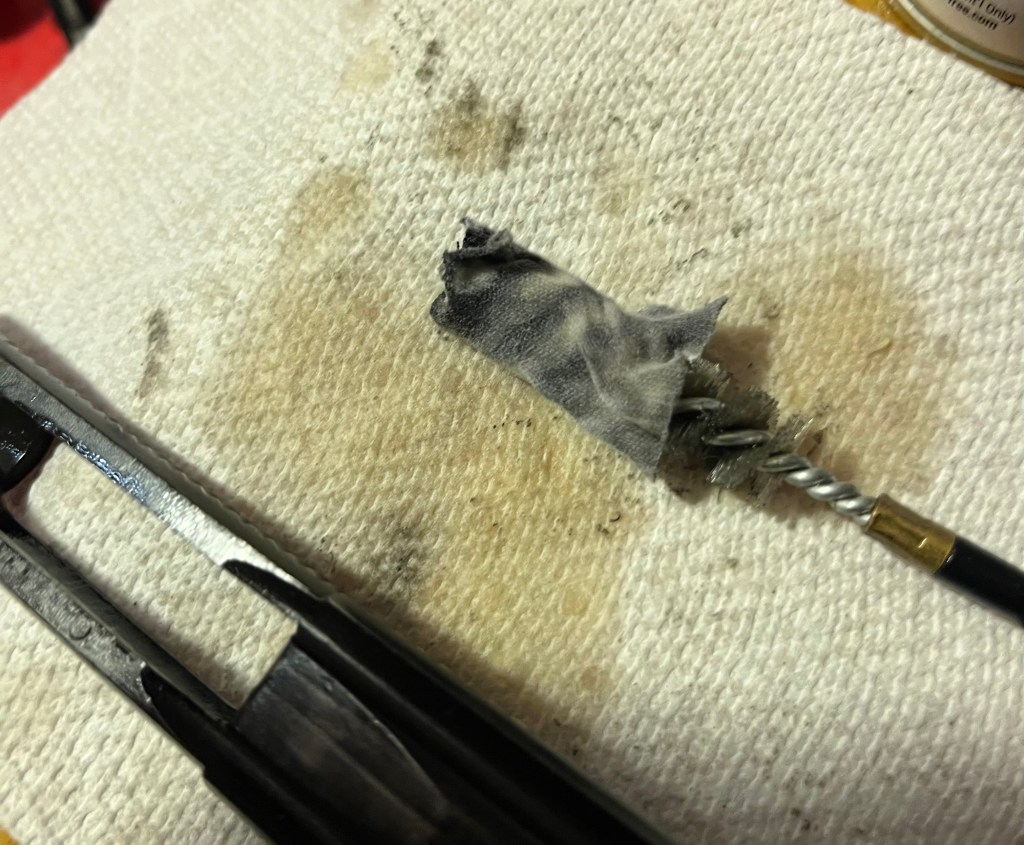
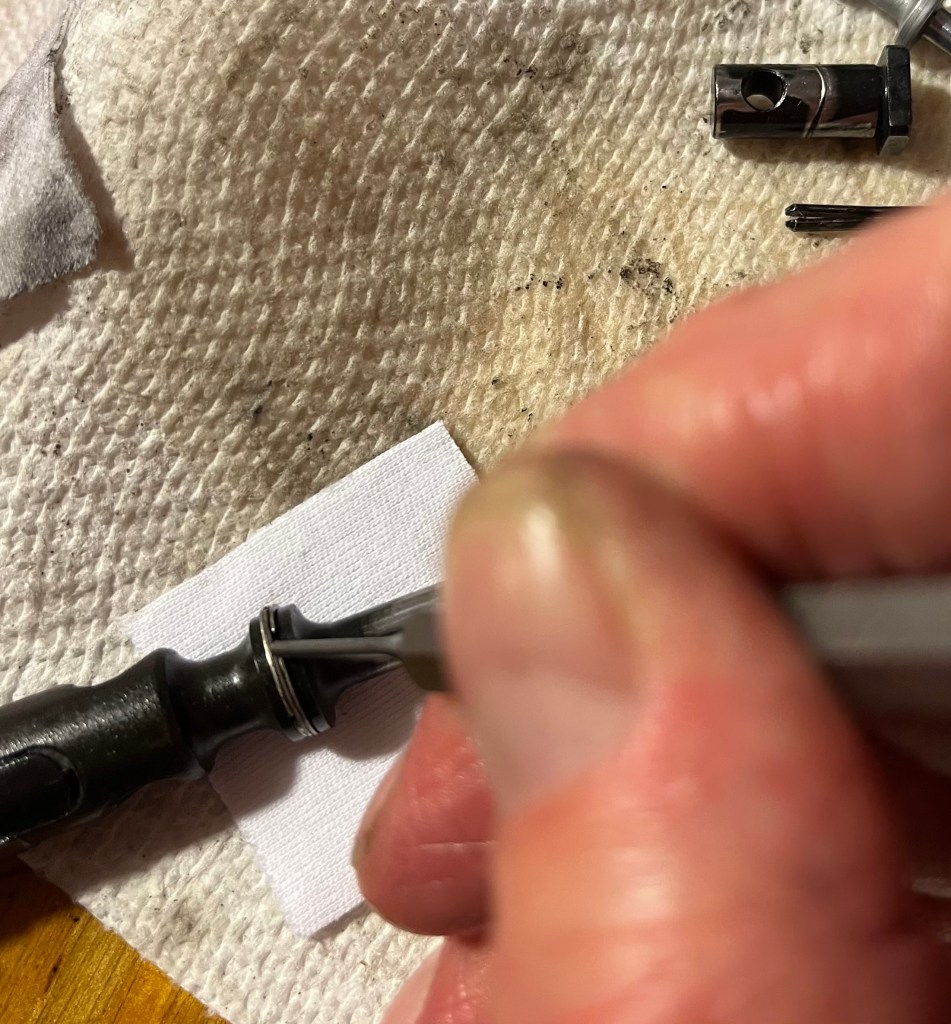
Clean your small parts with solvent. Note the friction wear on the cam pin. Any place you see shiny metal on the gun is a place that will require lubrication when reassembled.
Clean the inside and outside of the carrier. Oh, look, more shiny surfaces!
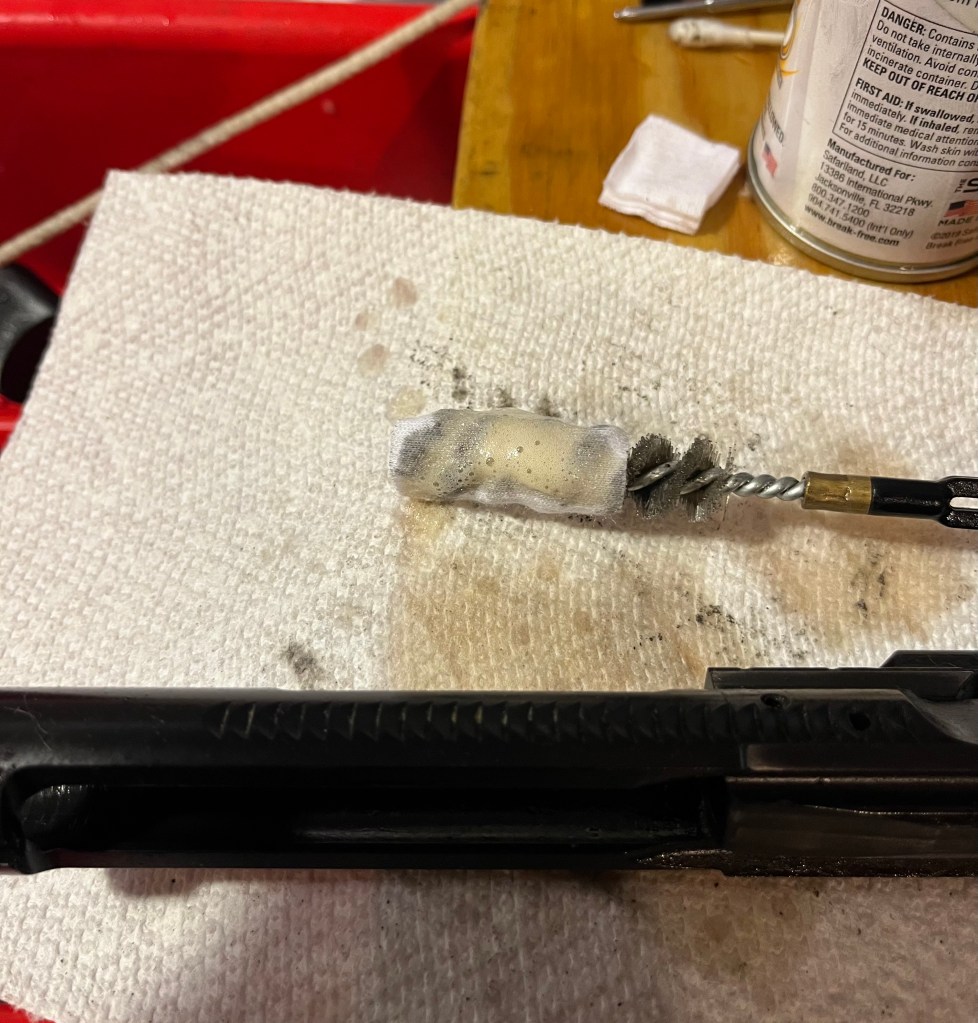
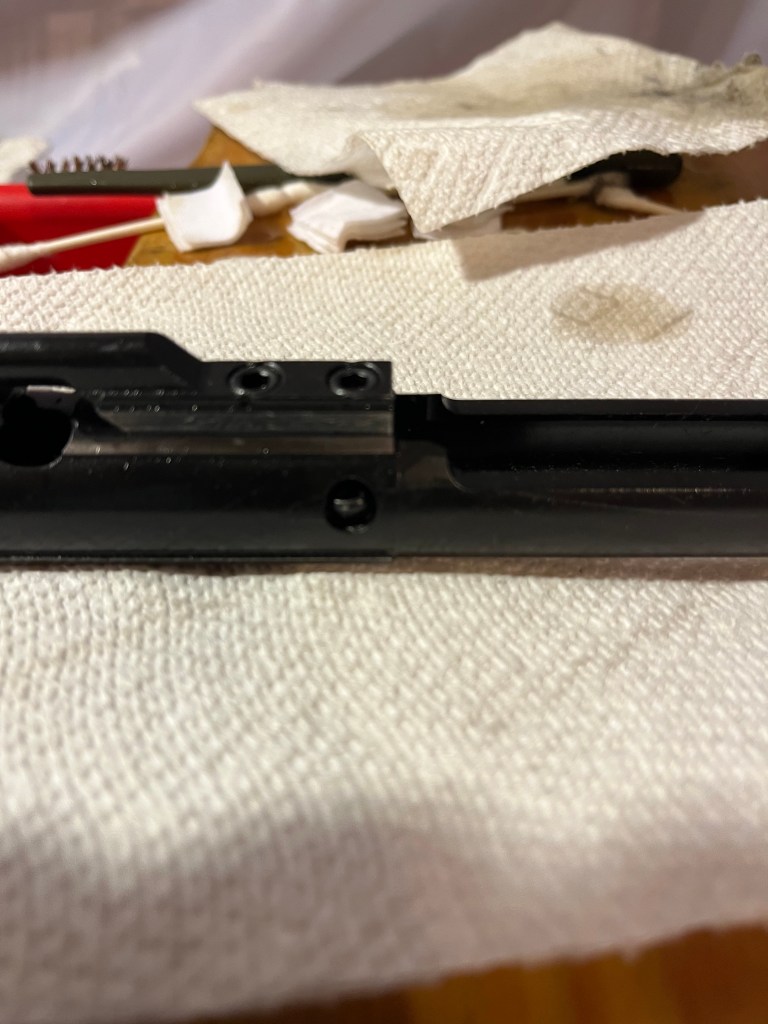
Now, the gas key.
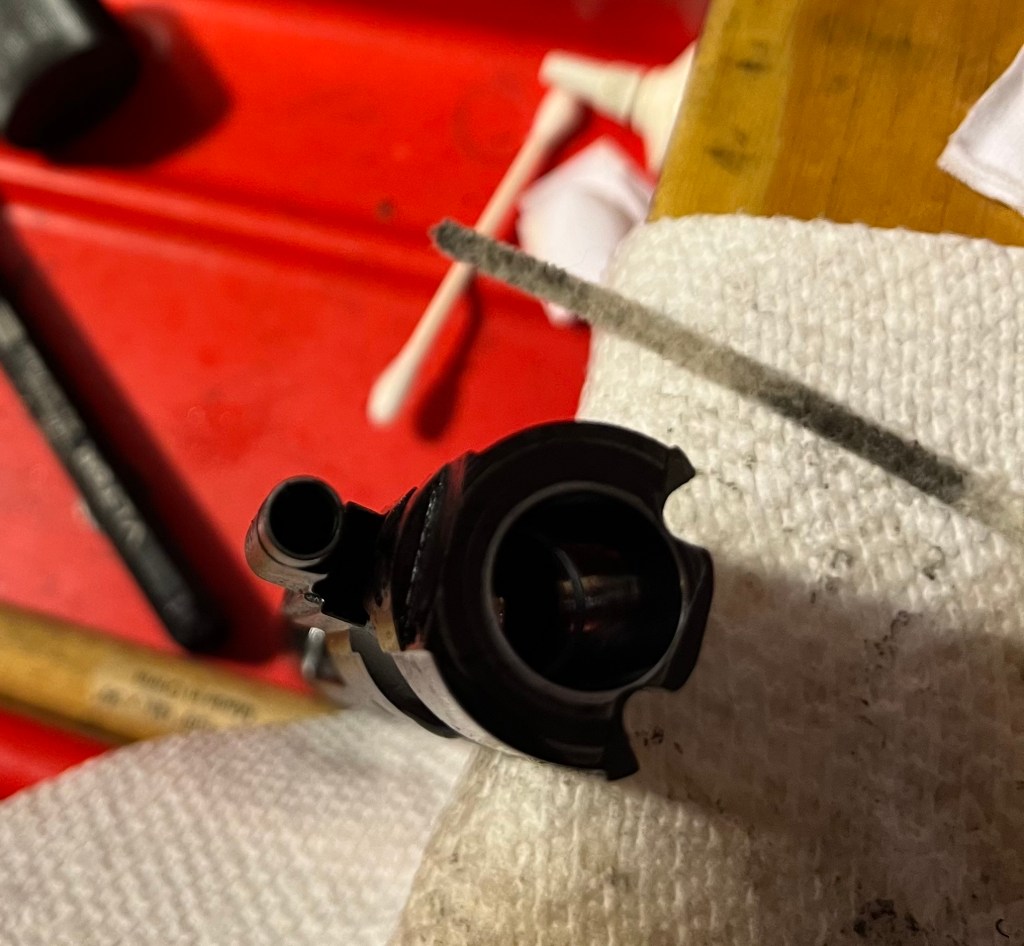
Get in all the interior nooks and crannies.
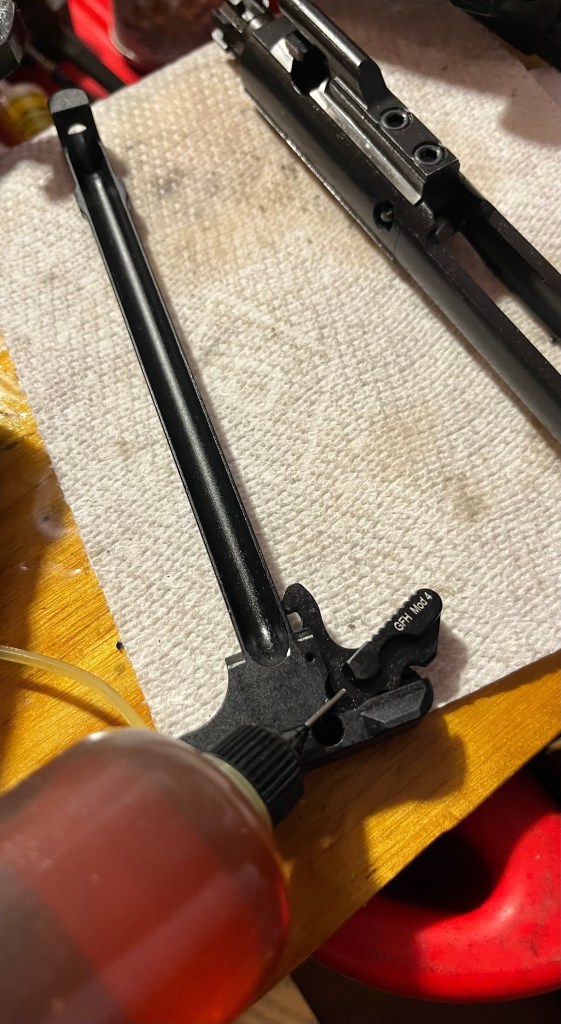
Don’t forget the charging handle. The groove gets filthy.
When completely clean, you are ready to REASSEMBLE!
Now, this is my personal choice to use a film of grease for bolt lube. I don’t use it on firearms that will be sitting around a long time – it will cake up. Those guns get CLP or Rem Oil. But I do like it for a regularly used gun.
When lubing the bolt, take time to rotate the three gas rings so that none of them line up.
Remember the wear marks?
The bolt can go in with either end of the cam pin hole up, BUT the cam pin will only go in one of them! (Yes, I do recall an incident with an AR 10 where that was not the case . . .).
Insert and rotate 90 degrees.
Pull bolt forward to check operation. There should be some resistance if the gas rings are operating properly.
Slide firing pin back and retain it. When assembled, shake the BCG up and down. The firing pin should stay in, but move back and forth slightly.
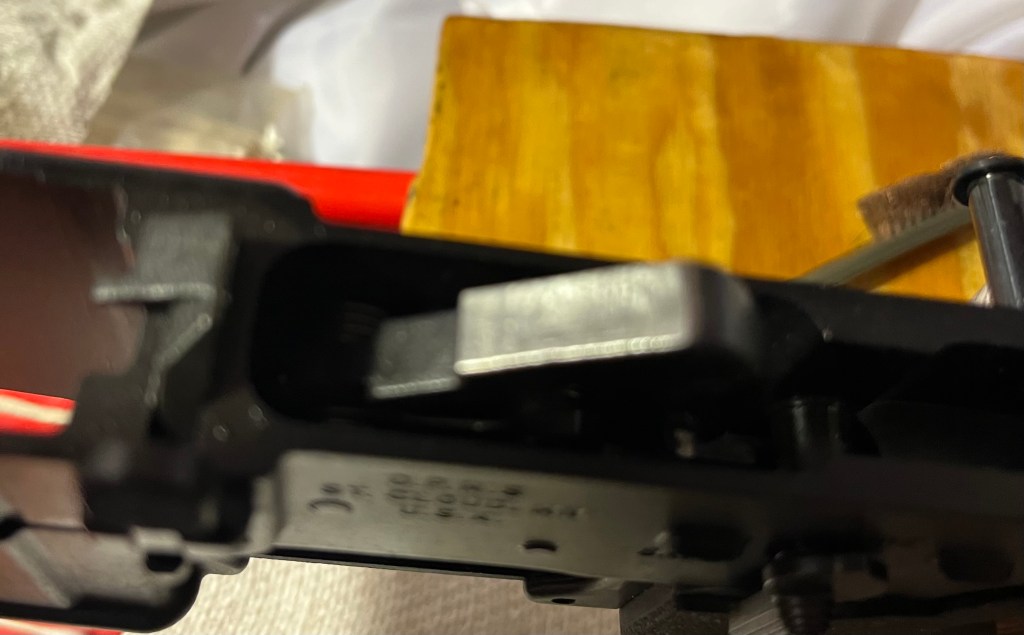
Now, retrieve the upper and lower that you so carefully set aside and start with the pivot pin.
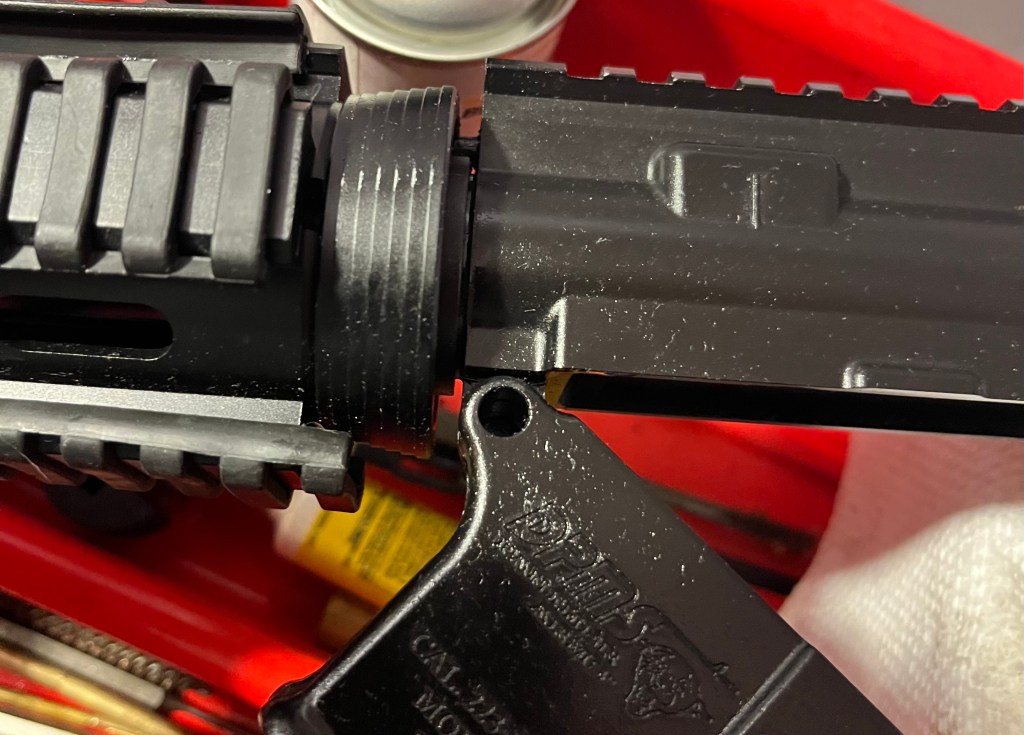
The end of the charging handle goes in and then up and into its channel partway. The gas key on the bolt then fits into the bottom of the charging handle, and the entire unit goes forward all the way.

You can now swing the lower up into position. Make sure the bolt is all the way forward for clearance.
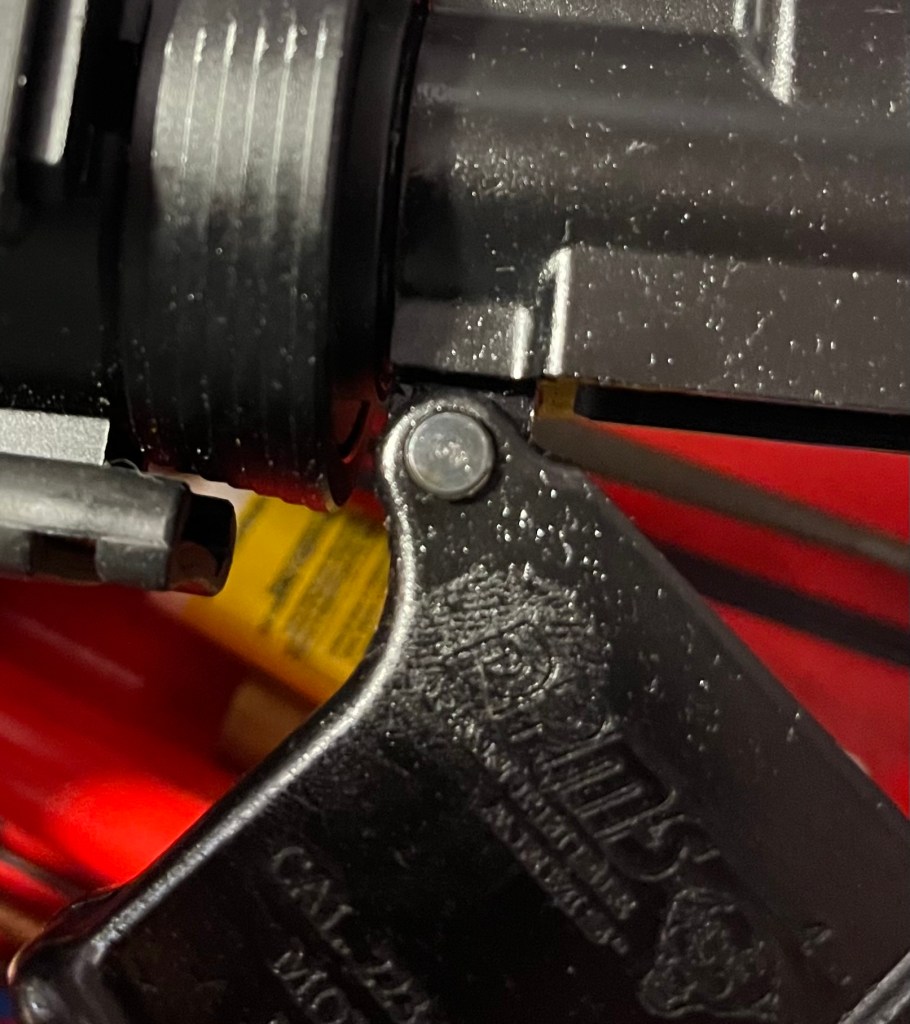
Slide the takedown pin in to place.
Function test by locking the bolt back, releasing it, check that the safety works, then squeeze the trigger. Wipe all the surfaces down and head to the range, where you can dirty it up again!